
Growing Peppers Indoors Simple? Absolutely! Imagine plucking a vibrant, sun-ripened pepper from your own indoor garden, even in the dead of winter. Sounds like a dream, right? Well, it’s a dream within reach! For centuries, humans have cultivated plants indoors, from the elaborate orangeries of European royalty to the humble windowsill herb gardens of today. This connection to nature, nurtured within our homes, is deeply ingrained in our history.
But let’s be honest, sometimes the idea of indoor gardening feels intimidating. Maybe you’ve tried before and ended up with leggy, sad-looking plants. Or perhaps you just don’t know where to start. That’s where these simple DIY tricks come in! I’m here to show you that growing peppers indoors simple is not only possible, but also incredibly rewarding.
In this article, I’ll share my favorite hacks and tips to help you successfully grow peppers indoors, regardless of your experience level. We’ll cover everything from choosing the right varieties and providing adequate light to troubleshooting common problems and ensuring a bountiful harvest. Get ready to transform your living space into a thriving pepper paradise!
Growing Peppers Indoors: A Beginner’s Guide to Spicy Success!
Okay, pepper lovers, let’s talk about bringing the heat indoors! Growing peppers inside might seem intimidating, but trust me, it’s totally doable and incredibly rewarding. Imagine fresh, spicy peppers right at your fingertips, all year round! I’m going to walk you through everything you need to know, from choosing the right seeds to harvesting your fiery bounty.
Choosing Your Pepper Varieties
First things first, you need to decide what kind of peppers you want to grow. Not all peppers are created equal, especially when it comes to indoor growing. Some varieties are naturally more compact and better suited for containers. Here’s a quick rundown:
* Compact Varieties: These are your best bet for indoor growing. Think smaller peppers like Jalapeños, Thai peppers, Serrano peppers, and even some dwarf bell pepper varieties. These won’t take over your entire living room!
* Hot vs. Sweet: Consider your spice tolerance! If you’re a chili head, go for the hotter varieties. If you prefer something milder, stick with bell peppers or sweet banana peppers.
* Days to Maturity: Pay attention to the “days to maturity” listed on the seed packet. Shorter maturity times mean you’ll be harvesting sooner, which is always a plus!
* My Personal Recommendations: I’ve had great success with Jalapeños (classic!), Thai peppers (super productive!), and a dwarf bell pepper called “Mini Belle Red” (sweet and adorable!).
Gathering Your Supplies
Before you even think about planting, you need to gather your supplies. Having everything on hand will make the whole process much smoother. Here’s what you’ll need:
* Pepper Seeds: Obviously! Choose high-quality seeds from a reputable source.
* Seed Starting Tray or Small Pots: These are perfect for starting your seeds indoors.
* Seed Starting Mix: This is a light, airy soil mix specifically designed for seedlings. Don’t use regular potting soil for starting seeds!
* Larger Pots (3-5 gallon): Once your seedlings are big enough, you’ll need to transplant them into larger pots.
* Potting Soil: Use a good quality potting mix that drains well.
* Grow Lights: This is crucial for indoor pepper growing. Peppers need a lot of light to thrive.
* Watering Can or Spray Bottle: For gentle watering.
* Fertilizer: A balanced fertilizer formulated for vegetables.
* Optional: Heat Mat: Helps with germination.
* Optional: Humidity Dome: Helps maintain moisture for seedlings.
Starting Your Pepper Seeds
Now for the fun part! Starting your pepper seeds is the first step to a bountiful harvest.
1. Prepare Your Seed Starting Tray: Fill your seed starting tray or small pots with seed starting mix. Moisten the mix thoroughly, but don’t soak it.
2. Sow Your Seeds: Make a small indentation (about 1/4 inch deep) in the soil. Place one or two pepper seeds in each indentation.
3. Cover the Seeds: Gently cover the seeds with seed starting mix.
4. Water Gently: Water the seeds gently using a spray bottle or watering can. You don’t want to dislodge the seeds.
5. Provide Warmth: Peppers love warmth! Place your seed starting tray on a heat mat or in a warm location (around 75-85°F).
6. Maintain Humidity: Cover the seed starting tray with a humidity dome or plastic wrap to help maintain moisture.
7. Wait Patiently: Pepper seeds can take anywhere from 7 to 21 days to germinate, so be patient! Keep the soil moist but not soggy.
8. Remove Humidity Dome: Once the seedlings emerge, remove the humidity dome to prevent fungal diseases.
9. Provide Light: Place the seedlings under grow lights as soon as they emerge. Keep the lights on for 14-16 hours per day.
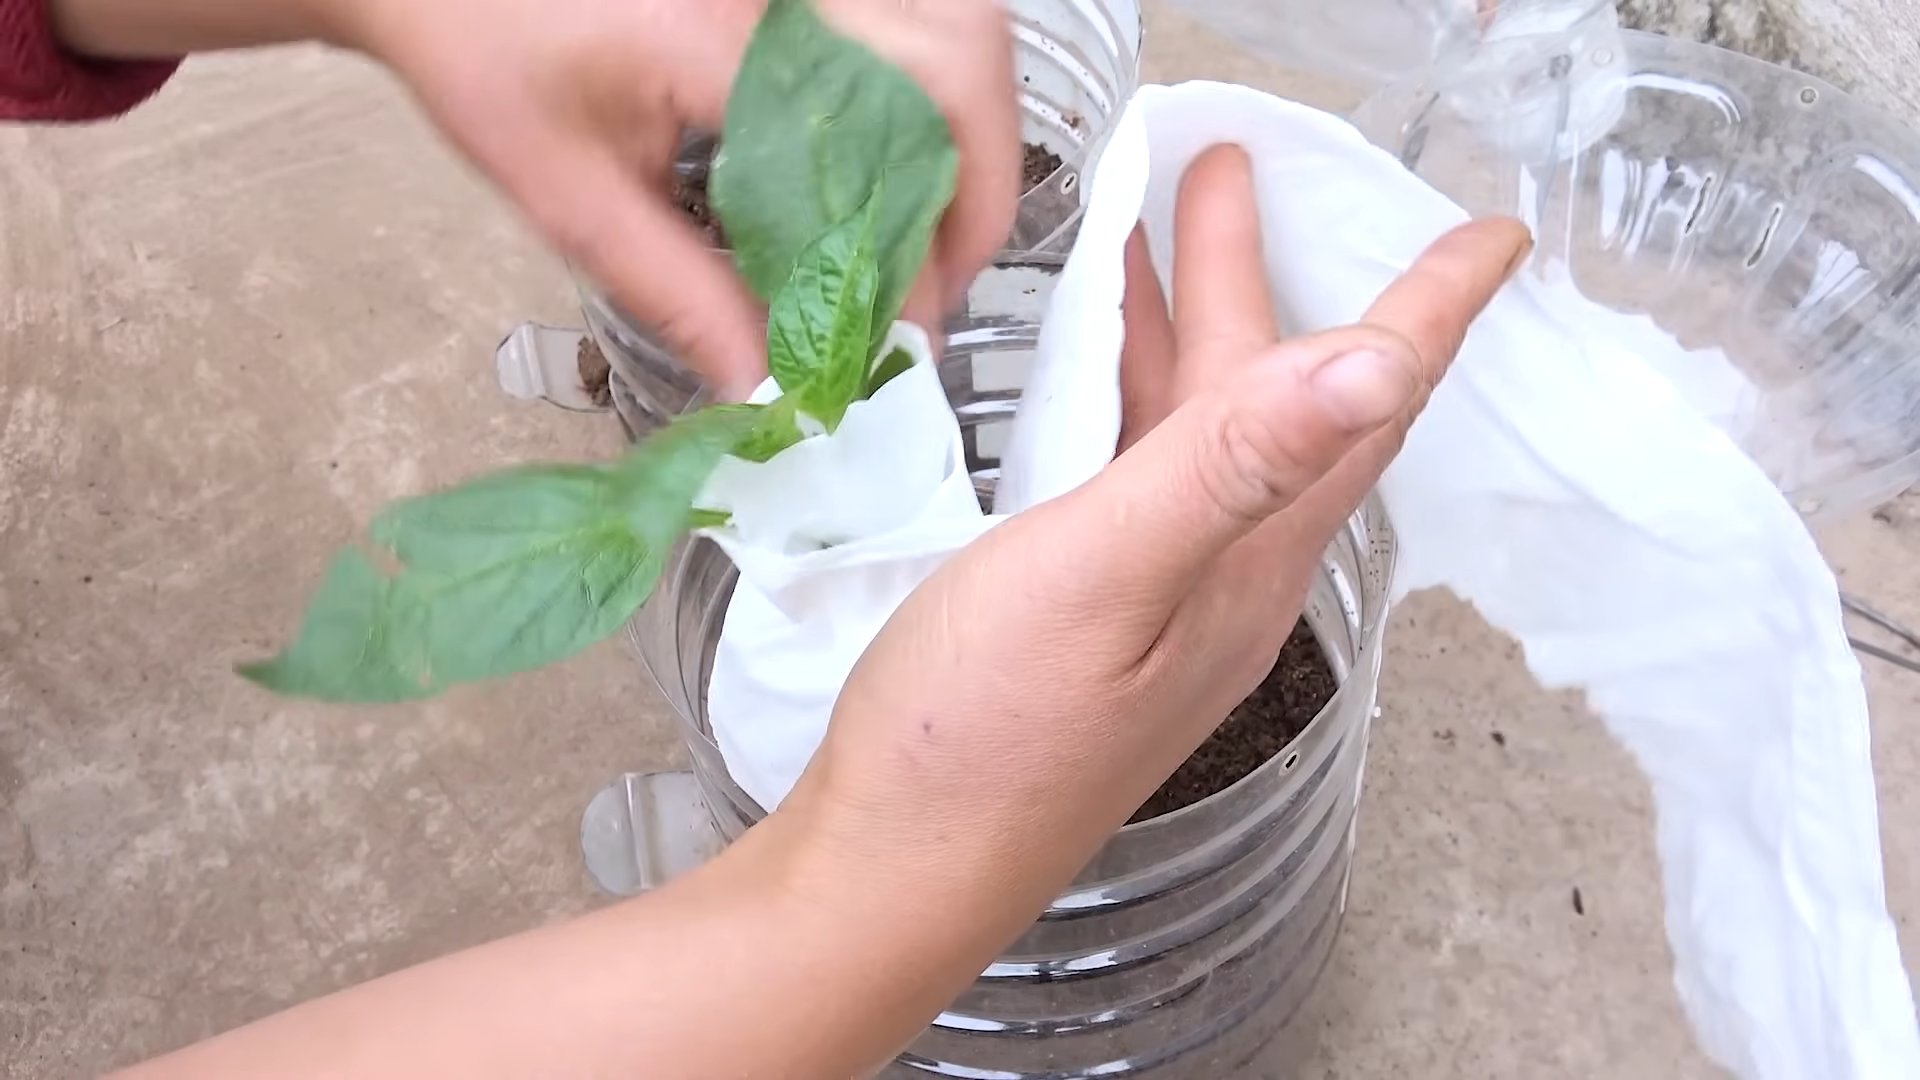
Transplanting Your Seedlings
Once your seedlings have developed a few sets of true leaves (the leaves that look like miniature pepper leaves), it’s time to transplant them into larger pots.
1. Prepare Your Larger Pots: Fill your 3-5 gallon pots with potting soil.
2. Carefully Remove Seedlings: Gently remove the seedlings from the seed starting tray. Be careful not to damage the roots. I like to use a small spoon or fork to help lift them out.
3. Plant the Seedlings: Make a hole in the potting soil large enough to accommodate the seedling’s root ball. Place the seedling in the hole and gently backfill with soil.
4. Water Thoroughly: Water the transplanted seedlings thoroughly.
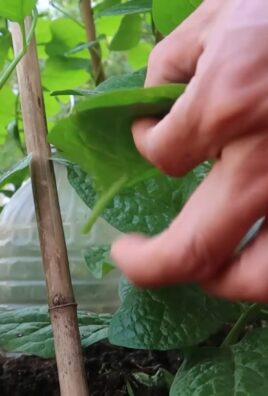
5. Provide Support (Optional): If you’re growing taller pepper varieties, you may want to provide support with a stake or tomato cage.
Caring for Your Indoor Pepper Plants
Now that your pepper plants are in their permanent homes, it’s time to provide them with the care they need to thrive.
* Light: Peppers need a lot of light, especially when grown indoors. Provide at least 14-16 hours of light per day using grow lights. Position the lights close to the plants (but not so close that they burn the leaves).
* Watering: Water your pepper plants when the top inch of soil feels dry to the touch. Avoid overwatering, as this can lead to root rot.
* Fertilizing: Feed your pepper plants with a balanced fertilizer every 2-3 weeks. Follow the instructions on the fertilizer label. I like to use a fertilizer that’s specifically formulated for vegetables.
* Temperature: Peppers prefer warm temperatures (around 70-80°F). Avoid exposing your plants to cold drafts or extreme temperature fluctuations.
* Humidity: Peppers prefer moderate humidity. If your home is very dry, you can increase the humidity around your plants by using a humidifier or placing a tray of water near them.
* Pollination: Indoor pepper plants may need help with pollination. You can hand-pollinate your plants by gently shaking the flowers or using a small paintbrush to transfer pollen from one flower to another.
* Pruning: Pruning can help improve air circulation and encourage bushier growth. Remove any yellowing or dead leaves. You can also pinch off the tips of the branches to encourage more branching.
Dealing with Pests and Diseases
Even indoors, your pepper plants can be susceptible to pests and diseases. Here are some common problems and how to deal with them:
* Aphids: These tiny insects can suck the sap from your plants. You can control aphids by spraying them with insecticidal soap or neem oil.
* Spider Mites: These tiny mites can cause yellowing and stippling on the leaves. You can control spider mites by spraying them with insecticidal soap or neem oil. Increasing humidity can also help.
* Whiteflies: These small, white insects can fly up when you disturb the plant. You can control whiteflies by using sticky traps or spraying them with insecticidal soap.
* Fungal Diseases: Overwatering and poor air circulation can lead to fungal diseases. Prevent fungal diseases by watering properly and providing good air circulation. If you see signs of fungal disease, remove the affected leaves and spray the plant with a fungicide.
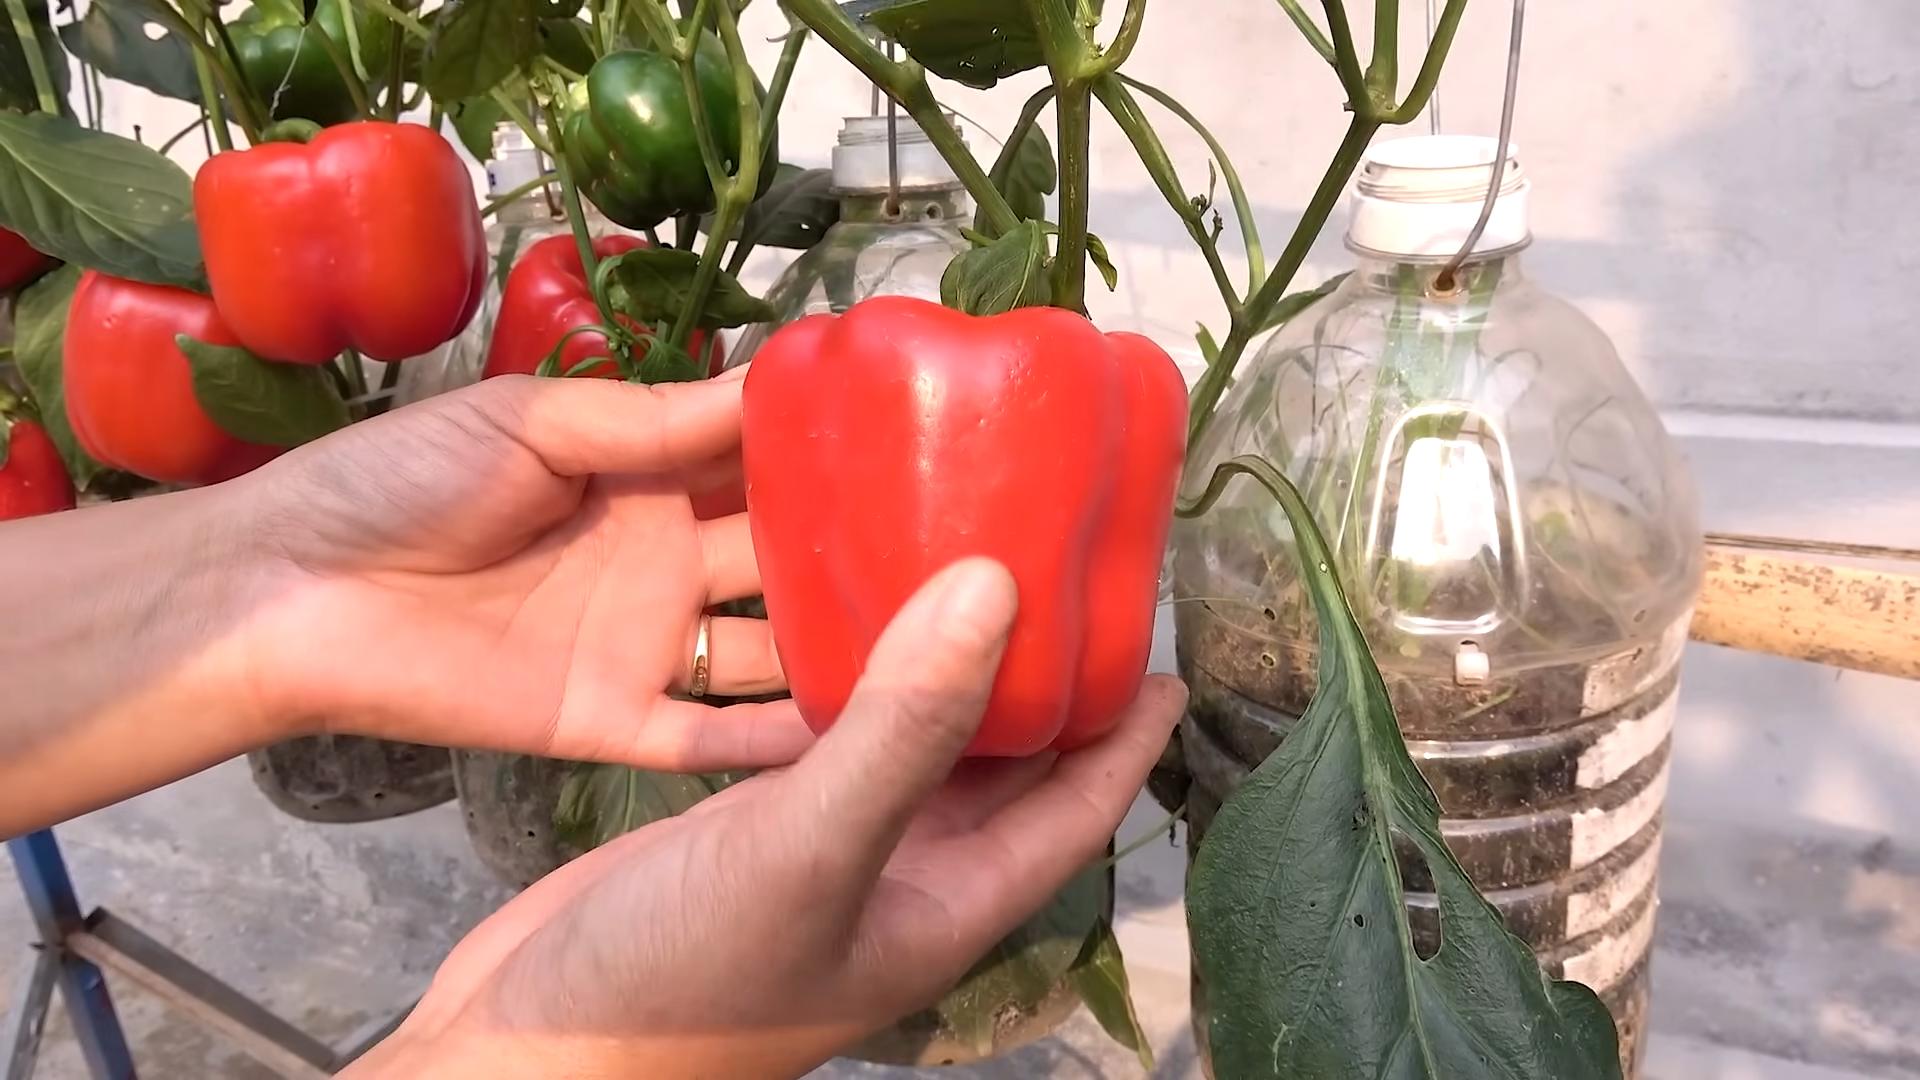
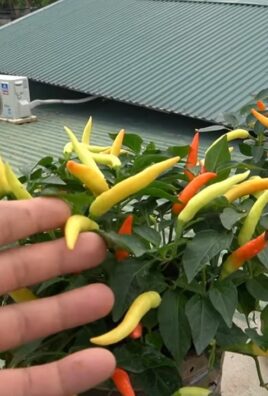
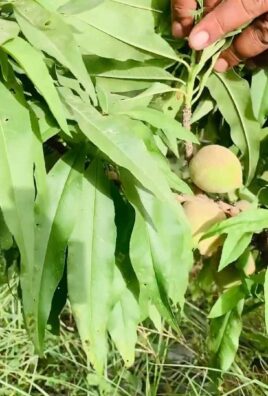
Harvesting Your Peppers
The moment you’ve been waiting for! Harvesting your peppers is the most rewarding part of the process.
* When to Harvest: The timing of your harvest will depend on the variety of pepper you’re growing. Generally, peppers are ready to harvest when they’ve reached their mature size and color.
* How to Harvest: Use a sharp knife or scissors to cut the peppers from the plant. Be careful not to damage the plant.
* Enjoy Your Harvest: Use your fresh peppers in your favorite recipes! You can also dry or freeze them for later use.
Troubleshooting Tips
* Yellowing Leaves: Could be caused by overwatering, underwatering, nutrient deficiency, or pests. Check the soil moisture, fertilize if needed, and inspect for pests.
* Blossom Drop: This is when the flowers fall off the plant without producing fruit. It can be caused by temperature stress, lack of pollination, or nutrient deficiency. Ensure proper temperature, hand-pollinate if needed, and fertilize.
* Stunted Growth: Could be caused by lack of light, nutrient deficiency, or rootbound plants. Provide more light, fertilize, and transplant into a larger pot if necessary.
Growing peppers indoors takes a little effort, but the results are well worth it. With a little patience and care, you can enjoy fresh, spicy peppers all year round! Happy growing!
Conclusion
So, there you have it! Growing peppers indoors doesn’t have to be a daunting task. With a little patience, the right setup, and this simple DIY trick, you can enjoy a bountiful harvest of fresh, flavorful peppers right from the comfort of your own home, regardless of the season. This method is a game-changer, especially for those of us who live in climates with short growing seasons or unpredictable weather.
Why is this DIY trick a must-try? Because it simplifies the process, making it accessible to even the most novice gardeners. It addresses the common challenges of indoor pepper cultivation, such as providing adequate light and maintaining consistent temperatures. By implementing this strategy, you’re setting yourself up for success and significantly increasing your chances of a thriving pepper plant.
But don’t stop there! Feel free to experiment with different pepper varieties. From the fiery heat of habaneros to the sweet crunch of bell peppers, the possibilities are endless. You could also try different soil mixes to see what works best for your specific growing conditions. Consider adding companion plants like basil or marigolds to your indoor garden to deter pests and promote healthy growth. Another variation is to use different types of grow lights. While the suggested setup is effective, you might find that LED grow lights offer even better results in terms of energy efficiency and light spectrum.
Ultimately, the best way to learn is by doing. So, gather your supplies, follow the steps outlined, and embark on your indoor pepper-growing adventure. We’re confident that you’ll be amazed by the results.
We encourage you to try this DIY trick for growing peppers indoors and share your experiences with us! Let us know what varieties you’re growing, what challenges you encounter, and what successes you celebrate. Your feedback will not only help us improve this guide but also inspire other gardeners to give it a try. Share your photos and stories in the comments section below – we can’t wait to see your indoor pepper gardens flourish! Happy growing!
Frequently Asked Questions (FAQ)
What are the best pepper varieties to grow indoors?
Choosing the right pepper variety is crucial for indoor success. Smaller pepper plants like dwarf bell peppers, chili peppers (such as Thai or Serrano), and ornamental peppers tend to thrive indoors. These varieties are generally more compact and better suited to container gardening. However, with proper care and pruning, you can also successfully grow larger pepper varieties indoors. Just be prepared to provide them with larger pots and more support. Consider your personal preferences and the space you have available when making your selection. Remember to research the specific needs of each variety to ensure optimal growth.
How much light do indoor pepper plants need?
Light is arguably the most critical factor for growing peppers indoors. Pepper plants require at least 6-8 hours of direct sunlight per day. If you don’t have a south-facing window that provides sufficient sunlight, you’ll need to supplement with artificial grow lights. Fluorescent grow lights or LED grow lights are excellent options. Position the lights about 6-12 inches above the plants and adjust as needed to prevent burning. Observe your plants closely for signs of insufficient light, such as leggy growth or pale leaves. If you notice these symptoms, increase the light intensity or duration.
What type of soil is best for growing peppers in containers?
Well-draining soil is essential for healthy pepper plant growth. Avoid using garden soil, as it can become compacted and waterlogged in containers. Instead, opt for a high-quality potting mix specifically formulated for container gardening. A good potting mix will typically contain a blend of peat moss, perlite, and vermiculite, which provide excellent drainage and aeration. You can also amend your potting mix with compost or other organic matter to improve its nutrient content. Ensure that the soil pH is slightly acidic, around 6.0 to 6.8, for optimal pepper growth.
How often should I water my indoor pepper plants?
Watering frequency will depend on several factors, including the size of the pot, the type of soil, the temperature, and the humidity. As a general rule, water your pepper plants when the top inch of soil feels dry to the touch. Avoid overwatering, as this can lead to root rot. When you water, water thoroughly until excess water drains out of the bottom of the pot. Be sure to empty the saucer beneath the pot to prevent the plant from sitting in standing water. During the hotter months, you may need to water more frequently.
How often should I fertilize my indoor pepper plants?
Pepper plants are heavy feeders and require regular fertilization to produce a bountiful harvest. Start fertilizing your plants about two weeks after transplanting them into their final containers. Use a balanced fertilizer with an NPK ratio of 10-10-10 or 14-14-14. Follow the instructions on the fertilizer package for application rates. Fertilize every 2-3 weeks during the growing season. You can also supplement with a bloom-boosting fertilizer once your plants start to flower.
How do I pollinate my indoor pepper plants?
Pepper plants are self-pollinating, but they may need a little help when grown indoors, where there are no wind or insects to assist with pollination. You can hand-pollinate your plants by gently shaking the flowers or using a small paintbrush to transfer pollen from one flower to another. Do this during the warmest part of the day when the pollen is most viable. You can also use a fan to create a gentle breeze that will help to distribute the pollen.
What are some common pests and diseases that affect indoor pepper plants?
Indoor pepper plants are susceptible to several common pests and diseases, including aphids, spider mites, whiteflies, and fungal diseases. Regularly inspect your plants for signs of infestation or disease. If you spot any problems, take action immediately. You can treat pests with insecticidal soap or neem oil. For fungal diseases, improve air circulation and avoid overwatering. You can also use a fungicide if necessary.
How do I prune my indoor pepper plants?
Pruning can help to improve air circulation, promote bushier growth, and increase fruit production. Remove any yellowing or dead leaves. You can also prune away suckers, which are small shoots that grow from the base of the plant. Topping the plant (cutting off the top of the main stem) can encourage it to branch out and produce more flowers.
How long does it take for peppers to mature indoors?
The time it takes for peppers to mature indoors will depend on the variety and growing conditions. Generally, it takes about 60-90 days from transplanting to harvest. Be patient and allow the peppers to fully ripen on the plant for the best flavor.
Can I move my indoor pepper plants outdoors in the summer?
Yes, you can move your indoor pepper plants outdoors in the summer, but you’ll need to acclimate them gradually to prevent shock. Start by placing them in a shady spot for a few hours each day, gradually increasing the amount of sunlight they receive over a week or two. Be sure to protect them from strong winds and extreme temperatures. Bring them back indoors before the first frost.
Leave a Comment