
Grow Parsley Kitchen: Imagine stepping into your kitchen, not just to cook, but to snip fresh, vibrant parsley straight from your own little garden! Sounds dreamy, right? Well, it’s absolutely achievable, even if you think you have a black thumb. For centuries, parsley has been more than just a garnish; it’s been a symbol of spring, a medicinal herb, and a culinary staple across cultures. From ancient Greece, where it adorned victors, to modern kitchens worldwide, parsley’s versatility is undeniable.
But let’s be honest, buying fresh parsley from the store can be a gamble. Sometimes it’s wilted, sometimes it’s expensive, and sometimes you only need a tiny bit! That’s where the magic of DIY comes in. Learning how to grow parsley kitchen style is not only incredibly rewarding, but it also ensures you always have a fresh supply of this flavorful herb at your fingertips.
In this article, I’m going to share some simple, effective tricks and hacks that will transform your kitchen windowsill into a thriving parsley patch. Whether you’re a seasoned gardener or a complete beginner, these tips will help you cultivate lush, flavorful parsley with ease. Get ready to ditch those sad, store-bought bunches and embrace the joy of homegrown goodness!
Grow Your Own Parsley Paradise: A DIY Kitchen Herb Garden
Hey there, fellow plant enthusiasts! Ever dreamt of snipping fresh parsley right from your kitchen counter to sprinkle on your pasta or garnish your soup? Well, dream no more! I’m going to walk you through creating your very own parsley paradise, a DIY kitchen herb garden that’s both easy and rewarding. Get ready to have a constant supply of this vibrant herb at your fingertips!
What You’ll Need: The Parsley Powerhouse Toolkit
Before we dive in, let’s gather our supplies. Don’t worry, you probably have a lot of this stuff lying around already!
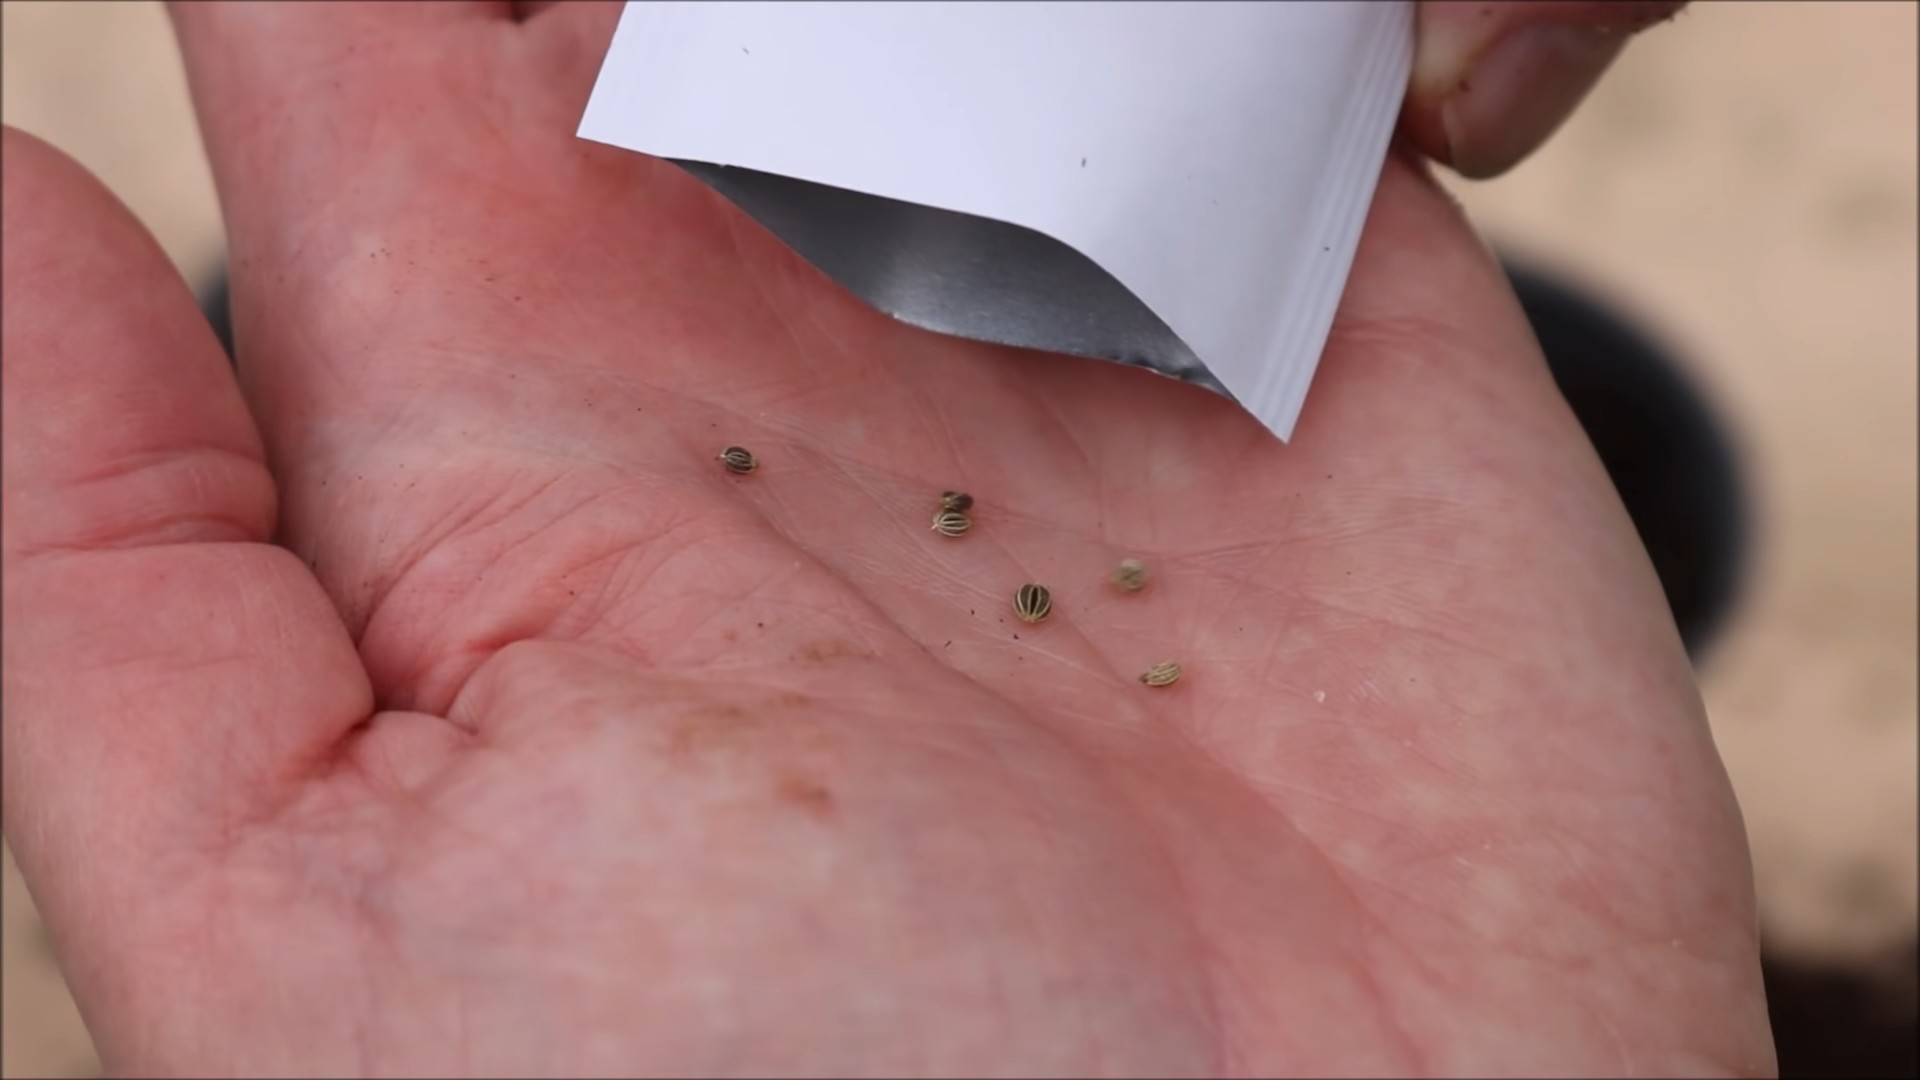
* **Parsley Seeds:** Obviously! Choose a variety you like – curly or flat-leaf are the most common. I personally love the robust flavor of Italian flat-leaf parsley.
* **Small Pots or Containers:** You can use anything from repurposed yogurt containers to cute terracotta pots. Just make sure they have drainage holes! I prefer using small terracotta pots because they look great on my windowsill.
* **Seed Starting Mix:** This is lighter and finer than regular potting soil, making it easier for delicate seedlings to sprout. You can find it at any garden center.
* **Potting Soil:** Once your seedlings are a bit bigger, you’ll need potting soil for transplanting.
* **Spray Bottle:** For gently watering your seeds and seedlings.
* **Watering Can:** For watering the mature plants.
* **Sunny Windowsill or Grow Light:** Parsley needs plenty of light to thrive.
* **Small Trowel or Spoon:** For transplanting.
* **Optional: Plant Labels:** To keep track of what you’ve planted, especially if you’re growing other herbs too!
* **Optional: Seedling Heat Mat:** This can speed up germination, but it’s not essential.
Phase 1: Starting from Seed – The Germination Game
Parsley can be a bit slow to germinate, so patience is key! Don’t get discouraged if you don’t see sprouts right away.
1. **Prepare Your Seed Starting Pots:** Fill your small pots or containers with seed starting mix, leaving about half an inch of space at the top. Gently pat the soil down to create a level surface.
2. **Sow the Seeds:** Sprinkle a few parsley seeds (3-5) on top of the soil in each pot. Parsley seeds are tiny, so don’t bury them too deep.
3. **Cover Lightly:** Sprinkle a very thin layer of seed starting mix over the seeds, just enough to cover them.
4. **Water Gently:** Use your spray bottle to mist the soil thoroughly. You want the soil to be moist but not soggy.
5. **Create a Humid Environment:** Cover the pots with plastic wrap or a clear plastic bag to create a mini-greenhouse. This will help retain moisture and speed up germination.
6. **Find a Warm Spot:** Place the pots in a warm location, ideally around 70-75°F (21-24°C). A seedling heat mat can help maintain this temperature.
7. **Be Patient!** Parsley seeds can take anywhere from 2-4 weeks to germinate. Keep the soil consistently moist by misting it regularly. Remove the plastic wrap or bag for a few hours each day to allow for air circulation and prevent mold growth.
8. **Watch for Sprouts:** Once you see tiny green sprouts emerging, remove the plastic wrap or bag completely.
Phase 2: Nurturing Your Seedlings – From Tiny Sprouts to Strong Plants
Now that your parsley seeds have sprouted, it’s time to nurture them into strong, healthy plants.
1. **Provide Plenty of Light:** Place the seedlings on a sunny windowsill that receives at least 6 hours of direct sunlight per day. If you don’t have a sunny windowsill, you can use a grow light. I’ve found that a simple LED grow light works wonders.
2. **Water Regularly:** Keep the soil consistently moist, but not waterlogged. Water when the top inch of soil feels dry to the touch. Use your spray bottle to gently water the seedlings, avoiding splashing water on the leaves.
3. **Thin the Seedlings:** Once the seedlings have developed a few sets of true leaves (the leaves that look like miniature parsley leaves), thin them out to one or two seedlings per pot. Choose the strongest, healthiest-looking seedlings and snip off the weaker ones at the soil line. This will give the remaining seedlings more room to grow.
4. **Fertilize Lightly:** After a few weeks, you can start fertilizing your seedlings with a diluted liquid fertilizer. Use a fertilizer specifically formulated for herbs or vegetables, and follow the instructions on the label. I like to use a fish emulsion fertilizer diluted to half strength.
Phase 3: Transplanting and Growing to Maturity – Moving to Bigger and Better Things
Once your seedlings have outgrown their small pots, it’s time to transplant them into larger containers.
1. **Choose Your Final Pots:** Select pots that are at least 6 inches in diameter. Make sure they have drainage holes!
2. **Prepare the Potting Soil:** Fill the larger pots with potting soil, leaving about an inch of space at the top.
3. **Gently Remove the Seedlings:** Carefully remove the seedlings from their small pots. Gently loosen the soil around the roots and lift the seedlings out. Try to keep as much of the root ball intact as possible.
4. **Transplant the Seedlings:** Make a hole in the potting soil in the larger pot that is large enough to accommodate the root ball. Place the seedling in the hole and gently backfill with potting soil.
5. **Water Thoroughly:** Water the transplanted seedlings thoroughly to help settle the soil.
6. **Provide Support (Optional):** If your parsley plants are getting tall and leggy, you can provide them with some support by inserting a small stake into the pot and tying the stems to the stake.
7. **Continue to Water and Fertilize:** Keep the soil consistently moist and fertilize regularly with a diluted liquid fertilizer.
8. **Pinch Back the Tips:** To encourage bushier growth, pinch back the tips of the stems regularly. This will also help prevent the plants from getting too leggy.
Phase 4: Harvesting and Enjoying Your Parsley – The Fruits (or Herbs!) of Your Labor
Now for the best part – harvesting and enjoying your homegrown parsley!
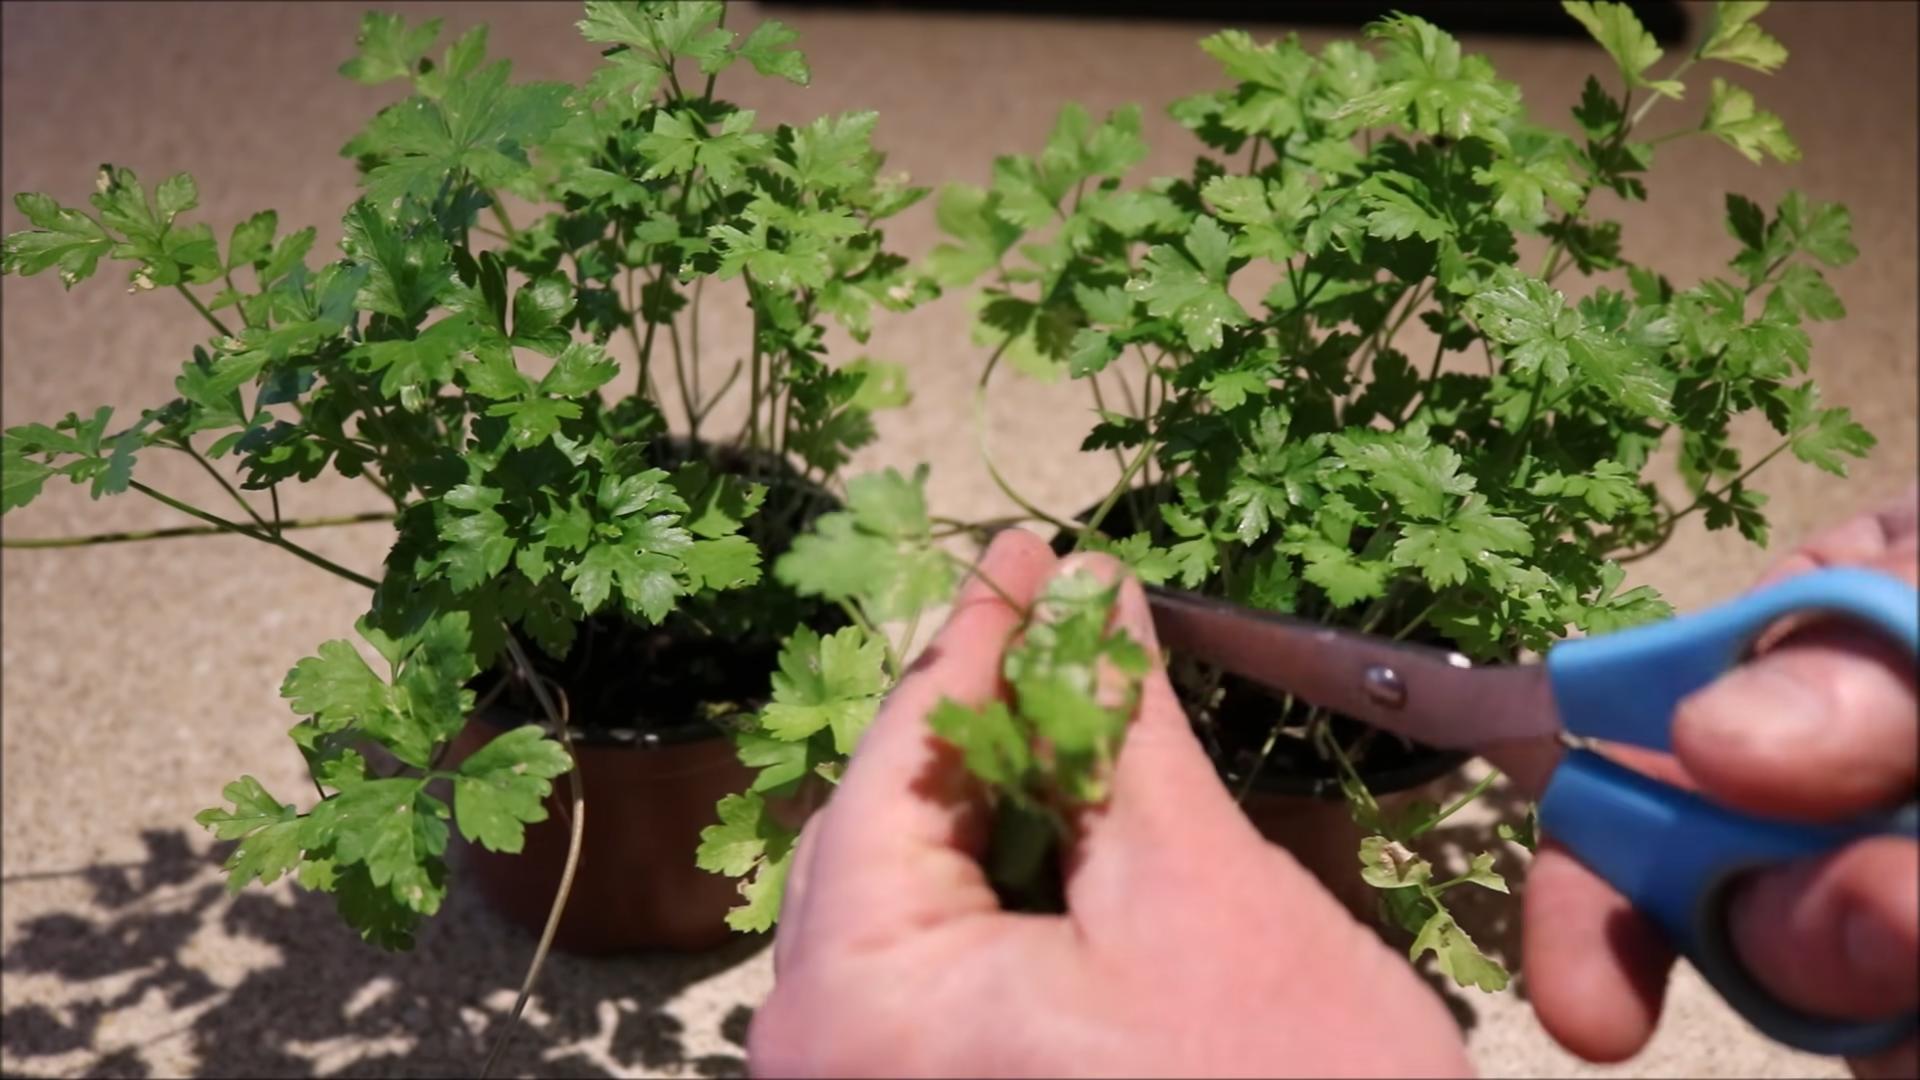
1. **Harvest Regularly:** Start harvesting your parsley once the plants are about 6 inches tall. Snip off the outer stems near the base of the plant. This will encourage new growth from the center.
2. **Harvest in the Morning:** For the best flavor, harvest your parsley in the morning after the dew has dried.
3. **Store Properly:** Freshly harvested parsley can be stored in the refrigerator for up to a week. Wrap the stems in a damp paper towel and place them in a plastic bag.
4. **Use Generously!** Add your fresh parsley to soups, salads, sauces, and countless other dishes. It’s also a great garnish!
5. **Consider Freezing or Drying:** If you have more parsley than you can use, you can freeze it or dry it for later use. To freeze parsley, chop it finely and place it in ice cube trays with water or olive oil. Once frozen, transfer the cubes to a freezer bag. To dry parsley, hang the stems upside down in a cool, dry place until they are completely dry. You can also use a dehydrator.
Troubleshooting Tips: Keeping Your Parsley Happy
Even with the best care, you might encounter a few challenges along the way. Here are some common problems and how to fix them:
* **Yellowing Leaves:** This could be a sign of overwatering, underwatering, or nutrient deficiency. Check the soil moisture and adjust your watering accordingly. If the soil is consistently moist, let it dry out a bit before watering again. If the soil is dry, water thoroughly. You may also need to fertilize your plants with a balanced fertilizer.
* **Leggy Growth:** This is usually caused by insufficient light. Move your plants to a sunnier location or provide them with a grow light. Pinch back the tips of the stems to encourage bushier growth.
* **Pests:** Parsley is generally pest-resistant, but occasionally aphids or spider mites may attack. If you notice any pests, try spraying your plants with a strong stream of water or using an insecticidal soap.
* **Slow Germination:** Parsley seeds can be slow to germinate, so be patient! Make sure the soil is consistently moist and the temperature is warm. You can also try scarifying the seeds before planting by gently rubbing them with sandpaper to break the outer coating.
And there you have it! Your very own DIY parsley kitchen herb garden. With a little patience and care, you’ll be enjoying fresh, flavorful parsley all year long. Happy gardening!
Conclusion
So, there you have it! Growing your own parsley in the kitchen isn’t just a fun project; it’s a game-changer for your culinary adventures. Forget those sad, wilted bunches from the grocery store. Imagine stepping into your kitchen and snipping fresh, vibrant parsley whenever you need it. The difference in flavor is truly remarkable – a bright, clean taste that elevates everything from simple pasta dishes to complex sauces. This DIY approach to fresh herbs is not only convenient but also incredibly rewarding.
Why is this a must-try? Because it puts you in control. You control the quality, you control the freshness, and you control the cost. No more throwing away half a bunch of parsley because it went bad before you could use it. Plus, it’s a sustainable choice, reducing your reliance on commercially grown herbs that often travel long distances.
But the best part? It’s incredibly easy! Whether you’re a seasoned gardener or a complete beginner, you can successfully grow parsley in your kitchen. And the possibilities are endless. Experiment with different varieties of parsley – flat-leaf (Italian) for its robust flavor or curly parsley for its decorative appeal. Try growing it in different containers – from repurposed mason jars to stylish ceramic pots. You can even create a mini herb garden with other kitchen staples like basil, mint, and chives.
Consider using a self-watering planter to minimize the effort required for watering. You can also supplement natural light with a grow light, especially during the darker winter months, to ensure your parsley thrives. Another variation is to start your parsley from seed indoors and then transplant it to a larger container or even your outdoor garden once the weather warms up. This gives you a head start on the growing season and allows you to enjoy fresh parsley even earlier.
This DIY grow parsley kitchen trick is a simple yet impactful way to enhance your cooking and connect with the food you eat. It’s a small step towards a more sustainable and flavorful lifestyle.
Don’t just take our word for it. We encourage you to try growing your own parsley in the kitchen. It’s a simple, satisfying, and delicious project that will transform your cooking. Once you’ve experienced the joy of fresh, homegrown parsley, you’ll never go back to store-bought again.
We’d love to hear about your experiences! Share your photos, tips, and tricks in the comments below. Let us know what varieties of parsley you’re growing, what containers you’re using, and what delicious dishes you’re creating with your homegrown herbs. Together, let’s create a community of kitchen gardeners and inspire others to embrace the joy of growing their own food. So, grab some seeds, find a sunny spot, and get ready to enjoy the freshest parsley you’ve ever tasted!
Frequently Asked Questions (FAQ)
1. What kind of parsley should I grow?
The best type of parsley to grow depends on your personal preference and how you plan to use it. Flat-leaf parsley (also known as Italian parsley) has a more robust and pronounced flavor, making it ideal for cooking and adding to sauces, soups, and stews. Curly parsley has a milder flavor and is often used as a garnish. Both varieties are easy to grow in the kitchen. Consider growing both to have options for different culinary needs. Experiment and see which one you prefer!
2. What kind of container should I use to grow parsley?
Parsley doesn’t require a fancy container. A simple pot with drainage holes will work perfectly. The size of the container should be at least 6 inches in diameter and 6 inches deep to allow the roots to grow properly. You can use terracotta pots, plastic pots, or even repurposed containers like mason jars or yogurt containers (just make sure to add drainage holes). The most important thing is to ensure good drainage to prevent root rot. Consider using a self-watering planter to simplify watering and maintain consistent moisture levels.
3. What kind of soil should I use?
Parsley thrives in well-draining, nutrient-rich soil. A good quality potting mix is ideal. You can also amend your potting mix with compost or other organic matter to improve its fertility and drainage. Avoid using garden soil, as it can be too heavy and may contain pests or diseases. Ensure the soil is loose and airy to allow the roots to breathe and grow freely.
4. How much sunlight does parsley need?
Parsley needs at least 6 hours of sunlight per day to thrive. A sunny windowsill is an ideal location. If you don’t have a sunny windowsill, you can supplement with a grow light. Place the grow light a few inches above the parsley plants and keep it on for 12-14 hours per day. Rotate the plants regularly to ensure even light exposure.
5. How often should I water parsley?
Parsley needs consistent moisture but doesn’t like to be waterlogged. Water when the top inch of soil feels dry to the touch. Avoid overwatering, as this can lead to root rot. Ensure the container has good drainage to prevent water from pooling at the bottom. During hot weather, you may need to water more frequently. Consider using a moisture meter to accurately gauge the soil’s moisture level.
6. How do I harvest parsley?
Harvest parsley by snipping off the outer stems near the base of the plant. This encourages new growth from the center. Avoid cutting off more than one-third of the plant at a time. Regular harvesting will keep your parsley plant productive and prevent it from going to seed. Use sharp scissors or pruning shears for a clean cut.
7. How do I prevent pests and diseases?
Parsley is generally pest-resistant, but it can occasionally be affected by aphids, spider mites, or whiteflies. Inspect your plants regularly for signs of pests and treat them promptly with insecticidal soap or neem oil. Good air circulation can also help prevent pest infestations. Avoid overwatering to prevent fungal diseases. If you notice any signs of disease, remove the affected leaves immediately.
8. Can I grow parsley from seed or cuttings?
You can grow parsley from seed or cuttings, but starting from seed is the most common method. Parsley seeds can be slow to germinate, so it’s best to soak them in water for 24 hours before planting. Sow the seeds directly into your container and keep the soil moist until they germinate. Growing from cuttings is possible but less reliable. Take a cutting from a healthy parsley plant and place it in water until it develops roots, then transplant it to a pot.
9. How long does it take for parsley to grow?
Parsley seeds typically take 2-3 weeks to germinate. Once the seedlings emerge, it will take another 60-90 days for them to mature and be ready for harvesting. You can start harvesting parsley leaves as soon as they are large enough to use.
10. Can I grow parsley indoors year-round?
Yes, you can grow parsley indoors year-round as long as you provide it with enough light, water, and nutrients. A sunny windowsill or a grow light is essential for indoor parsley cultivation. Regular fertilization will also help keep your plants healthy and productive. With proper care, you can enjoy fresh parsley from your kitchen garden all year long.


Leave a Comment