
Rosemary pot care might seem daunting, but trust me, it’s easier than you think! Have you ever dreamed of snipping fresh rosemary from your own garden to add that aromatic touch to your roasted chicken or homemade bread? I know I have! For centuries, rosemary has been cherished not only for its culinary uses but also for its medicinal properties and symbolic significance, representing remembrance and love in various cultures. From ancient Greece, where students wore rosemary garlands to improve memory, to modern-day kitchens, this herb has a rich and fascinating history.
But let’s face it, sometimes keeping those potted rosemary plants thriving can feel like a real challenge. They can get leggy, dry out too quickly, or just generally look sad. That’s where these simple DIY tricks and hacks come in! I’m going to share some of my favorite, tried-and-true methods for ensuring your rosemary pot care is a breeze, resulting in a lush, fragrant plant that you can enjoy for years to come. These tips will help you avoid common pitfalls, optimize your plant’s health, and unlock the full potential of your potted rosemary. Get ready to transform your rosemary from struggling to stunning!
DIY Rosemary Pot Care: From Thriving to Flourishing!
Hey there, fellow plant lovers! I’m so excited to share my secrets to keeping your rosemary plants happy and healthy in pots. Rosemary is such a fantastic herb to have around – the aroma is divine, and it’s incredibly versatile in the kitchen. But sometimes, growing it in a pot can be a little tricky. Don’t worry, though! I’ve got you covered with this comprehensive guide. Let’s get started!
Choosing the Right Pot and Soil
Before we even think about planting, let’s talk about the foundation: the pot and the soil. This is crucial for rosemary’s success.
* Pot Size Matters: Rosemary needs room to grow, so choose a pot that’s at least 12 inches in diameter. Bigger is generally better, especially if you plan on keeping your rosemary plant for several years. A larger pot also helps retain moisture better, which is important, especially during hot summer months.
* Drainage is Key: Rosemary hates soggy roots! Make sure your pot has plenty of drainage holes. If you’re using a pot without adequate drainage, you can drill some extra holes in the bottom.
* Terracotta vs. Plastic: Terracotta pots are great because they’re porous and allow the soil to breathe. However, they also dry out faster, so you’ll need to water more frequently. Plastic pots retain moisture better, but they can also lead to overwatering if you’re not careful. I personally prefer terracotta for rosemary, but plastic works just fine if you monitor the soil moisture closely.
* Soil Mix: Forget regular potting soil! Rosemary needs well-draining soil. I recommend a mix of:
* 1/3 potting soil (a good quality one!)
* 1/3 coarse sand (this helps with drainage)
* 1/3 perlite or pumice (for even better drainage and aeration)
Planting Your Rosemary
Okay, now for the fun part – planting!
1. Prepare the Pot: Place a layer of gravel or broken pottery shards at the bottom of the pot to further improve drainage. This prevents the drainage holes from getting clogged with soil.
2. Add Soil: Fill the pot about two-thirds full with your well-draining soil mix.
3. Gently Remove Rosemary: Carefully remove your rosemary plant from its nursery container. Gently loosen the roots with your fingers. If the roots are tightly bound, you can carefully tease them apart.
4. Position the Plant: Place the rosemary plant in the center of the pot, making sure the top of the root ball is level with the soil surface.
5. Fill with Soil: Fill in the remaining space around the plant with your soil mix. Gently pat down the soil to remove any air pockets.
6. Water Thoroughly: Water the plant thoroughly until water drains out of the drainage holes. This helps settle the soil and ensures the roots are properly hydrated.
Sunlight and Location
Rosemary is a sun-loving plant, so finding the right location is essential.
* Full Sun is Best: Rosemary needs at least 6-8 hours of direct sunlight per day. The more sun, the better!
* South-Facing is Ideal: If possible, place your rosemary pot in a south-facing location. This will provide the most sunlight.
* Protect from Harsh Winds: While rosemary loves sun, it doesn’t like harsh winds. Choose a location that’s sheltered from strong gusts.
* Indoor Option (with caveats): If you’re growing rosemary indoors, place it near a sunny window. You may need to supplement with a grow light, especially during the winter months. Rotate the pot regularly to ensure even growth.
Watering and Humidity
Watering is a delicate balance with rosemary. Overwatering is a common killer!
* Water Sparingly: Rosemary prefers to dry out slightly between waterings. Water only when the top inch or two of soil feels dry to the touch.
* Check the Soil: Don’t just water on a schedule. Always check the soil moisture before watering. Stick your finger into the soil to feel for moisture.
* Water Deeply: When you do water, water deeply until water drains out of the drainage holes. This ensures the roots are thoroughly hydrated.
* Avoid Overwatering: Overwatering can lead to root rot, which is fatal to rosemary. If the leaves start to turn yellow or brown, you’re likely overwatering.
* Humidity: Rosemary doesn’t need high humidity. In fact, it prefers dry conditions. Avoid misting the plant, as this can promote fungal growth.
Fertilizing Your Rosemary
Rosemary isn’t a heavy feeder, but a little fertilizer can help it thrive.
* Spring Feeding: Fertilize your rosemary plant once in the spring with a balanced, slow-release fertilizer. Follow the instructions on the fertilizer package.
* Avoid Over-Fertilizing: Over-fertilizing can lead to leggy growth and a loss of flavor. Less is more when it comes to fertilizing rosemary.
* Organic Options: If you prefer organic fertilizers, you can use compost tea or fish emulsion. Dilute these fertilizers according to the instructions on the package.
Pruning and Harvesting
Pruning is essential for keeping your rosemary plant healthy and productive.
* Regular Pruning: Prune your rosemary plant regularly to encourage bushier growth. Prune after flowering to maintain its shape.
* Harvesting: You can harvest rosemary sprigs at any time. Simply snip off the stems with clean scissors or pruning shears.
* Don’t Remove Too Much: Avoid removing more than one-third of the plant at a time. This can stress the plant.
* Shaping: Pruning also allows you to shape your rosemary plant. You can train it into a topiary or simply keep it compact and bushy.
* Deadheading: Remove any dead or dying leaves and stems to prevent disease.
Pest and Disease Control
Rosemary is generally pest-resistant, but it can occasionally be affected by certain pests and diseases.
* Aphids: Aphids are small, sap-sucking insects that can infest rosemary plants. You can control aphids by spraying them with a strong stream of water or by using insecticidal soap.
* Spider Mites: Spider mites are tiny pests that can cause yellowing and stippling of the leaves. You can control spider mites by increasing humidity around the plant or by using miticide.
* Root Rot: Root rot is a fungal disease that can occur in overwatered rosemary plants. Prevent root rot by ensuring good drainage and avoiding overwatering. If your plant develops root rot, you may need to repot it in fresh soil.
* Powdery Mildew: Powdery mildew is a fungal disease that can cause a white, powdery coating on the leaves. You can prevent powdery mildew by ensuring good air circulation around the plant and avoiding overhead watering.
Overwintering Rosemary
If you live in a cold climate, you’ll need to overwinter your rosemary plant indoors.
1. Bring Indoors Before Frost: Bring your rosemary plant indoors before the first frost.
2. Acclimatize Gradually: Gradually acclimatize the plant to indoor conditions by bringing it indoors for a few hours each day for a week or two before leaving it inside permanently.
3. Provide Sunlight: Place the plant near a sunny window or supplement with a grow light.
4. Water Sparingly: Water sparingly during the winter months, as the plant will not be actively growing.
5. Maintain Humidity: Increase humidity around the plant by placing it on a pebble tray filled with water.
6. Watch for Pests: Keep an eye out for pests, such as aphids and spider mites, which can be more common indoors.
7. Return Outdoors in Spring: In the spring, gradually acclimatize the plant to outdoor conditions before leaving it outside permanently.
Troubleshooting Common Problems
Let’s tackle some common rosemary woes!
* Yellowing Leaves: This can be caused by overwatering, underwatering, nutrient deficiency, or pest infestation. Check the soil moisture, fertilize if necessary, and inspect for pests.
* Brown Leaves: This can be caused by underwatering, sunburn, or cold damage. Adjust your watering schedule, provide shade during the hottest part of the day, and protect the plant from frost.
* Leggy Growth: This is often caused by insufficient sunlight. Move the plant to a sunnier location or supplement with a grow light. Prune regularly to encourage bushier growth.
* Lack of Flavor: This can be caused by over-fertilizing or insufficient sunlight. Reduce fertilization and ensure the plant receives plenty of sunlight.
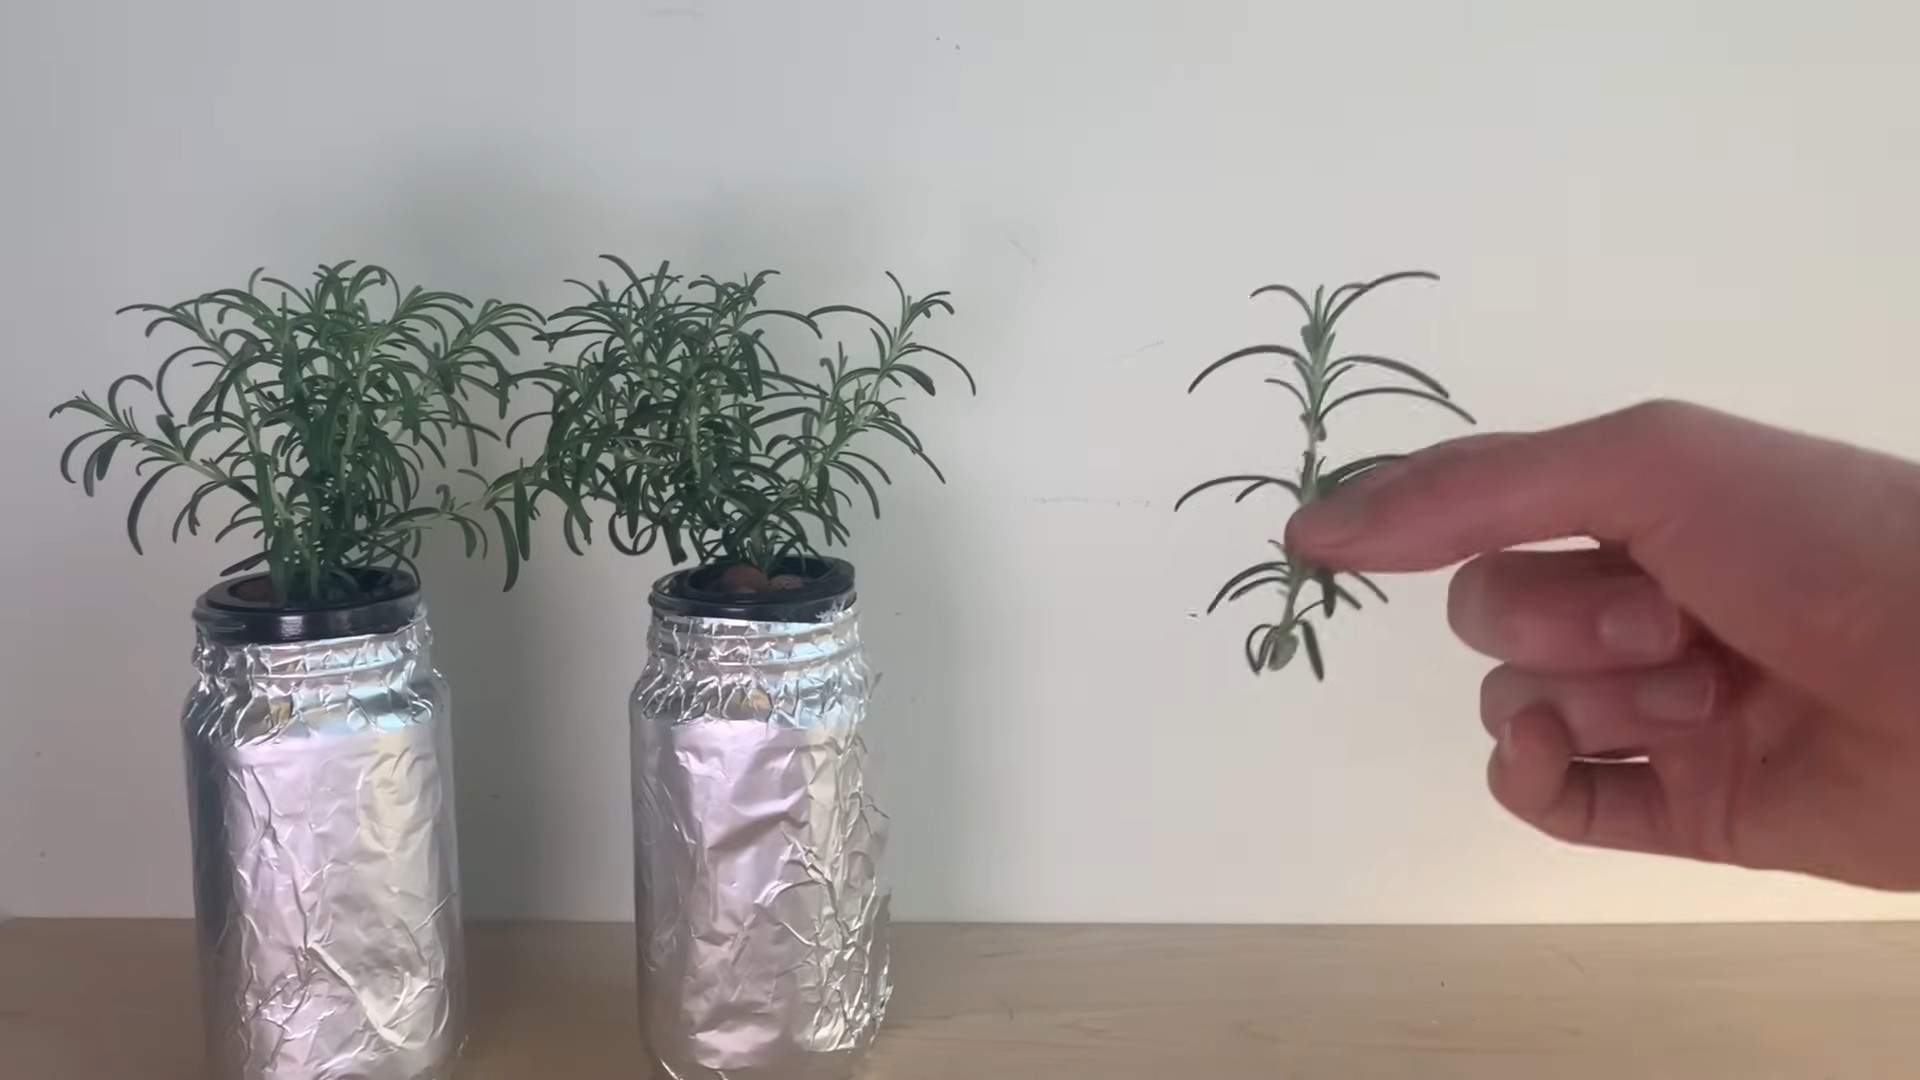
Propagating Rosemary
Want more rosemary plants? Propagation is the answer!
1. Take Cuttings: In the spring or summer, take 4-

Conclusion
So, there you have it! Mastering rosemary pot care doesn’t have to be a daunting task. By implementing these simple yet effective DIY tricks, you’re not just growing rosemary; you’re cultivating a thriving, fragrant herb that will elevate your culinary creations and bring a touch of the Mediterranean to your home. We’ve covered everything from choosing the right pot and soil to ensuring proper drainage and sunlight exposure. Remember, rosemary thrives on neglect, so avoid overwatering and let the soil dry out between waterings.
This DIY approach to rosemary pot care is a must-try for several reasons. First and foremost, it empowers you to take control of your plant’s health and well-being. You’re not relying on expensive store-bought solutions or complicated techniques. Instead, you’re using readily available resources and simple strategies to create the perfect environment for your rosemary to flourish. Secondly, it’s incredibly rewarding to see your rosemary plant thrive under your care. There’s a unique satisfaction in knowing that you’ve nurtured a living thing and helped it reach its full potential. Finally, it’s a cost-effective way to enjoy fresh rosemary year-round. No more trips to the grocery store for overpriced sprigs – you’ll have a constant supply right at your fingertips.
But don’t stop there! Feel free to experiment with different variations to personalize your rosemary pot care routine. For instance, try adding a layer of gravel to the bottom of your pot to further improve drainage. Or, consider using a terracotta pot, which is naturally porous and helps to wick away excess moisture. You can also experiment with different types of soil mixes to find the one that works best for your rosemary plant. Some gardeners swear by adding a bit of perlite or vermiculite to their soil mix to improve aeration and drainage. Others prefer to use a slightly acidic soil mix, as rosemary prefers a pH between 6.0 and 7.0.
Another variation to consider is the type of fertilizer you use. While rosemary doesn’t require heavy fertilization, a light feeding every few months can help to promote healthy growth. Opt for a balanced fertilizer with equal parts nitrogen, phosphorus, and potassium. You can also use a liquid seaweed fertilizer, which is a natural and gentle way to nourish your rosemary plant. Remember to dilute the fertilizer according to the package instructions to avoid burning the roots.
Furthermore, consider the location of your rosemary pot. While rosemary loves sunlight, it can also benefit from some afternoon shade, especially in hot climates. Experiment with different locations to find the spot where your rosemary plant thrives the most. You can also rotate your pot regularly to ensure that all sides of the plant receive equal sunlight exposure.
We are confident that with these DIY tricks, you’ll be well on your way to growing a healthy and vibrant rosemary plant. So, go ahead and give it a try! We encourage you to embrace the process, experiment with different techniques, and most importantly, have fun.
Once you’ve tried these DIY tricks, we’d love to hear about your experience. Share your tips, successes, and challenges in the comments section below. Let’s create a community of rosemary enthusiasts who can learn from each other and inspire others to grow their own herbs. Your insights could be invaluable to someone who’s just starting out, and together, we can help everyone achieve rosemary pot care success! Don’t forget to share photos of your thriving rosemary plants – we can’t wait to see them!
Frequently Asked Questions (FAQ)
What kind of pot is best for rosemary?
The best pot for rosemary is one that provides excellent drainage. Terracotta pots are a great choice because they are porous and allow excess moisture to evaporate. Plastic pots can also work, but make sure they have plenty of drainage holes. The size of the pot should be appropriate for the size of the plant. A young rosemary plant can start in a smaller pot (6-8 inches in diameter), but as it grows, you’ll need to transplant it to a larger pot (10-12 inches or more). Ensure the pot is wide enough to accommodate the root system and allow for future growth.
How often should I water my potted rosemary?
Overwatering is a common mistake when caring for rosemary. Rosemary prefers to dry out between waterings. A good rule of thumb is to water deeply when the top inch or two of soil feels dry to the touch. During the growing season (spring and summer), you may need to water more frequently than in the dormant season (fall and winter). Always check the soil moisture before watering to avoid overwatering. The frequency will also depend on the climate, pot material, and the plant’s size.
What kind of soil is best for rosemary?
Rosemary thrives in well-draining soil. A sandy or loamy soil mix is ideal. You can create your own mix by combining potting soil, perlite, and sand. Avoid using heavy clay soils, as they retain too much moisture and can lead to root rot. A slightly acidic to neutral pH (6.0-7.0) is preferred. Adding compost to the soil mix can also provide essential nutrients and improve drainage.
How much sunlight does rosemary need?
Rosemary needs at least 6-8 hours of sunlight per day to thrive. Place your potted rosemary in a sunny location, such as a south-facing window or a sunny patio. If you live in a hot climate, some afternoon shade can be beneficial to prevent the plant from getting scorched. Insufficient sunlight can lead to leggy growth and reduced flowering.
Do I need to fertilize my rosemary plant?
Rosemary is not a heavy feeder, but a light feeding every few months can help to promote healthy growth. Use a balanced fertilizer (10-10-10) or a liquid seaweed fertilizer. Dilute the fertilizer according to the package instructions to avoid burning the roots. Avoid over-fertilizing, as this can lead to excessive foliage growth at the expense of flowering.
How do I prune my rosemary plant?
Pruning is essential for maintaining the shape and health of your rosemary plant. Prune regularly to encourage bushier growth and prevent the plant from becoming leggy. The best time to prune is after flowering. Use sharp, clean pruning shears to avoid damaging the plant. Remove any dead, damaged, or diseased branches. You can also prune to shape the plant and control its size. Avoid removing more than one-third of the plant at a time.
Can I grow rosemary indoors?
Yes, you can grow rosemary indoors, but it requires bright light and good air circulation. Place your potted rosemary near a sunny window and provide supplemental lighting if necessary. Ensure the plant has adequate ventilation to prevent fungal diseases. Monitor the soil moisture carefully and avoid overwatering.
How do I protect my rosemary plant from pests and diseases?
Rosemary is generally resistant to pests and diseases, but it can be susceptible to aphids, spider mites, and root rot. Inspect your plant regularly for signs of infestation or disease. If you notice any pests, treat them with insecticidal soap or neem oil. To prevent root rot, ensure the plant has good drainage and avoid overwatering.
My rosemary plant is turning brown. What should I do?
Browning leaves can be a sign of several problems, including overwatering, underwatering, nutrient deficiency, or pest infestation. Check the soil moisture to determine if you are watering too much or too little. If the soil is dry, water deeply. If the soil is soggy, allow it to dry out before watering again. Inspect the plant for pests and treat them accordingly. If the browning is due to nutrient deficiency, fertilize the plant with a balanced fertilizer.
How do I propagate rosemary from cuttings?
Propagating rosemary from cuttings is a relatively easy way to create new plants. Take cuttings from healthy, non-flowering stems in the spring or summer. Remove the lower leaves and dip the cut end in rooting hormone. Plant the cuttings in a well-draining potting mix and keep them moist. Place the cuttings in a warm, bright location and wait for them to root. Once the cuttings have rooted, you can transplant them into individual pots.


Leave a Comment