
Grow Sage at Home with these simple, yet effective DIY tricks! Have you ever dreamed of stepping into your backyard and snipping fresh sage for your favorite dishes? Or perhaps you’re drawn to the herb’s rich history and its use in traditional medicine? Well, you’re in the right place! For centuries, sage has been revered not only for its culinary prowess but also for its purported healing properties, dating back to ancient Roman times where it was considered a sacred herb.
But let’s be honest, sometimes gardening feels more like a chore than a joy, right? That’s where these DIY hacks come in. I’m going to share some of my favorite tips and tricks to help you grow sage at home successfully, even if you don’t have a green thumb. From choosing the right container to understanding the perfect watering schedule, we’ll cover everything you need to know.
Why do you need these DIY tricks? Because store-bought herbs can be expensive and often lack the vibrant flavor of homegrown sage. Plus, there’s something incredibly satisfying about nurturing a plant from seed to harvest. So, let’s ditch the grocery store herbs and embark on this exciting journey of growing your own sage! Get ready to transform your space into a fragrant and flourishing herb garden.
Growing Sage at Home: Your Comprehensive DIY Guide
Hello plant friends! Have you ever wondered how you can easily grow the aromatic and versatile sage you love to use for cooking and your DIY remedies yourself? Well, I have good news: it’s easier than you think! In this article, I’ll show you step-by-step how to grow your own sage at home, whether you have a garden, a balcony, or just a sunny windowsill. Let’s get started!
What You’ll Need
Before we begin, here is a list of the things you’ll need for your sage-growing project:
- Sage seeds or sage cuttings (I recommend starting with cuttings as they grow faster)
- Starter pots or small pots
- High-quality potting soil (well-draining is important!)
- A larger pot (if you start with starter pots) or a garden bed
- Garden shears or a sharp knife
- Rooting hormone (optional, but it really helps!)
- Watering can or spray bottle
- A sunny location (at least 6 hours of sun per day)
Growing Sage from Seed
If you decide to grow from seed, note that it will take a bit longer before you can harvest. But don’t worry, it’s still very doable!
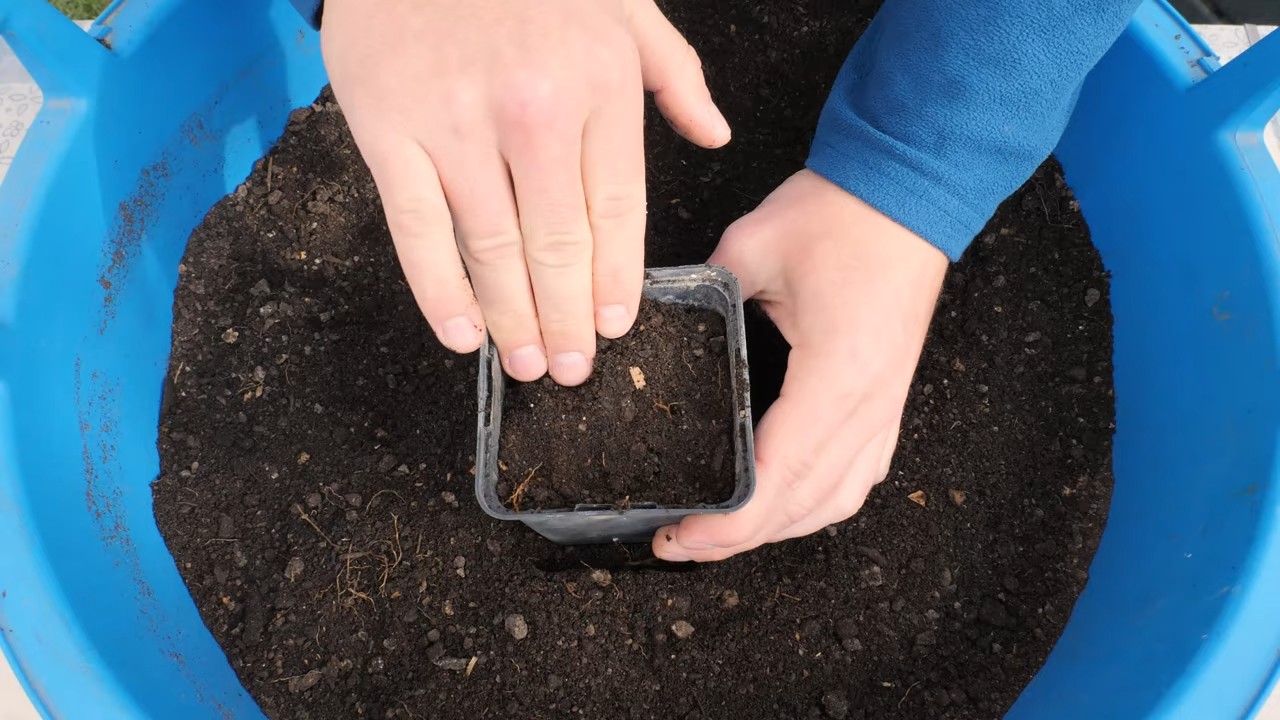
- Prepare the seeds: Fill your starter pots with potting soil. Moisten the soil lightly, but not too wet.
- Sowing: Sprinkle the sage seeds evenly over the surface of the soil. Press them down lightly, but do not cover them completely with soil, as sage needs light to germinate.
- Retain moisture: Gently spray the surface of the soil with water to keep it moist. You can also cover the pots with plastic wrap to increase humidity. Remember to briefly ventilate the wrap daily to prevent mold.
- Germination: Place the pots in a warm, sunny location. The seeds should germinate within 10-21 days.
- Pricking out: Once the seedlings are large enough to handle (about 5-7 cm / 2-3 inches high), you can transplant them into larger pots or directly into the garden bed. Be careful not to damage the roots.
Growing Sage from Cuttings
Growing sage from cuttings is, in my opinion, the easiest and fastest method. Here’s how:
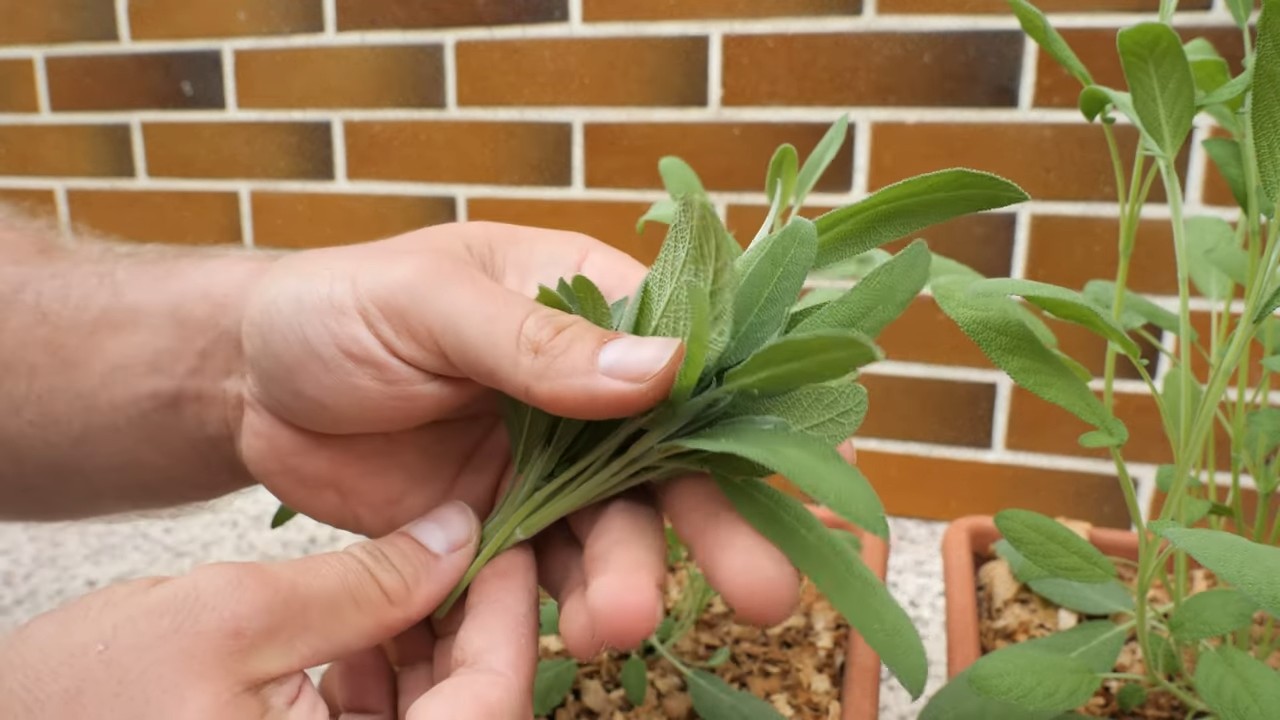
- Take cuttings: Choose a healthy sage plant and cut 10-15 cm (4-6 inch) long cuttings with clean garden shears or a sharp knife. Cut directly below a leaf node.
- Remove leaves: Remove the lower leaves of the cutting, so that about 5-7 cm (2-3 inches) of the stem is leaf-free.
- Rooting hormone (optional): Dip the lower end of the cutting in rooting hormone. This promotes root formation.
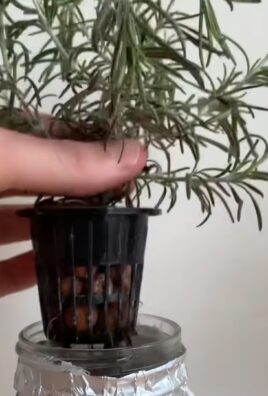
- Planting: Stick the cuttings into starter pots filled with moist potting soil. Make sure the leafless parts of the stem are under the soil.
- Retain moisture: Spray the cuttings with water and cover the pots with plastic wrap to increase humidity. Ventilate the wrap daily.
- Root formation: Place the pots in a warm, bright place, but avoid direct sunlight. The cuttings should form roots within 2-4 weeks. You can gently tug on the cuttings to check if they have rooted. If they offer resistance, they have taken root.
Transplanting and Care
Once your sage seedlings or cuttings are strong enough, it’s time to transplant them.
- Choose a location: Sage loves the sun! Choose a location that gets at least 6 hours of sun per day. The soil should be well-draining.
- Prepare the soil: Loosen the soil and mix in compost or other organic materials to improve drainage and nutrient supply.
- Transplanting: Dig a hole that is slightly larger than the plant’s root ball. Carefully place the plant in the hole and fill it with soil. Press the soil down lightly.
- Watering: Water the plant thoroughly after you have transplanted it.
- Watering schedule: Sage is relatively drought-resistant, so you don’t need to water it too often. Water when the top layer of soil feels dry. Avoid waterlogging, as this can lead to root rot.
- Fertilizing: Sage doesn’t need much fertilizer. You can fertilize it once in the spring with an organic fertilizer to promote growth.
- Pruning: Regular pruning promotes growth and prevents the plant from becoming too woody. Regularly trim the tips of the shoots in spring and summer. You can also remove spent flowers to encourage the formation of new leaves.
- Overwintering: Sage is generally hardy, but in very cold regions, it can be beneficial to cover the plants with mulch to protect them from frost. If you grow sage in pots, you can move the pots to a sheltered location in winter.
Harvesting and Using
The best part of growing sage is, of course, the harvest!
- Harvest time: You can harvest sage all year round, but the best time is in the morning after the dew has dried. That’s when the essential oils are most concentrated.
- Harvesting technique: Cut the leaves with clean scissors or a knife. You can harvest individual leaves or entire shoots.
- Use: Fresh sage is delicious in many dishes, such as pasta, soups, meat dishes, and stuffings. You can also dry it to make it last longer. Hang the cut shoots in a dry, airy place or use a food dehydrator. Dried sage can be stored in an airtight container.
Common Problems and Solutions
Problems can also arise when growing sage. Here are some common problems and how you can solve them:
- Yellow leaves: This can be a sign of overwatering or a nutrient deficiency. Reduce watering and fertilize the plant if necessary.
- Mold: Mold can be caused by excessive humidity. Ensure good ventilation and avoid wetting the leaves.
- Pests: Sage is relatively resistant to pests, but occasionally aphids or spider mites may appear. Spray the plant with a mild soap solution to combat the pests.
Variety
There are many different sage varieties, each with its own unique characteristics. Here are some popular varieties:
Pineapple Sage (Salvia elegans): A variety with a sweet, pineapple-like scent.
Common Sage (Salvia officinalis): The most commonly grown variety with a strong, aromatic flavor.
Purple Sage (Salvia officinalis ‘Purpurascens’): An attractive variety with purple leaves.
Golden Sage (Salvia officinalis ‘Aurea’): A variety with golden-yellow leaves.
Conclusion
So, there you have it! Growing sage at home is not only achievable but also incredibly rewarding. From the vibrant aroma that fills your kitchen to the fresh, flavorful leaves that elevate your culinary creations, the benefits are undeniable. This DIY trick transcends mere gardening; it’s about connecting with nature, fostering sustainability, and adding a touch of homegrown goodness to your everyday life.
Why is this a must-try? Because store-bought sage, while convenient, often lacks the intense flavor and freshness of homegrown herbs. Plus, you have complete control over the growing process, ensuring your sage is free from harmful pesticides and chemicals. Imagine the satisfaction of snipping fresh sage leaves just moments before adding them to your favorite dishes – the difference in taste is truly remarkable.
But the beauty of growing sage at home lies in its versatility. Feel free to experiment with different varieties of sage, such as purple sage, golden sage, or tricolor sage, each offering its unique flavor profile and visual appeal. Consider planting your sage in decorative pots to add a touch of greenery to your patio or balcony. You can even dry your homegrown sage to preserve its flavor for year-round use. Simply hang bunches of sage upside down in a cool, dry place until the leaves are brittle, then crumble them into an airtight container.
Don’t be intimidated if you’re new to gardening. Sage is a relatively low-maintenance herb, making it perfect for beginners. With a little sunlight, well-drained soil, and regular watering, you’ll be harvesting your own fresh sage in no time. And remember, even a small pot of sage on your windowsill can make a big difference in your cooking.
We wholeheartedly encourage you to give this DIY trick a try. Embrace the joy of growing your own herbs and experience the unparalleled flavor of fresh, homegrown sage. We are confident that you’ll be amazed by the results.
And most importantly, we want to hear about your experience! Share your tips, tricks, and photos of your homegrown sage on social media using #HomegrownSage and #DIYHerbs. Let’s create a community of herb enthusiasts and inspire others to discover the joys of growing their own food. What are you waiting for? Get your hands dirty and start growing sage at home today! You won’t regret it.
Frequently Asked Questions (FAQ)
What kind of soil is best for growing sage?
Sage thrives in well-drained soil with a slightly alkaline pH (around 6.0 to 7.0). A mixture of potting soil, perlite, and compost works well. Perlite helps with drainage, while compost provides essential nutrients. Avoid heavy clay soils, as they can retain too much moisture and lead to root rot. If you have clay soil, amend it with plenty of organic matter, such as compost or aged manure, to improve drainage. You can also raise the planting bed to further enhance drainage.
How much sunlight does sage need?
Sage needs at least 6-8 hours of direct sunlight per day to thrive. Choose a sunny location in your garden or on your patio where your sage plant will receive ample sunlight. If you’re growing sage indoors, place it near a south-facing window where it can get the most sunlight. If you don’t have enough natural light, you can supplement with grow lights. Rotate your sage plant regularly to ensure even growth on all sides.
How often should I water my sage plant?
Water your sage plant when the top inch of soil feels dry to the touch. Avoid overwatering, as this can lead to root rot. Sage prefers slightly dry conditions. During hot, dry weather, you may need to water more frequently. When watering, water deeply, allowing the water to soak into the soil. Avoid getting the leaves wet, as this can promote fungal diseases. In the winter, reduce watering frequency as the plant’s growth slows down.
How do I harvest sage leaves?
You can start harvesting sage leaves once the plant is established and has several sets of leaves. To harvest, simply snip off the leaves with scissors or pruning shears. Avoid removing more than one-third of the plant at a time, as this can stress the plant. Harvest in the morning, after the dew has dried, for the best flavor. You can use the fresh sage leaves immediately or dry them for later use.
Can I grow sage indoors?
Yes, you can definitely grow sage indoors. Choose a pot that is at least 6 inches in diameter and has drainage holes. Use a well-draining potting mix and place the pot in a sunny location, such as a south-facing window. Water regularly, allowing the soil to dry out slightly between waterings. You may need to supplement with grow lights if you don’t have enough natural light. Prune your sage plant regularly to encourage bushier growth.
How do I propagate sage?
Sage can be propagated from seeds, cuttings, or layering. The easiest method is to propagate from cuttings. Take a 4-6 inch cutting from a healthy sage plant, removing the lower leaves. Dip the cut end in rooting hormone and plant it in a pot filled with well-draining potting mix. Keep the soil moist and place the pot in a warm, bright location. Roots should develop in a few weeks. Once the cutting has rooted, you can transplant it into a larger pot or into the garden.
What are some common problems with growing sage?
Some common problems with growing sage include root rot, powdery mildew, and spider mites. Root rot is caused by overwatering, so be sure to water your sage plant only when the top inch of soil feels dry. Powdery mildew is a fungal disease that can occur in humid conditions. To prevent powdery mildew, provide good air circulation around your sage plant and avoid getting the leaves wet when watering. Spider mites are tiny pests that can suck the sap from sage leaves. To control spider mites, spray your sage plant with insecticidal soap or neem oil.
Can I grow different varieties of sage together?
Yes, you can grow different varieties of sage together, but keep in mind that they may cross-pollinate, which could result in offspring with different characteristics than the parent plants. If you want to maintain the purity of each variety, it’s best to grow them separately. However, if you’re not concerned about cross-pollination, you can grow them together in the same garden bed or container.
How do I dry sage leaves?
To dry sage leaves, harvest them in the morning after the dew has dried. Tie the stems together with twine and hang them upside down in a cool, dry, well-ventilated place. You can also dry sage leaves in a dehydrator or in the oven on low heat. Once the leaves are completely dry and brittle, crumble them into an airtight container and store them in a cool, dark place. Dried sage leaves will retain their flavor for up to a year.
Is sage a perennial or annual?
Sage is a perennial herb, meaning it will live for more than two years. In colder climates, sage may die back in the winter, but it will regrow in the spring. In warmer climates, sage can remain evergreen throughout the year. To prolong the life of your sage plant, prune it regularly to remove dead or woody stems. You can also fertilize your sage plant in the spring with a balanced fertilizer.

Leave a Comment