
Clean Oven Baking Soda Vinegar: Sounds like a science experiment, right? Well, in a way, it is! But trust me, this isn’t some complicated chemistry lesson. It’s your secret weapon to a sparkling clean oven, and I’m here to show you how to wield it like a pro.
For generations, baking soda and vinegar have been household staples, not just for baking and cooking, but also for their incredible cleaning power. Think about it – our grandmothers probably used these very ingredients to keep their ovens spotless! Before the age of harsh chemicals and fancy cleaning products, these natural solutions were the go-to for tackling tough grime.
Let’s be honest, cleaning the oven is probably on everyone’s list of least favorite chores. It’s messy, time-consuming, and often involves breathing in fumes from harsh chemicals. But what if I told you there’s a better way? A way that’s not only effective but also eco-friendly and budget-friendly? That’s where this clean oven baking soda vinegar DIY trick comes in. You’ll save money, avoid harsh chemicals, and feel good about using natural ingredients. Plus, the satisfaction of seeing that baked-on gunk disappear is seriously rewarding! So, ditch the elbow grease and let’s get started on this simple, yet powerful, cleaning method. I promise, you’ll never look at oven cleaning the same way again!
DIY Oven Cleaning with Baking Soda and Vinegar: A Sparkling Clean Oven Awaits!
Okay, let’s face it, cleaning the oven is probably on everyone’s list of least favorite chores. But a clean oven is a happy oven (and makes for better-tasting food!), so let’s tackle this together. I’m going to walk you through a super effective, all-natural method using just baking soda and vinegar. Trust me, it’s easier than you think, and you’ll be amazed at the results!
What You’ll Need:
* Baking Soda
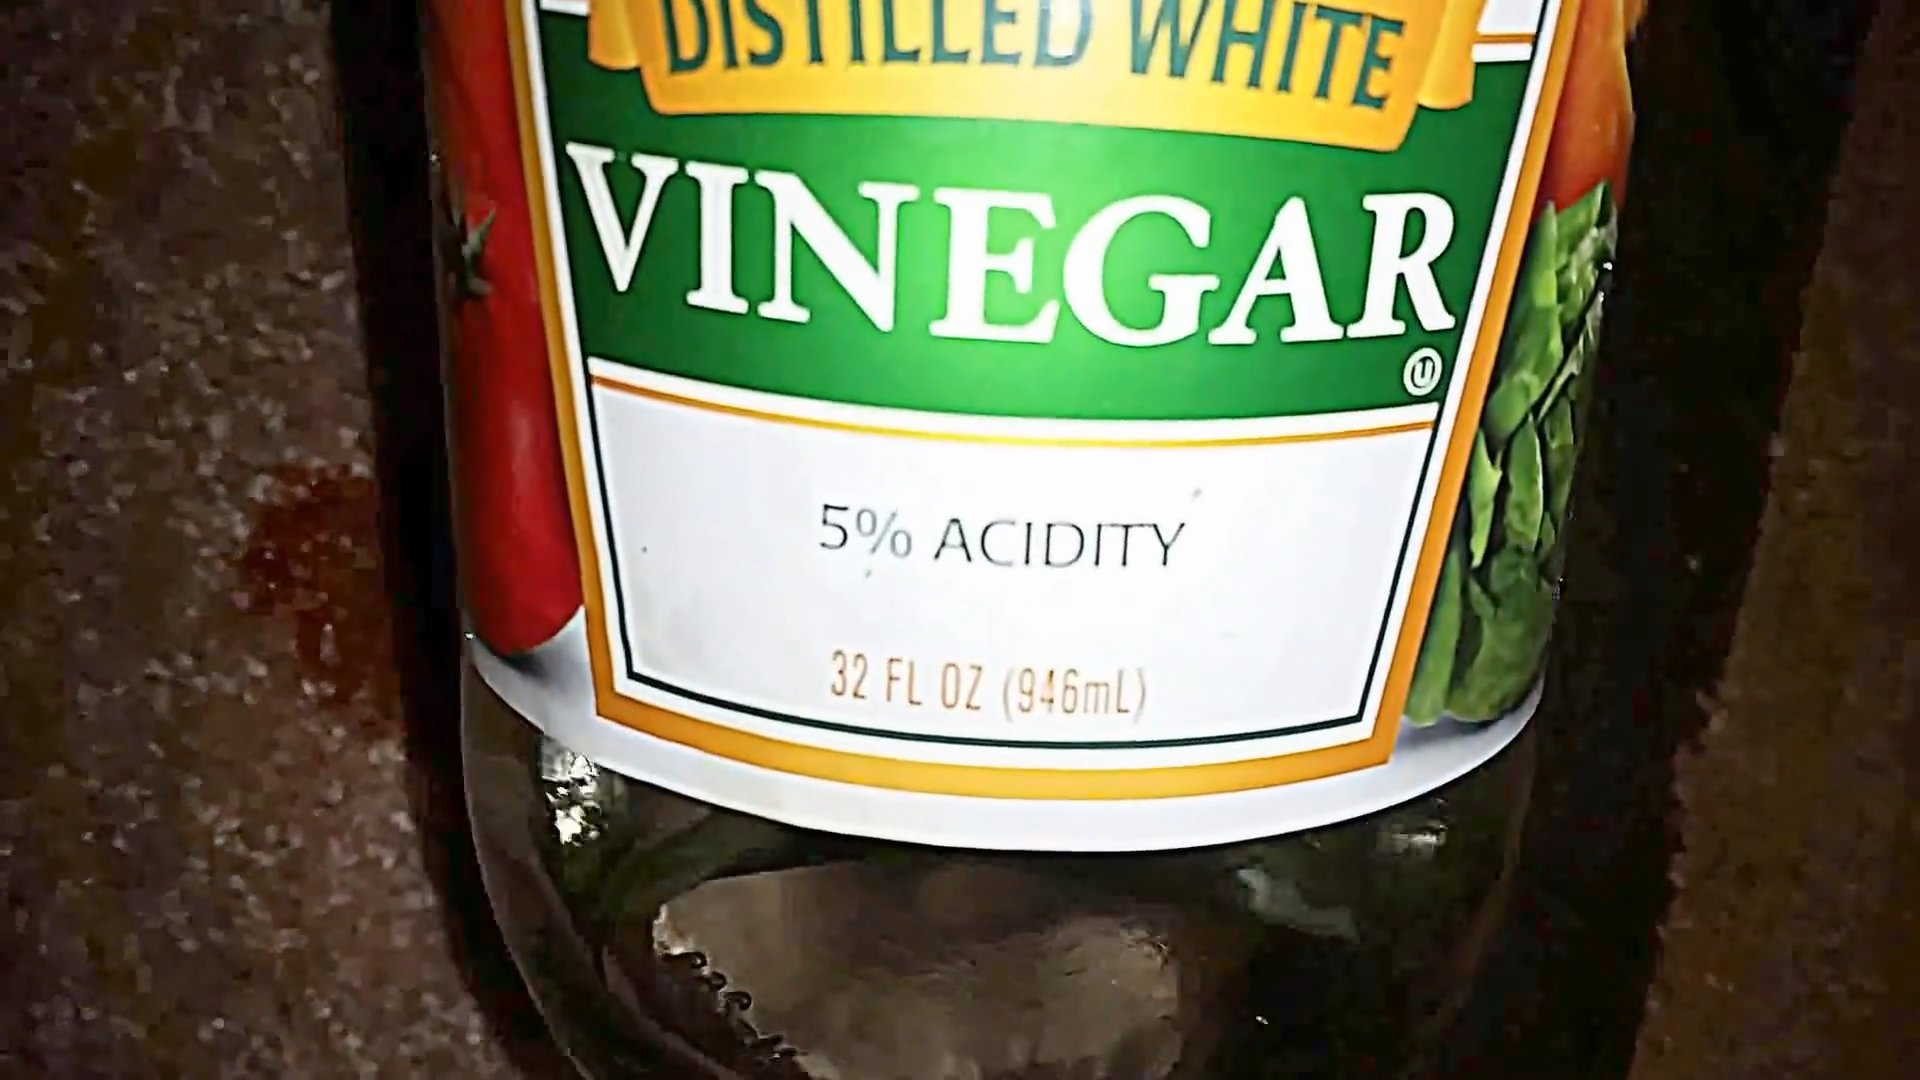
* White Vinegar
* Water
* Spray Bottle
* Spatula or Scraper (plastic is best to avoid scratching)
* Rubber Gloves (optional, but recommended)
* Sponge or Cloth
* Paper Towels (for final wipe-down)
* Old Towels or Newspaper (to protect your floor)
Getting Started: Prep Work is Key!
Before we dive into the cleaning process, let’s get everything prepped and ready. This will make the whole experience smoother and more efficient.
1. Safety First: Turn off your oven and let it cool completely. Seriously, don’t skip this step! We don’t want any burns.
2. Empty the Oven: Remove everything from inside the oven, including racks, baking stones, thermometers, and anything else you might have stored in there.
3. Protect Your Floor: Lay down old towels or newspaper around the base of the oven. This will catch any drips or spills and save you from extra cleanup later.
4. Rack Removal and Soak: Take out the oven racks. I like to soak mine in the bathtub or a large utility sink filled with hot, soapy water. You can add a cup of baking soda to the water for extra cleaning power. Let them soak while we work on the inside of the oven. This will loosen up all that baked-on gunk.
Making the Baking Soda Paste: The Magic Ingredient
This baking soda paste is the star of the show. It’s what’s going to break down all that stubborn grease and grime.
1. Mix it Up: In a bowl, mix together 1/2 cup of baking soda with enough water to form a spreadable paste. You’re looking for a consistency similar to frosting. Add water gradually, a tablespoon at a time, until you get the right texture.
2. Adjust as Needed: If your paste is too runny, add a little more baking soda. If it’s too thick, add a little more water.
Applying the Baking Soda Paste: Get Ready to Get Your Hands Dirty!
Now comes the fun part – applying the baking soda paste to the inside of your oven.
1. Glove Up (Optional): Put on your rubber gloves if you prefer to protect your hands.
2. Spread the Paste: Using your hands or a spatula, spread the baking soda paste all over the interior surfaces of your oven. This includes the walls, floor, door, and even the inside of the glass door.
3. Avoid the Heating Elements: Be careful to avoid the heating elements. You don’t want to get the paste on them.
4. Thick Coating: Apply a thick, even coating of the paste. Don’t be shy! The more paste you use, the better it will work.
5. Stubborn Spots: For particularly stubborn spots, apply an extra thick layer of paste.
6. Let it Sit: Now, the most important part: let the baking soda paste sit for at least 12 hours, or even overnight. This gives the baking soda time to work its magic and break down all that baked-on grime. The longer it sits, the easier it will be to clean. I usually do this before I go to bed and then tackle the cleanup in the morning.
Cleaning the Oven Racks: While the Paste Works its Magic
While the baking soda paste is doing its thing inside the oven, let’s tackle those racks.
1. Scrub-a-dub-dub: After the racks have soaked for a few hours (or overnight, if you’re really ambitious), use a scrub brush or sponge to scrub away the loosened grime.
2. Stubborn Spots: For any stubborn spots that remain, you can make a paste of baking soda and water and apply it directly to the spots. Let it sit for a few minutes, then scrub again.
3. Rinse Thoroughly: Rinse the racks thoroughly with clean water to remove all traces of soap and baking soda.
4. Dry Completely: Dry the racks completely with a clean towel before putting them back in the oven.
The Vinegar Spray: Activating the Cleaning Power
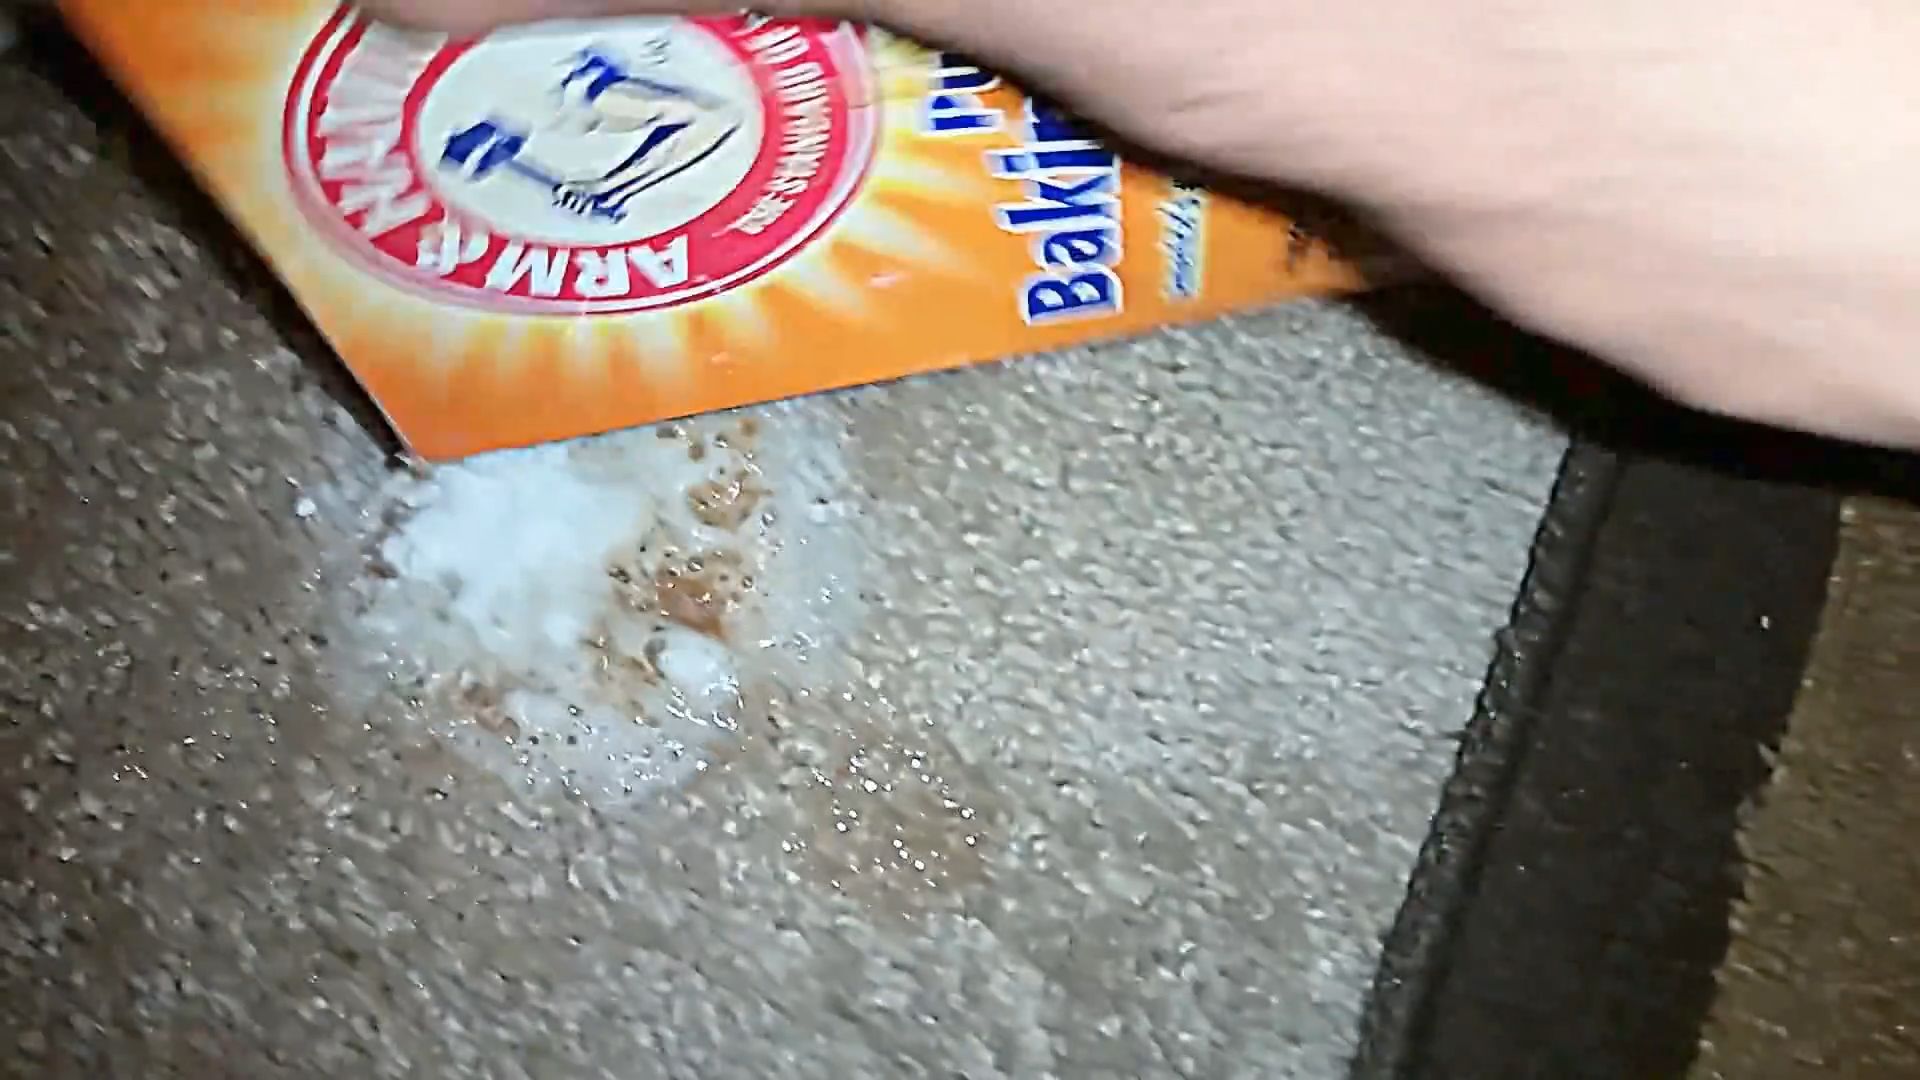
After the baking soda paste has sat for at least 12 hours, it’s time to bring in the vinegar! The vinegar will react with the baking soda, creating a fizzing action that helps to loosen even more grime.
1. Fill Your Spray Bottle: Fill your spray bottle with white vinegar.
2. Spray the Paste: Generously spray the baking soda paste with vinegar. You’ll see it start to fizz and bubble. This is a good thing!
3. Let it Fizz: Let the vinegar sit for a few minutes to allow the fizzing action to work its magic.
Wiping it All Away: The Final Stretch!
Now for the final step: wiping away all that grime and revealing your sparkling clean oven.
1. Wipe Away the Paste: Using a damp sponge or cloth, wipe away the baking soda and vinegar mixture. You may need to use a little elbow grease for some of the more stubborn spots.
2. Use a Spatula: For any particularly stubborn areas, use a plastic spatula or scraper to gently scrape away the grime. Be careful not to scratch the oven surface.
3. Rinse and Repeat: Rinse your sponge or cloth frequently with clean water. You may need to wipe down the oven several times to remove all traces of baking soda and vinegar.
4. Check for Residue: Pay close attention to corners and crevices, as these are often areas where residue can build up.
5. Final Wipe-Down: Once you’ve removed all the baking soda and vinegar, give the oven a final wipe-down with a clean, damp cloth.
6. Dry Thoroughly: Dry the oven thoroughly with paper towels or a clean, dry cloth. This will help to prevent any water spots.
Cleaning the Oven Door Glass: See Clearly Again!
Don’t forget about the oven door glass! This can often be the dirtiest part of the oven.
1. Apply Baking Soda Paste: Apply a thin layer of baking soda paste to the inside of the oven door glass.
2. Let it Sit: Let the paste sit for about 30 minutes.
3. Wipe Clean: Wipe away the paste with a damp sponge or cloth.
4. Vinegar Spray (Optional): If there are any stubborn spots, you can spray the glass with vinegar and let it sit for a few minutes before wiping clean.
5. Dry Thoroughly: Dry the glass thoroughly with a clean cloth or paper towels.
Putting it All Back Together: The Finishing Touches
Almost there! Now it’s time to put everything back in its place.
1. Replace the Racks: Once the oven is completely dry, replace the oven racks.
2. Double-Check: Give the oven one last look to make sure you haven’t missed any spots.
3. Low-Heat Test (Optional): If you’re concerned about any lingering odors, you can turn the oven on to a low temperature (around 200 degrees Fahrenheit) for about 15-20 minutes. This will help to burn off any remaining residue. Keep a close eye on it and make sure there’s no smoke.
Tips and Tricks for a Sparkling Clean Oven:
* Regular Cleaning: The best way to keep your oven clean is to clean it regularly. Try to wipe up any spills or splatters as soon as they happen.
* Baking Soda Paste Consistency: The consistency of the baking soda paste is important. You want it to be thick enough to stick to the oven surfaces, but not so thick that it’s difficult to spread.
* Ventilation: Make sure to ventilate your kitchen well while you’re cleaning the oven. Open a window or turn on the exhaust fan.
* Stubborn Stains: For extremely stubborn stains, you can try using a razor blade scraper (very carefully!) to gently scrape away the grime. Be sure to hold the scraper at a shallow angle to avoid scratching the oven surface.
* Prevention: Use oven liners or baking sheets to catch spills and splatters and prevent them from baking onto the oven floor.
Enjoy Your Sparkling Clean Oven!
And there you have it! A sparkling clean
Conclusion
So, there you have it! Growing strawberries at home, especially using our simple DIY trick, is not just a gardening project; it’s an investment in fresh, flavorful, and healthy eating. Forget those bland, store-bought berries that lack the vibrant taste of sunshine and homegrown goodness. With a little effort and our easy-to-follow method, you can transform your balcony, patio, or garden into a miniature strawberry farm, bursting with juicy, red jewels.
Why is this DIY trick a must-try? Because it simplifies the process, maximizes your yield, and minimizes the space required. We’ve taken the guesswork out of strawberry cultivation, providing you with a straightforward approach that even beginner gardeners can master. Plus, imagine the satisfaction of harvesting your own organic strawberries, knowing exactly where they came from and what went into growing them. That’s a feeling you simply can’t buy at the grocery store.
But the fun doesn’t stop there! Feel free to experiment with different strawberry varieties to discover your personal favorites. Try everbearing strawberries for a continuous harvest throughout the growing season, or opt for June-bearing varieties for a concentrated burst of flavor. You can also explore different container options, from hanging baskets to repurposed buckets, adding a touch of creativity to your strawberry garden. Consider companion planting with herbs like basil or thyme to deter pests and enhance the flavor of your strawberries.
And don’t forget the power of proper fertilization! A balanced fertilizer specifically formulated for berries will provide your strawberry plants with the nutrients they need to thrive. Regular watering is also crucial, especially during hot, dry periods. Aim for consistent moisture, but avoid overwatering, which can lead to root rot.
Ultimately, growing strawberries at home is a rewarding experience that connects you with nature and provides you with a delicious and healthy treat. It’s a project that the whole family can enjoy, from planting the seedlings to harvesting the ripe berries. So, grab your gardening gloves, gather your supplies, and get ready to embark on your strawberry-growing adventure!
We are confident that you’ll be amazed by the results. But don’t just take our word for it. Try our DIY trick for growing strawberries at home and see for yourself! We encourage you to share your experiences with us. Post photos of your strawberry plants, tell us about your successes (and any challenges you encounter), and let us know what varieties you’re growing. Your feedback will help us refine our method and inspire other gardeners to join the strawberry-growing revolution. Let’s create a community of strawberry enthusiasts, sharing tips, tricks, and delicious recipes! Happy growing!
Frequently Asked Questions (FAQ)
What is the best time of year to start growing strawberries?
The best time to plant strawberries depends on your climate and the type of strawberry you’re growing. In general, early spring or late fall are ideal planting times. Spring planting allows the plants to establish themselves before the heat of summer, while fall planting gives them a head start for the following spring. For June-bearing varieties, planting in early spring is often recommended. Everbearing and day-neutral varieties can be planted in either spring or fall. Consider your local climate and growing season when making your decision. If you live in an area with harsh winters, fall planting may require extra protection for the plants.
What kind of soil is best for growing strawberries?
Strawberries thrive in well-drained, slightly acidic soil with a pH between 5.5 and 6.5. The soil should be rich in organic matter to provide essential nutrients and improve drainage. Before planting, amend the soil with compost, aged manure, or other organic materials. Avoid heavy clay soils, as they can retain too much moisture and lead to root rot. If you have clay soil, consider growing your strawberries in raised beds or containers with a well-draining potting mix. A soil test can help you determine the pH and nutrient levels of your soil and guide you in making necessary amendments.
How often should I water my strawberry plants?
Strawberry plants need consistent moisture, especially during fruit development. Water deeply and regularly, aiming to keep the soil consistently moist but not waterlogged. The frequency of watering will depend on the weather, soil type, and the size of your plants. During hot, dry periods, you may need to water daily. Check the soil moisture regularly by sticking your finger into the soil. If the top inch feels dry, it’s time to water. Avoid overhead watering, as it can promote fungal diseases. Instead, water at the base of the plants or use a soaker hose.
What kind of fertilizer should I use for my strawberry plants?
Strawberries benefit from regular fertilization to support healthy growth and abundant fruit production. Use a balanced fertilizer specifically formulated for berries, such as a 10-10-10 or 12-12-12 fertilizer. Apply the fertilizer according to the package instructions, typically in early spring and again after the first harvest. Avoid over-fertilizing, as it can lead to excessive foliage growth at the expense of fruit production. Organic fertilizers, such as compost tea or fish emulsion, are also excellent options for feeding your strawberry plants.
How do I protect my strawberries from pests and diseases?
Strawberries are susceptible to various pests and diseases, but there are several steps you can take to protect your plants. Monitor your plants regularly for signs of pests, such as aphids, spider mites, and slugs. Handpick pests or use insecticidal soap or neem oil to control infestations. To prevent fungal diseases, ensure good air circulation around your plants and avoid overhead watering. Remove any diseased leaves or fruit promptly. Consider using row covers to protect your plants from birds and other animals. Companion planting with herbs like basil or thyme can also help deter pests.
How do I know when my strawberries are ripe?
Strawberries are typically ready to harvest when they are fully red, plump, and slightly soft to the touch. The berries should easily detach from the plant with a gentle tug. Avoid picking strawberries that are still white or green, as they will not ripen further after being picked. Harvest your strawberries in the morning, after the dew has dried, for the best flavor. Store your harvested strawberries in the refrigerator and consume them within a few days for optimal freshness.
Can I grow strawberries in containers?
Yes, strawberries are well-suited for container gardening. Choose a container that is at least 12 inches deep and wide to provide ample space for the roots to grow. Use a well-draining potting mix and ensure that the container has drainage holes. Container-grown strawberries may require more frequent watering and fertilization than those grown in the ground. Consider using hanging baskets or strawberry pots for a decorative and space-saving way to grow strawberries.
How do I overwinter my strawberry plants?
In colder climates, strawberry plants need protection during the winter months. After the first frost, mulch your plants with straw, leaves, or pine needles to insulate the roots and protect them from freezing temperatures. In very cold areas, you may need to cover the plants with a row cover or move them to a sheltered location, such as a garage or shed. Remove the mulch in early spring, after the danger of frost has passed. In milder climates, overwintering may not be necessary.
What are some good companion plants for strawberries?
Companion planting can benefit strawberries by deterring pests, attracting pollinators, and improving soil health. Some good companion plants for strawberries include:
* **Basil:** Repels aphids and other pests.
* **Thyme:** Repels cabbage moths and other pests.
* **Borage:** Attracts pollinators and beneficial insects.
* **Marigolds:** Repel nematodes and other soil pests.
* **Garlic:** Repels aphids and other pests.
* **Onions:** Repel aphids and other pests.
* **Lettuce:** Provides ground cover and helps retain moisture.
How long does it take for strawberry plants to produce fruit?
The time it takes for strawberry plants to produce fruit depends on the type of strawberry and the planting time. June-bearing varieties typically produce fruit the following spring after planting. Everbearing and day-neutral varieties may produce some fruit in the first year, but the main harvest will be in the second year. Proper care, including adequate watering, fertilization, and pest control, can help accelerate fruit production.


Leave a Comment