
Grow Dill Indoors? Absolutely! Imagine having fresh, fragrant dill readily available, even when the snow is falling outside. No more sad, wilted supermarket herbs – just vibrant, flavorful dill to elevate your culinary creations. For centuries, dill has been cherished not only for its distinct taste but also for its medicinal properties. Ancient Egyptians used it for soothing digestion, while medieval Europeans believed it warded off evil spirits.
But let’s be honest, sometimes life gets in the way of a thriving outdoor garden. That’s where the magic of indoor gardening comes in! I’m here to show you how easy and rewarding it can be to grow dill indoors, regardless of your experience level. This DIY guide is packed with simple tricks and hacks to ensure your dill flourishes, from choosing the right pot to mastering the art of watering.
Why do you need this DIY trick? Because fresh dill can transform a simple dish into something extraordinary. Think creamy dill sauce for salmon, a sprinkle of dill on your morning eggs, or a refreshing dill-infused cucumber salad. Plus, nurturing a plant from seed to harvest is incredibly satisfying. So, let’s ditch the store-bought herbs and embark on this exciting indoor gardening adventure together!
Growing Dill: Your Guide to Fresh Dill Straight from the Windowsill
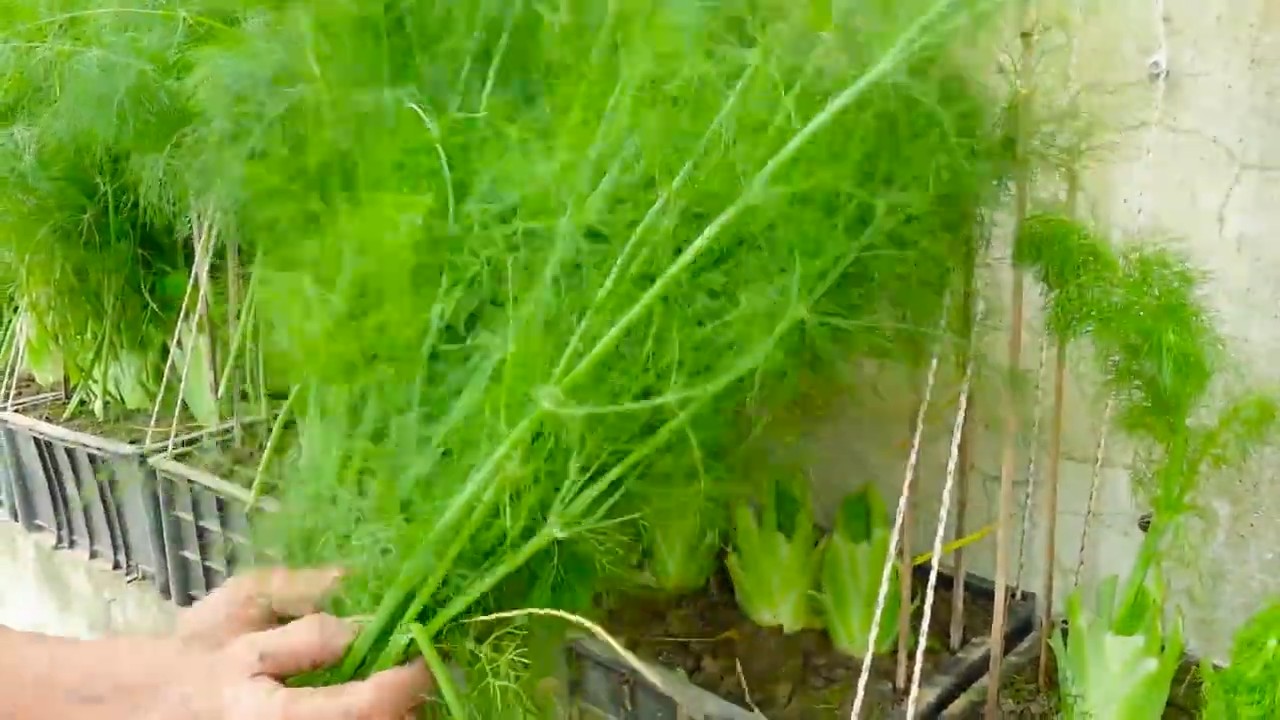
I love fresh herbs! And dill is simply indispensable for so many dishes, from cucumber salad to fish. But constantly running to the supermarket just to get a few sprigs is simply annoying. That’s why I started growing my own dill, and I do it indoors! It’s easier than you think, and I’m happy to share my experiences with you.
What You Need to Grow Dill Indoors
Before we get started, you’ll need a few things:
- Dill seeds: You can find them in any garden center or online. Make sure they are suitable for growing in pots.
- A pot: Choose a pot with a diameter of at least 15 cm (6 inches) and good drainage. Dill has long roots, so the deeper, the better.
- High-quality potting soil: Use a well-draining potting soil that is rich in nutrients. I like to use a mixture of potting soil, compost, and perlite.
- A sunny location: Dill needs at least 6 hours of sunlight per day. A south-facing window is ideal. If you don’t have enough natural light, you can use a grow light.
- A spray bottle: For moistening the soil.
- Optional: Liquid fertilizer for herbs.
Sowing Dill: Step by Step
Now let’s get down to business! Here’s how to sow your dill seeds correctly:
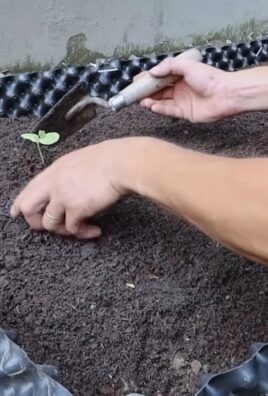
- Prepare the pot: Fill the pot with potting soil, but leave about 2-3 cm (1 inch) of space at the top. Press the soil down lightly.
- Sow the seeds: Sprinkle the dill seeds evenly over the soil. You can be generous, as not all seeds will germinate.
- Cover with soil: Cover the seeds with a thin layer of soil (about 0.5 cm / 0.2 inches).
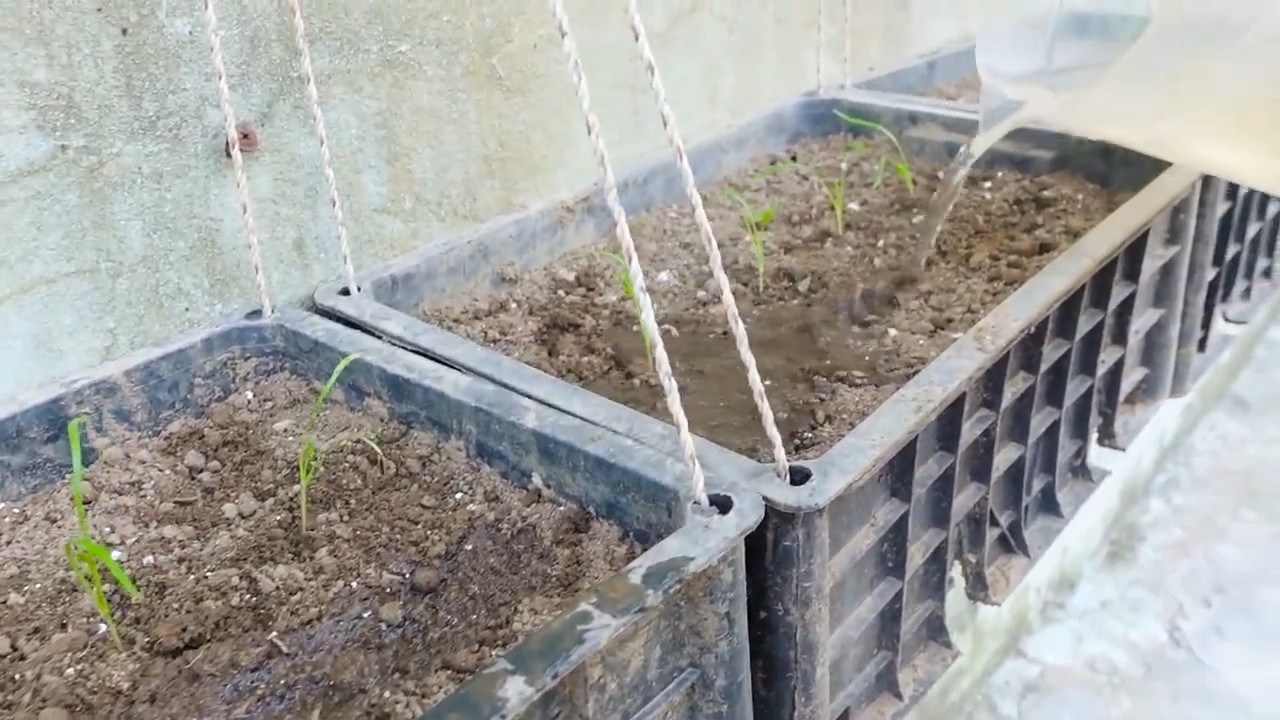
- Water: Gently moisten the soil with the spray bottle. The soil should be damp, but not wet.
- Choose a location: Place the pot in a sunny location.
- Be patient: Dill takes about 7-14 days to germinate. Keep the soil moist during this time.
Caring for Dill: How to Keep Your Dill Happy
Once your dill seeds have germinated, it’s important to care for them properly so they grow healthy and strong.
- Watering: Water the dill regularly, but avoid waterlogging. The soil should always be slightly moist. Check the soil regularly with your finger. If it feels dry, it’s time to water.
- Light: Make sure your dill gets enough sunlight. If you don’t have enough natural light, use a grow light.
- Fertilizing: Dill doesn’t need much fertilizer, but an occasional feeding with a liquid fertilizer for herbs can promote growth. Fertilize every 2-4 weeks according to the instructions on the package.
- Thinning: If too many plants are growing in one pot, you should thin them out so that each plant has enough space to grow. Simply remove the weakest plants.
- Cutting: Cut the dill tips regularly to encourage growth. You can use the dill tips for cooking or dry them.
- Preventing flowers: Dill tends to flower quickly, especially when stressed. If you want to prevent your dill from flowering, snip off the flower buds as soon as you spot them. This encourages leaf growth.
Harvest Time: Fresh Dill for Your Kitchen
You can harvest your dill as soon as it is about 15-20 cm (6-8 inches) tall.
- Cutting: Cut the dill tips with scissors. Always cut above a leaf node so the plant can continue to grow.
- Using: Use the fresh dill immediately or store it in the refrigerator. You can also dry or freeze it to make it last longer.
Common Problems and Solutions
Problems can also arise when growing dill. Here are some common issues and how you can solve them:
- Yellow leaves: Yellow leaves can be a sign of overwatering, underwatering, or a nutrient deficiency. Check the soil and adjust your watering accordingly. Fertilize the dill if necessary.
- Pests: Dill can be infested by aphids or other pests. Spray the plants with a neem oil-based insecticide.
- Fungal diseases: Fungal diseases can occur if the humidity is too high. Ensure good ventilation and avoid wetting the leaves when watering.
Additional Tips for Successful Dill Cultivation
Here are a few more tips that can help you successfully grow dill indoors:
- Use a pot with good drainage: Waterlogging can lead to root rot.
- Water the dill in the morning: This gives the leaves time to dry before evening, which reduces the risk of fungal diseases.
- Rotate the pot regularly: This ensures all sides of the plant get enough sunlight.
- Use a grow light: If you don’t have enough natural light, use a grow light.
- Be patient: Dill takes time to grow. Don’t give up if you don’t see immediate results.
Preserving Dill: How to Always Have Dill on Hand
If you have more dill than you can use, there are several ways to preserve it:
- Drying: Tie the dill sprigs into small bundles and hang them in a dry, dark place. You can also dry them in the oven at a low temperature.
- Freezing: Finely chop the dill and freeze it in ice cube trays with water or oil.
- Pickling: Preserve the dill in vinegar or oil.
Dill in the Kitchen: Versatile and Delicious
Dill is an incredibly versatile herb that can be used in many different dishes. Here are a few ideas:
- Cucumber salad: Dill is a must for cucumber salad.
- Fish: Dill pairs excellently with fish dishes.
- Potatoes: Dill gives potatoes a fresh flavor.
- Soups: Dill can add an extra layer of flavor to soups and stews.
- Sauces: Dill is a great ingredient for sauces and dips.
I hope this guide has helped you understand how to grow dill indoors. With a little patience and care, you’ll soon be able to harvest fresh dill right from your windowsill! Happy gardening
Conclusion
So, there you have it! Growing dill indoors is not only achievable, but it’s a rewarding experience that brings the fresh, vibrant flavor of this herb right to your fingertips, regardless of the season. Forget those sad, wilted bunches from the grocery store; imagine the satisfaction of snipping fresh dill sprigs whenever a recipe calls for them.
This DIY approach to growing dill offers a multitude of benefits. You’re in complete control of the growing environment, ensuring your dill is free from harmful pesticides and herbicides. Plus, it’s a fantastic way to reduce your carbon footprint by minimizing trips to the store and supporting sustainable practices. But perhaps the most compelling reason to try growing dill indoors is the sheer convenience. No more last-minute dashes to the market – your fresh dill is always ready and waiting.
Why is this a must-try? Because it’s simple, cost-effective, and delivers unparalleled freshness. It’s a small investment of time and effort that yields a big return in flavor and satisfaction.
Looking for variations? Consider experimenting with different dill varieties. ‘Bouquet’ dill is a popular choice for its abundant foliage, while ‘Dukat’ dill offers a more intense flavor. You can also try companion planting your dill with other herbs like basil or parsley in a larger container. Just be mindful of their individual light and watering needs. Another fun variation is to use different types of containers. While a standard pot works perfectly well, you could also repurpose old jars or create a vertical herb garden for a more visually appealing display.
Don’t be intimidated if you’ve never grown herbs indoors before. Dill is a relatively forgiving plant, and with a little attention to detail, you’ll be harvesting fresh sprigs in no time. Remember to provide plenty of sunlight, well-draining soil, and consistent watering. And don’t be afraid to experiment and adjust your approach as needed.
We wholeheartedly encourage you to give this DIY trick a try. It’s a fantastic way to add fresh flavor to your cooking, connect with nature, and enjoy the satisfaction of growing your own food. Once you experience the joy of harvesting your own fresh dill, you’ll never go back to store-bought again.
We’re confident that you’ll find growing dill indoors to be a rewarding and enjoyable experience. So, grab your seeds, potting mix, and a sunny spot, and get ready to embark on your indoor herb gardening adventure!
And most importantly, we want to hear about your experience! Share your tips, tricks, and photos with us in the comments below. Let’s create a community of indoor herb gardeners and inspire others to discover the joys of growing their own fresh dill. What challenges did you face? What successes did you celebrate? Your feedback is invaluable and will help us refine our guide and provide even better advice to future growers. Happy gardening!
Frequently Asked Questions (FAQ)
1. What is the best time of year to start growing dill indoors?
You can start growing dill indoors at any time of year! Unlike outdoor gardening, indoor growing isn’t limited by seasonal changes. As long as you provide the necessary light, temperature, and moisture, your dill will thrive regardless of the time of year. However, starting in early spring might give you a slight head start, allowing you to enjoy a longer harvest period.
2. How much sunlight does indoor dill need?
Dill requires at least 6 hours of direct sunlight per day to thrive. A south-facing window is ideal. If you don’t have access to enough natural light, consider using a grow light. Fluorescent or LED grow lights are excellent options. Position the light a few inches above the plants and keep it on for 12-16 hours per day. Insufficient light will result in leggy, weak plants with poor flavor.
3. What type of soil is best for growing dill indoors?
Dill prefers well-draining soil that is rich in organic matter. A good potting mix specifically formulated for herbs is an excellent choice. You can also create your own mix by combining equal parts of potting soil, perlite, and compost. Perlite helps improve drainage, while compost provides essential nutrients. Avoid using garden soil, as it can be too heavy and may contain pests or diseases.
4. How often should I water my indoor dill plants?
Water your dill plants when the top inch of soil feels dry to the touch. Avoid overwatering, as this can lead to root rot. Ensure that your pot has drainage holes to allow excess water to escape. During the warmer months, you may need to water more frequently. Check the soil moisture regularly and adjust your watering schedule accordingly.
5. How do I harvest dill from my indoor plants?
You can start harvesting dill leaves once the plants are about 6-8 inches tall. Use scissors or pruning shears to snip off the leaves as needed. Avoid removing more than one-third of the plant at a time, as this can stunt its growth. Regular harvesting encourages the plant to produce more leaves. You can also harvest the dill seeds once the flower heads have dried and turned brown.
6. My dill plant is turning yellow. What could be the problem?
Yellowing leaves can indicate several issues. Overwatering is a common cause, as it can lead to root rot. Ensure that your pot has drainage holes and that you’re not watering too frequently. Underwatering can also cause yellowing, so check the soil moisture regularly. Nutrient deficiencies can also be a culprit. Try fertilizing your dill with a balanced liquid fertilizer diluted to half strength. Finally, pests like aphids or spider mites can also cause yellowing. Inspect your plants carefully and treat any infestations promptly.
7. How do I prevent pests and diseases from affecting my indoor dill plants?
Prevention is key when it comes to pests and diseases. Start by using clean potting mix and containers. Inspect your plants regularly for any signs of pests or diseases. If you spot any problems, address them promptly. You can use insecticidal soap or neem oil to control pests. Ensure good air circulation around your plants to prevent fungal diseases. Avoid overcrowding your plants and water them from the bottom to prevent wetting the foliage.
8. Can I grow dill from seed indoors?
Yes, growing dill from seed indoors is a great way to start. Sow the seeds directly into your potting mix, about ¼ inch deep. Keep the soil moist but not soggy. Germination typically takes 7-14 days. Once the seedlings emerge, thin them out so that only the strongest plants remain. Provide plenty of light and water as needed.
9. My dill plant is flowering. Should I do anything?
Dill is an annual plant, and flowering is a natural part of its life cycle. Once the plant flowers, the leaves may become less flavorful. If you want to prolong the harvest of leaves, you can pinch off the flower buds as they appear. However, allowing the plant to flower will allow you to harvest the dill seeds, which can be used for cooking or saved for planting next season.
10. Can I transplant my indoor dill plant outdoors?
Yes, you can transplant your indoor dill plant outdoors once the weather warms up and the risk of frost has passed. Choose a sunny location with well-draining soil. Harden off the plant by gradually exposing it to outdoor conditions for a week or two before transplanting. Dig a hole slightly larger than the root ball and gently place the plant in the hole. Backfill with soil and water thoroughly.
Leave a Comment