
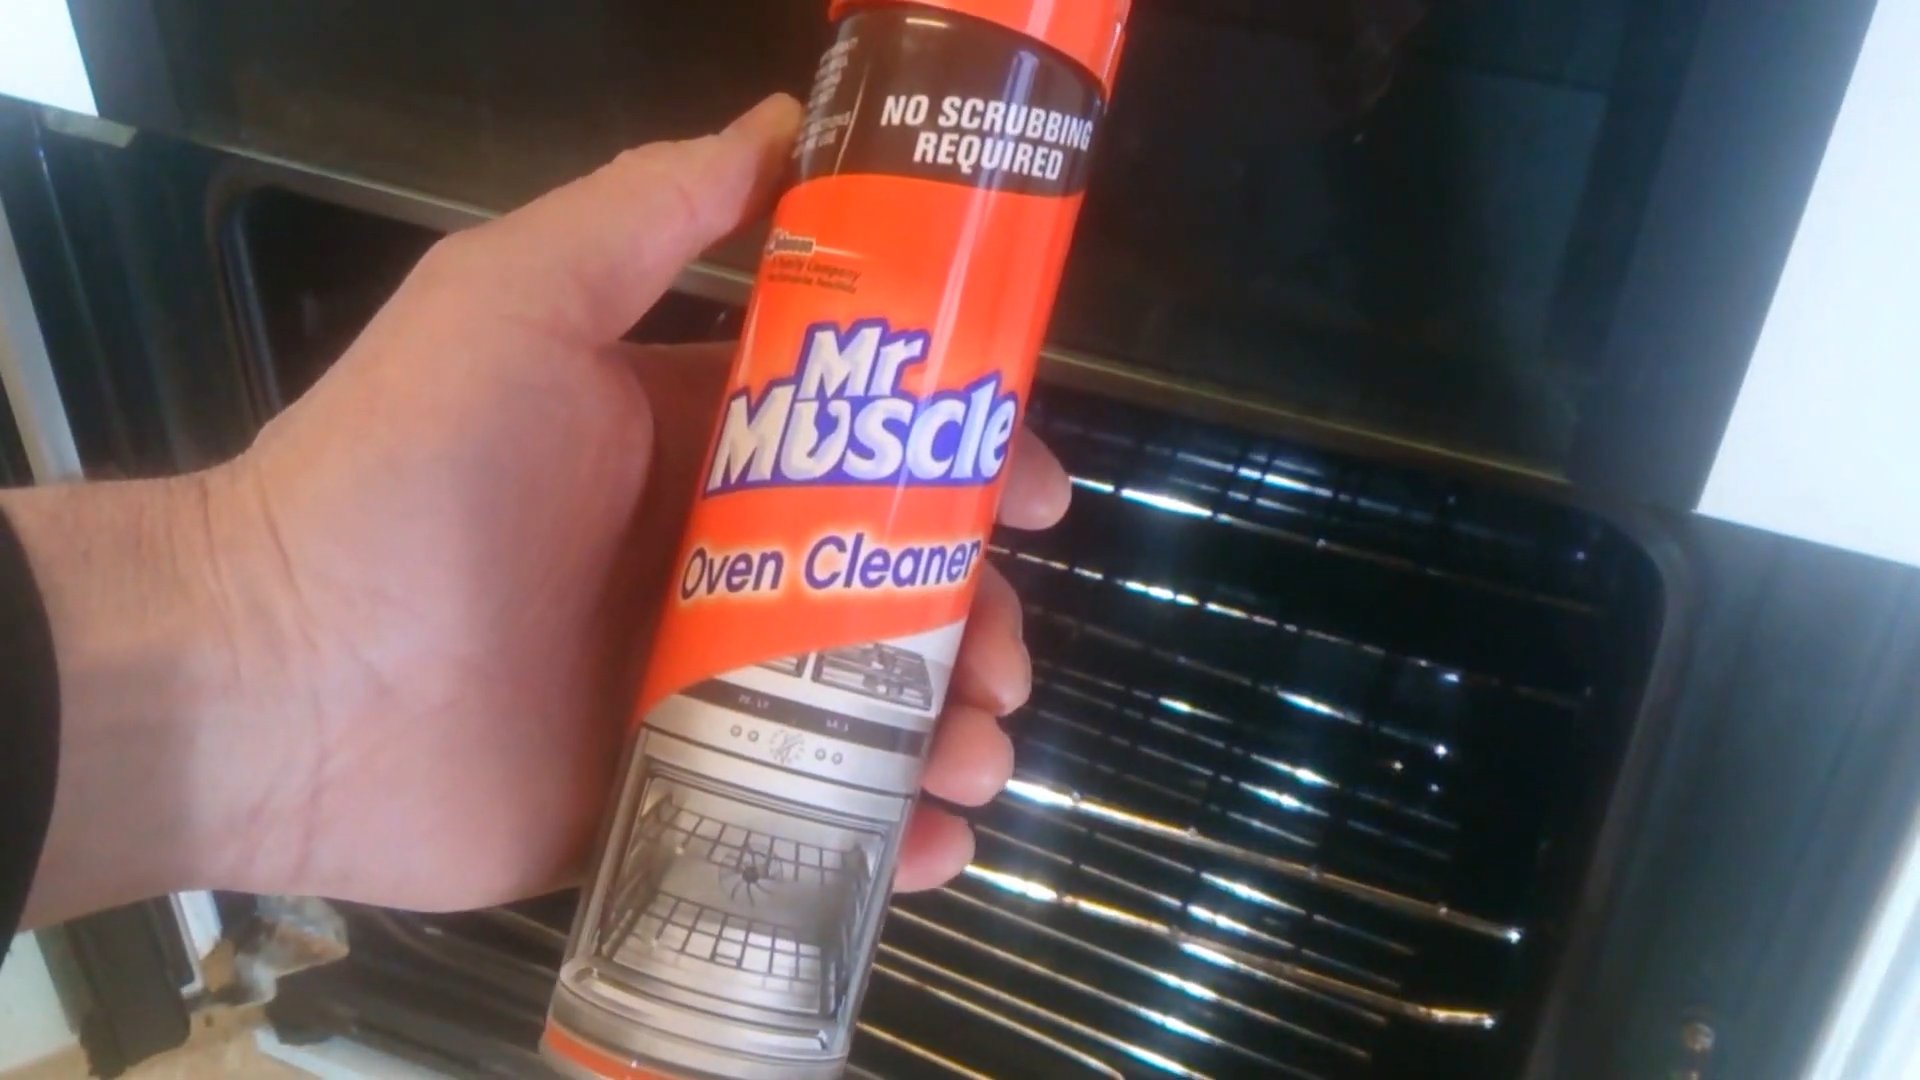
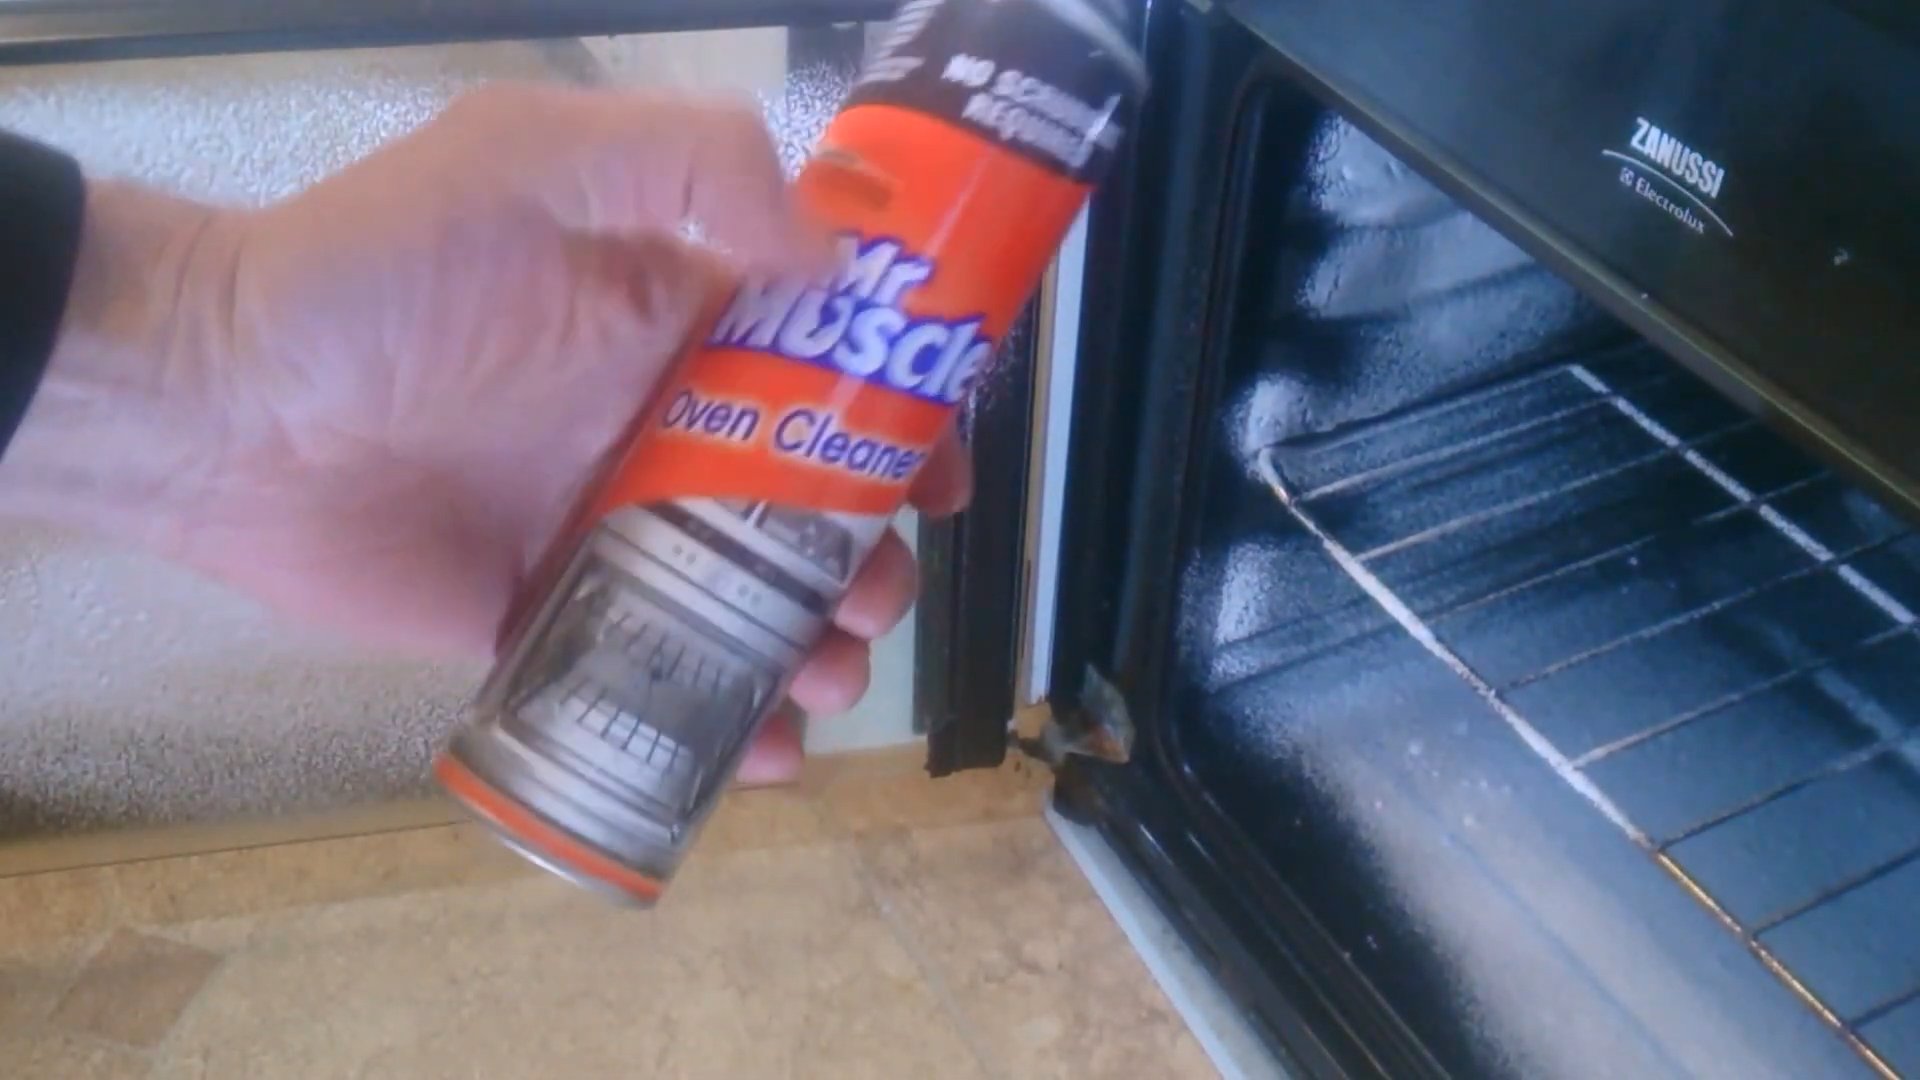
DIY Oven Cleaner: Is your oven looking less like a culinary haven and more like a burnt offering site? Let’s face it, cleaning the oven is one of those chores we all dread. It’s messy, time-consuming, and those commercial cleaners? They’re often packed with harsh chemicals that leave you wondering if you’re cleaning your oven or fumigating your house! But what if I told you there’s a simple, effective, and totally natural way to get your oven sparkling clean using ingredients you probably already have in your pantry?
For generations, resourceful homemakers have relied on simple, homemade solutions to tackle tough cleaning tasks. Before the age of mass-produced chemicals, baking soda and vinegar were the dynamic duo for everything from scrubbing sinks to unclogging drains. This tradition of natural cleaning is not only budget-friendly but also a nod to a more sustainable and healthier way of life.
In this article, I’m going to share my favorite DIY oven cleaner recipe and some tried-and-true tips to make the process as painless as possible. You’ll learn how to create a powerful cleaning paste that cuts through grease and grime without the need for harsh chemicals. Plus, I’ll walk you through the steps to ensure a sparkling clean oven, leaving you with more time to enjoy cooking delicious meals (and less time scrubbing!). So, ditch the expensive, chemical-laden cleaners and let’s get started on this easy and effective DIY oven cleaner project!
DIY Oven Cleaner: A Sparkling Clean Oven Without Harsh Chemicals!
Okay, let’s face it, cleaning the oven is probably on everyone’s list of least favorite chores. Those harsh chemical cleaners smell awful and can’t be good for you or the environment. But fear not! I’m going to show you how to make a super effective oven cleaner using just a few simple ingredients you probably already have in your kitchen. Get ready to say goodbye to baked-on grime and hello to a sparkling clean oven, the natural way!
What You’ll Need:
* Baking Soda
* Water
* White Vinegar
* Spray Bottle
* Rubber Gloves (trust me, you’ll want these!)
* Spatula or Scraper
* Non-Scratch Scouring Pad or Sponge
* Clean Rags or Paper Towels
Why This Works: The Science Behind the Sparkle
Baking soda is a mild alkali and a fantastic natural cleaner. It helps to loosen grease and grime. When combined with water, it forms a paste that can be easily applied to oven surfaces. The vinegar, an acid, reacts with the baking soda, creating a fizzing action that further helps to break down stubborn messes. This combination is surprisingly powerful, and it’s much gentler on your oven (and your lungs!) than commercial cleaners.
Step-by-Step Instructions: Let’s Get Cleaning!
Phase 1: Preparing Your Oven
1. Remove the Oven Racks: Take out all the oven racks and set them aside. We’ll clean them separately later. Trust me, it’s much easier to tackle them outside of the oven.
2. Clear Out Loose Debris: Use a spatula or scraper to remove any large pieces of burnt food or debris from the bottom of the oven. This will make the cleaning process much more efficient. You don’t want to be dealing with big chunks of stuff while you’re trying to scrub!
3. Protect Your Kitchen: Lay down some old newspapers or a drop cloth around the base of your oven to catch any drips or spills. This will save you from having to clean your kitchen floor afterward.
Phase 2: Applying the Baking Soda Paste
4. Make the Baking Soda Paste: In a bowl, mix together 1/2 cup of baking soda with enough water to form a thick, spreadable paste. You want it to be the consistency of frosting – not too runny, not too stiff. I usually start with a few tablespoons of water and add more gradually until I get the right consistency.
5. Coat the Oven Interior: Using your hands (with those rubber gloves on!), spread the baking soda paste all over the interior surfaces of your oven. This includes the walls, the bottom, the top, and the door. Avoid the heating elements! You want a nice, even coating. Don’t be shy – really get in there and cover everything.
6. Let it Sit (and Work its Magic!): This is the most important part! Let the baking soda paste sit in your oven for at least 12 hours, or even better, overnight. The longer it sits, the more time it has to loosen the grime. I usually apply the paste before I go to bed and then clean the oven the next morning.
Phase 3: Cleaning and Rinsing
7. Scrub Away the Grime: After the baking soda paste has had its time to work, grab your non-scratch scouring pad or sponge and start scrubbing. You’ll likely find that the grime comes off much easier than you expected. For really stubborn spots, you might need to apply a little extra elbow grease.
8. Vinegar Power: Fill a spray bottle with white vinegar. Spray the vinegar all over the baking soda paste. The vinegar will react with the baking soda, causing it to fizz. This fizzing action helps to lift away any remaining grime.
9. Wipe it All Down: Using clean rags or paper towels, wipe away the baking soda and vinegar mixture. You might need to rinse your rags frequently with clean water. Keep wiping until all the baking soda residue is gone. This step can take a little while, but it’s worth it to get a truly clean oven.
10. Rinse Thoroughly: Once you’ve wiped away all the baking soda and vinegar, give the oven a final rinse with a damp rag. This will ensure that there’s no residue left behind.
11. Dry it Off: Use a clean, dry rag to dry the interior of your oven.
Phase 4: Cleaning the Oven Racks
12. Soak the Racks: Fill your bathtub or a large utility sink with hot, soapy water. Add 1/2 cup of baking soda to the water. Place the oven racks in the water and let them soak for at least 30 minutes, or even longer if they’re really dirty.
13. Scrub the Racks: After soaking, use a non-scratch scouring pad or sponge to scrub the racks clean. The grime should come off much easier after soaking.
14. Rinse and Dry: Rinse the racks thoroughly with clean water and then dry them with a clean rag.
Phase 5: Putting it All Back Together
15. Replace the Racks: Once the oven and the racks are completely dry, replace the racks in the oven.
16. Admire Your Work!: Step back and admire your sparkling clean oven! You did it! You cleaned your oven without using any harsh chemicals.
Tips and Tricks for a Super Clean Oven:
* For Extra Stubborn Stains: If you have some really stubborn stains that just won’t budge, try making a thicker baking soda paste and applying it directly to the stain. Let it sit for a few hours before scrubbing.
* Preventative Maintenance: To keep your oven clean, try wiping up spills as soon as they happen. This will prevent them from baking onto the oven surfaces and becoming difficult to remove.
* Self-Cleaning Cycle (Use Sparingly): While this DIY method is great, sometimes you might need to use your oven’s self-cleaning cycle. However, be aware that the self-cleaning cycle can produce strong odors and can be hard on your oven. Use it sparingly.
* Ventilation is Key: Whether you’re using this DIY method or the self-cleaning cycle, make sure to ventilate your kitchen well. Open windows and turn on the exhaust fan.
* Don’t Forget the Oven Door: Pay special attention to the oven door, especially the glass. You can use the same baking soda paste to clean the glass.
* Lemon Power: For a fresh scent, you can place a bowl of water with lemon slices in the oven and bake it at 350 degrees for 30 minutes after cleaning. This will help to eliminate any lingering odors.
* Regular Cleaning is Easier: The more often you clean your oven, the easier it will be to keep it clean. Try to clean it at least once a month, or more often if you use it frequently.
* Check Your Oven’s Manual: Always check your oven’s manual for any specific cleaning instructions or recommendations. Some ovens may have special coatings or surfaces that require specific cleaning methods.
* Safety First: Always wear rubber gloves when cleaning your oven to protect your hands from the baking soda and vinegar. Avoid getting the baking soda paste on the heating elements.
* Patience is a Virtue: Cleaning your oven can take some time and effort, but the results are worth it. Be patient and don’t give up!
Troubleshooting: Common Issues and Solutions
* Baking Soda Paste is Too Runny: Add more baking soda to thicken it up.
* Baking Soda Paste is Too Stiff: Add a little more water to thin it out.
* Grime is Still Stubborn: Let the baking soda paste sit for a longer period of time. You can also try using a stronger scouring pad, but be careful not to scratch the oven surfaces.
* Vinegar is Not Fizzing: Make sure you’re using white vinegar. Other types of vinegar may not react as well with the baking soda.
* Oven Still Smells Like Vinegar: Rinse the oven thoroughly with clean water and then dry it with a clean rag. You can also try the lemon trick mentioned above.
* Streaks on the Oven Door Glass: Use a glass cleaner to remove any streaks from the oven door glass.
I hope this guide helps you achieve a sparkling clean oven without the harsh chemicals! Happy cleaning!
Conclusion
So, there you have it! Ditching those harsh chemicals and embracing this DIY oven cleaner is more than just a trend; it’s a game-changer for your kitchen, your health, and even your wallet. We’ve walked you through a simple, effective method that utilizes ingredients you likely already have in your pantry. Forget about choking fumes and lingering chemical odors – this natural solution leaves your oven sparkling clean and smelling fresh.
But why is this DIY trick a must-try? Beyond the obvious health and environmental benefits, it’s about control. You know exactly what’s going into your cleaner, eliminating any concerns about hidden toxins. Plus, it’s incredibly satisfying to create something so effective with your own two hands. The cost savings are significant, too. Think about how much you spend on commercial oven cleaners each year – this DIY alternative can save you a considerable amount of money.
Ready to take it a step further? Consider these variations:
* Lemon Power: Add a few drops of lemon essential oil to your baking soda paste for an extra boost of degreasing power and a delightful citrus scent.
* Vinegar Infusion: If you have stubborn, baked-on messes, try heating the vinegar in the microwave for a minute before spraying it into the oven. The warm vinegar will help to loosen the grime even further.
* Essential Oil Blend: Experiment with different essential oil combinations. Tea tree oil is known for its antibacterial properties, while lavender oil adds a calming aroma. Just be sure to use oils that are safe for high-temperature environments.
We’re confident that once you try this DIY oven cleaner, you’ll never go back to store-bought versions. It’s effective, affordable, and environmentally friendly – a winning combination!
Now, it’s your turn. We encourage you to give this DIY oven cleaner a try and experience the difference for yourself. Don’t be afraid to experiment with the variations and find what works best for your oven. And most importantly, share your experience with us! Let us know in the comments below how it worked for you, any tips or tricks you discovered, and any variations you tried. Your feedback will help other readers and contribute to a community of DIY enthusiasts. Let’s ditch the chemicals and embrace a cleaner, healthier way to clean our ovens!
Frequently Asked Questions (FAQ)
Is this DIY oven cleaner safe for all types of ovens?
Generally, yes, this DIY oven cleaner is safe for most types of ovens, including conventional ovens, convection ovens, and self-cleaning ovens (when used as directed, *not* during the self-cleaning cycle). However, it’s always a good idea to do a spot test in an inconspicuous area first, especially if you have a newer oven with a special coating. Avoid using abrasive scrubbers on delicate surfaces. If you have any concerns about your specific oven model, consult your owner’s manual.
How often should I use this DIY oven cleaner?
The frequency of cleaning depends on how often you use your oven and how much it gets soiled. For ovens that are used frequently, cleaning every month or two is a good practice. For ovens that are used less often, cleaning every three to six months may be sufficient. Regular cleaning will prevent the buildup of stubborn grime and make future cleaning easier.
What if the baking soda paste dries out and becomes difficult to remove?
If the baking soda paste dries out and becomes difficult to remove, don’t panic! Simply spray the dried paste with more vinegar. The vinegar will react with the baking soda, loosening it and making it easier to wipe away. You can also use a damp sponge or cloth to help rehydrate the paste. For particularly stubborn areas, let the vinegar soak for a few minutes before wiping.
Can I use this DIY oven cleaner on the oven door glass?
Yes, this DIY oven cleaner is safe and effective for cleaning the oven door glass. Apply the baking soda paste to the glass, let it sit for the recommended time, and then wipe it away with a damp cloth. For stubborn stains, you can use a non-abrasive scrubber. Be careful not to scratch the glass. The vinegar spray will also help to remove any streaks.
Does this DIY oven cleaner work on burnt-on food?
Yes, this DIY oven cleaner is effective on burnt-on food, but it may require some extra effort. For heavily soiled areas, apply a thicker layer of baking soda paste and let it sit for a longer period of time, even overnight. You may also need to use a non-abrasive scrubber to loosen the burnt-on food. In some cases, you may need to repeat the cleaning process.
What if I don’t have baking soda or vinegar? Are there any alternatives?
While baking soda and vinegar are the key ingredients in this DIY oven cleaner, there are a few alternatives you can try. For baking soda, you can use washing soda (sodium carbonate), which is a stronger cleaner. For vinegar, you can use lemon juice, which has similar acidic properties. However, baking soda and vinegar are generally the most effective and readily available options.
Is it safe to use this DIY oven cleaner if I have pets or children?
Yes, this DIY oven cleaner is generally safe to use around pets and children, as it does not contain harsh chemicals. However, it’s always a good idea to keep pets and children away from the oven while you are cleaning it. Ensure that all surfaces are thoroughly rinsed and dried before allowing pets or children near the oven.
How do I get rid of the vinegar smell after cleaning?
The vinegar smell should dissipate quickly after cleaning. To help speed up the process, you can open a window to ventilate the kitchen. You can also place a bowl of baking soda or coffee grounds in the oven to absorb any lingering odors. Another option is to heat a pot of water with lemon slices or orange peels on the stovetop to create a fresh, citrusy aroma.
Can I use this DIY oven cleaner on a self-cleaning oven?
Yes, you can use this DIY oven cleaner on a self-cleaning oven, but *not* during the self-cleaning cycle. The high temperatures of the self-cleaning cycle can cause the baking soda and vinegar to react in unpredictable ways. Use this DIY cleaner as a regular oven cleaner, avoiding the self-cleaning function altogether.
What kind of scrubber should I use?
For most surfaces, a non-abrasive sponge or cloth will be sufficient. For stubborn, burnt-on messes, you can use a non-abrasive scrubbing pad or brush. Avoid using steel wool or other abrasive scrubbers, as they can scratch the oven’s surface. Always test the scrubber in an inconspicuous area first to ensure that it does not cause any damage.


Leave a Comment