
Grow Dill Indoors? Absolutely! Imagine having fresh, fragrant dill readily available, even when the snow is falling outside. No more sad, wilted bunches from the grocery store – just vibrant, flavorful dill whenever you need it. For centuries, dill has been cherished not only for its culinary uses but also for its medicinal properties. Ancient Egyptians used it to soothe digestive issues, and Romans believed it brought good fortune.
But let’s be honest, sometimes life gets in the way of a thriving outdoor garden. That’s where the magic of indoor gardening comes in! I’m going to share some simple, effective DIY tricks and hacks that will empower you to grow dill indoors successfully, regardless of your experience level. Whether you’re a seasoned gardener or a complete newbie, these tips will help you create a flourishing indoor dill patch.
Why do you need this? Because fresh dill elevates everything from creamy dips and tangy pickles to grilled fish and roasted vegetables. Plus, nurturing a plant from seed to harvest is incredibly rewarding. So, let’s ditch the store-bought stuff and embark on this exciting journey to cultivate your own indoor dill oasis!
Growing Dill Indoors: A Comprehensive Guide for the Aspiring Herb Gardener
Hey there, fellow plant enthusiasts! Are you dreaming of fresh, fragrant dill gracing your culinary creations year-round? Well, you’ve come to the right place! I’m going to walk you through everything you need to know to successfully grow dill indoors, even if you don’t have a green thumb (yet!). Trust me, it’s easier than you think, and the reward of snipping fresh dill whenever you need it is totally worth it.
What You’ll Need
Before we dive into the nitty-gritty, let’s gather our supplies. Here’s a checklist to make sure you’re all set:
* **Dill Seeds:** Opt for a variety specifically suited for indoor growing, if possible. “Fernleaf” dill is a popular choice because it stays relatively compact.
* **Potting Mix:** Use a high-quality, well-draining potting mix. Avoid garden soil, as it can compact and hinder drainage in containers.
* **Pot:** Choose a pot that’s at least 6 inches in diameter and depth. Dill has a taproot, so it needs room to grow downwards. Make sure your pot has drainage holes!
* **Grow Lights (Optional but Recommended):** Dill needs a lot of light, so if you don’t have a sunny windowsill, grow lights are essential.
* **Watering Can or Spray Bottle:** For gentle watering.
* **Small Shovel or Trowel:** For planting the seeds.
* **Seed Starting Tray (Optional):** If you prefer to start your seeds indoors before transplanting.
Choosing the Right Location
Dill craves sunlight, so finding the perfect spot is crucial.
* South-Facing Window: This is ideal, as it provides the most direct sunlight.
* East- or West-Facing Window: These can work, but you might need to supplement with grow lights.
* Grow Lights: If natural light is scarce, invest in a good set of grow lights. Position them a few inches above the seedlings.
Planting Your Dill Seeds
Okay, let’s get our hands dirty! Here’s how to plant your dill seeds:
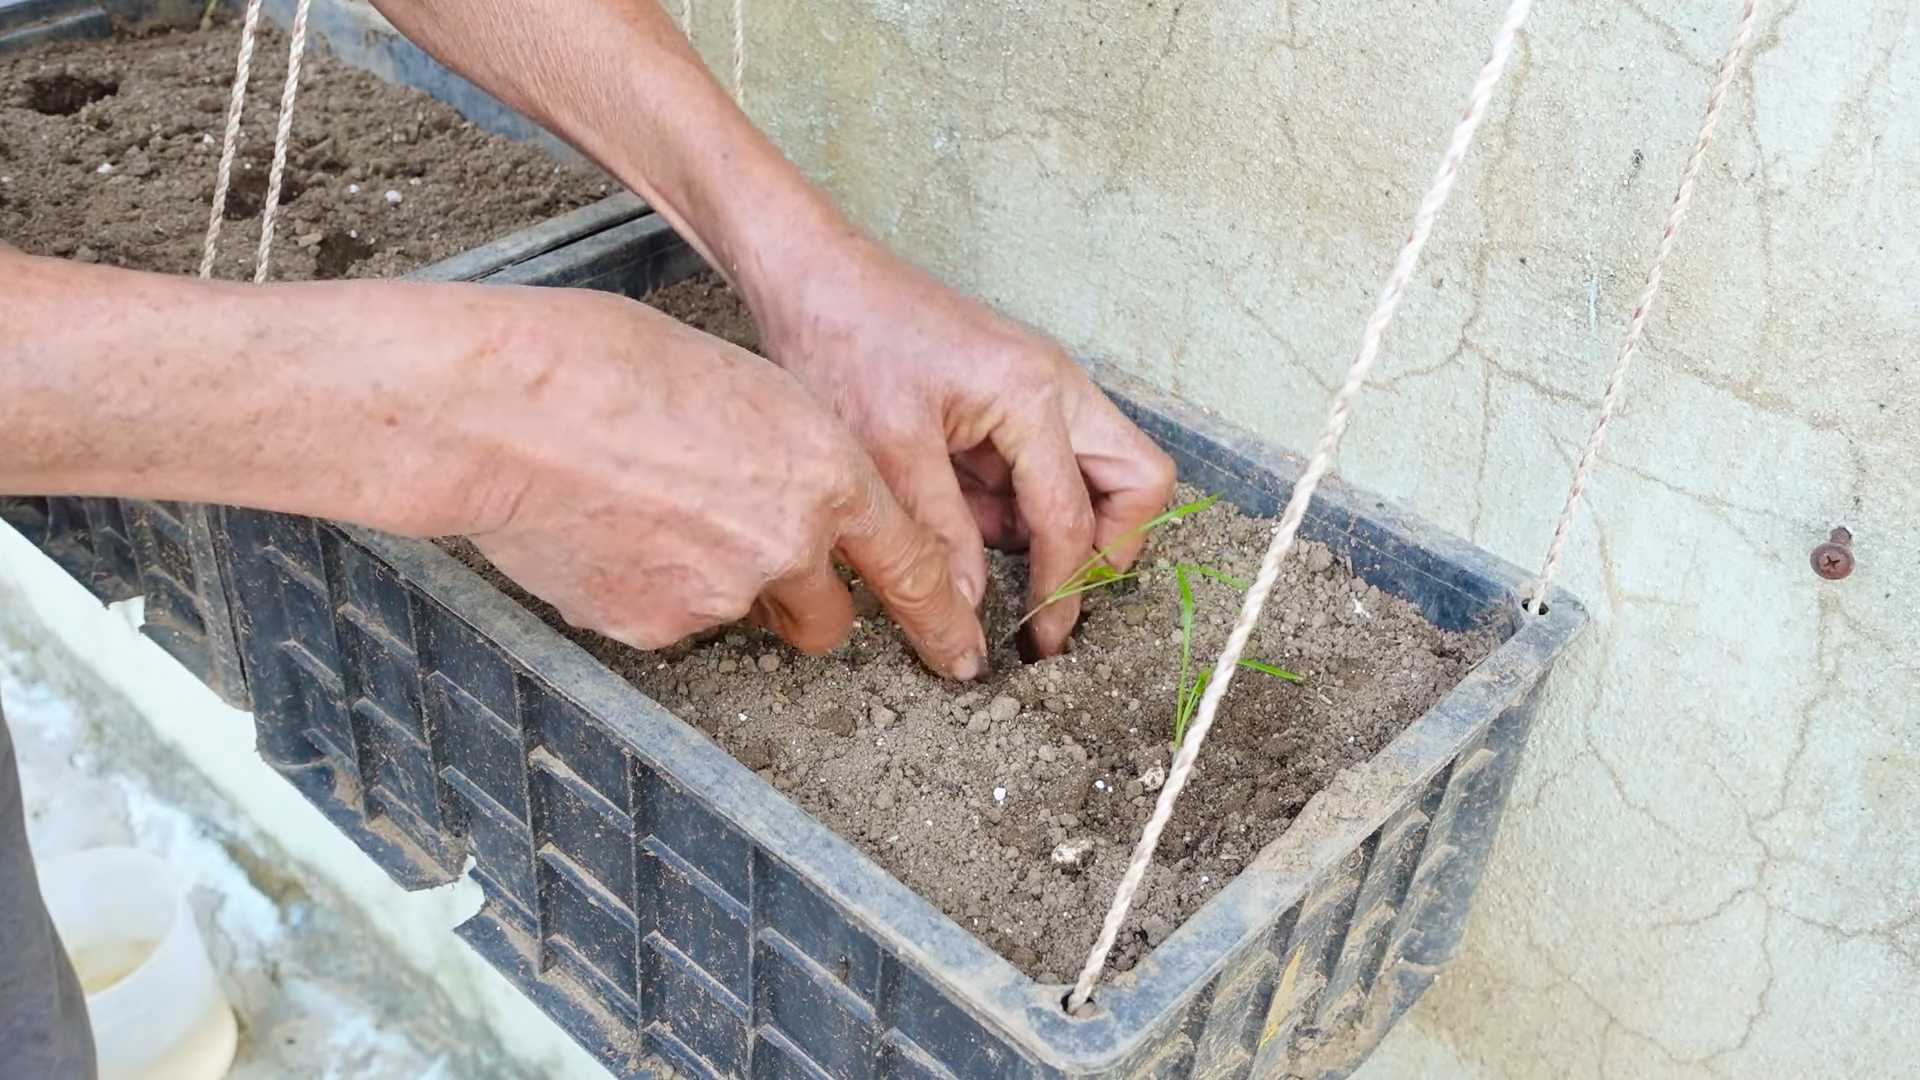
1. **Prepare the Pot:** Fill your pot with potting mix, leaving about an inch of space at the top. Gently pat down the soil.
2. **Sow the Seeds:** Sprinkle the dill seeds evenly over the surface of the soil. You can sow quite a few seeds, as not all of them will germinate.
3. **Cover the Seeds:** Lightly cover the seeds with a thin layer of potting mix (about 1/4 inch).
4. **Water Gently:** Use a watering can or spray bottle to gently moisten the soil. Avoid overwatering, which can cause the seeds to rot.
5. **Provide Warmth:** Dill seeds germinate best in warm temperatures (around 70-75°F). You can place the pot on a heat mat or in a warm location to speed up germination.
6. **Wait Patiently:** Germination usually takes about 7-14 days. Keep the soil consistently moist but not soggy during this time.
Caring for Your Dill Seedlings
Once your dill seedlings emerge, it’s time to provide them with the care they need to thrive.
1. **Thinning (If Necessary):** If you have too many seedlings growing close together, thin them out by snipping off the weaker ones at the soil line. This will give the remaining seedlings more room to grow. Aim for about 2-3 inches of space between plants.
2. **Watering:** Water your dill plants when the top inch of soil feels dry to the touch. Avoid overwatering, as this can lead to root rot. Water deeply, allowing the excess water to drain out of the drainage holes.
3. **Fertilizing:** Dill doesn’t need a lot of fertilizer, but a light feeding every few weeks can help it grow. Use a balanced liquid fertilizer diluted to half strength.
4. **Light:** Ensure your dill receives at least 6 hours of direct sunlight per day. If you’re using grow lights, keep them on for 12-14 hours per day.
5. **Air Circulation:** Good air circulation is important to prevent fungal diseases. Make sure your dill plants have plenty of space around them and avoid overcrowding. A small fan can also help improve air circulation.
6. **Pinching:** Pinch off the flower buds as they appear. This will encourage the plant to produce more leaves, which is what we’re after!
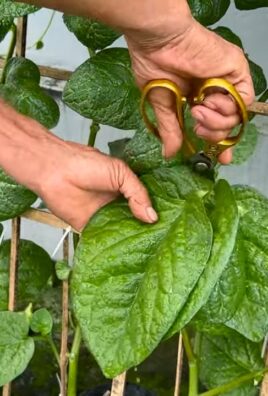
Harvesting Your Dill
The best part! You can start harvesting dill leaves once the plants are about 6-8 inches tall.
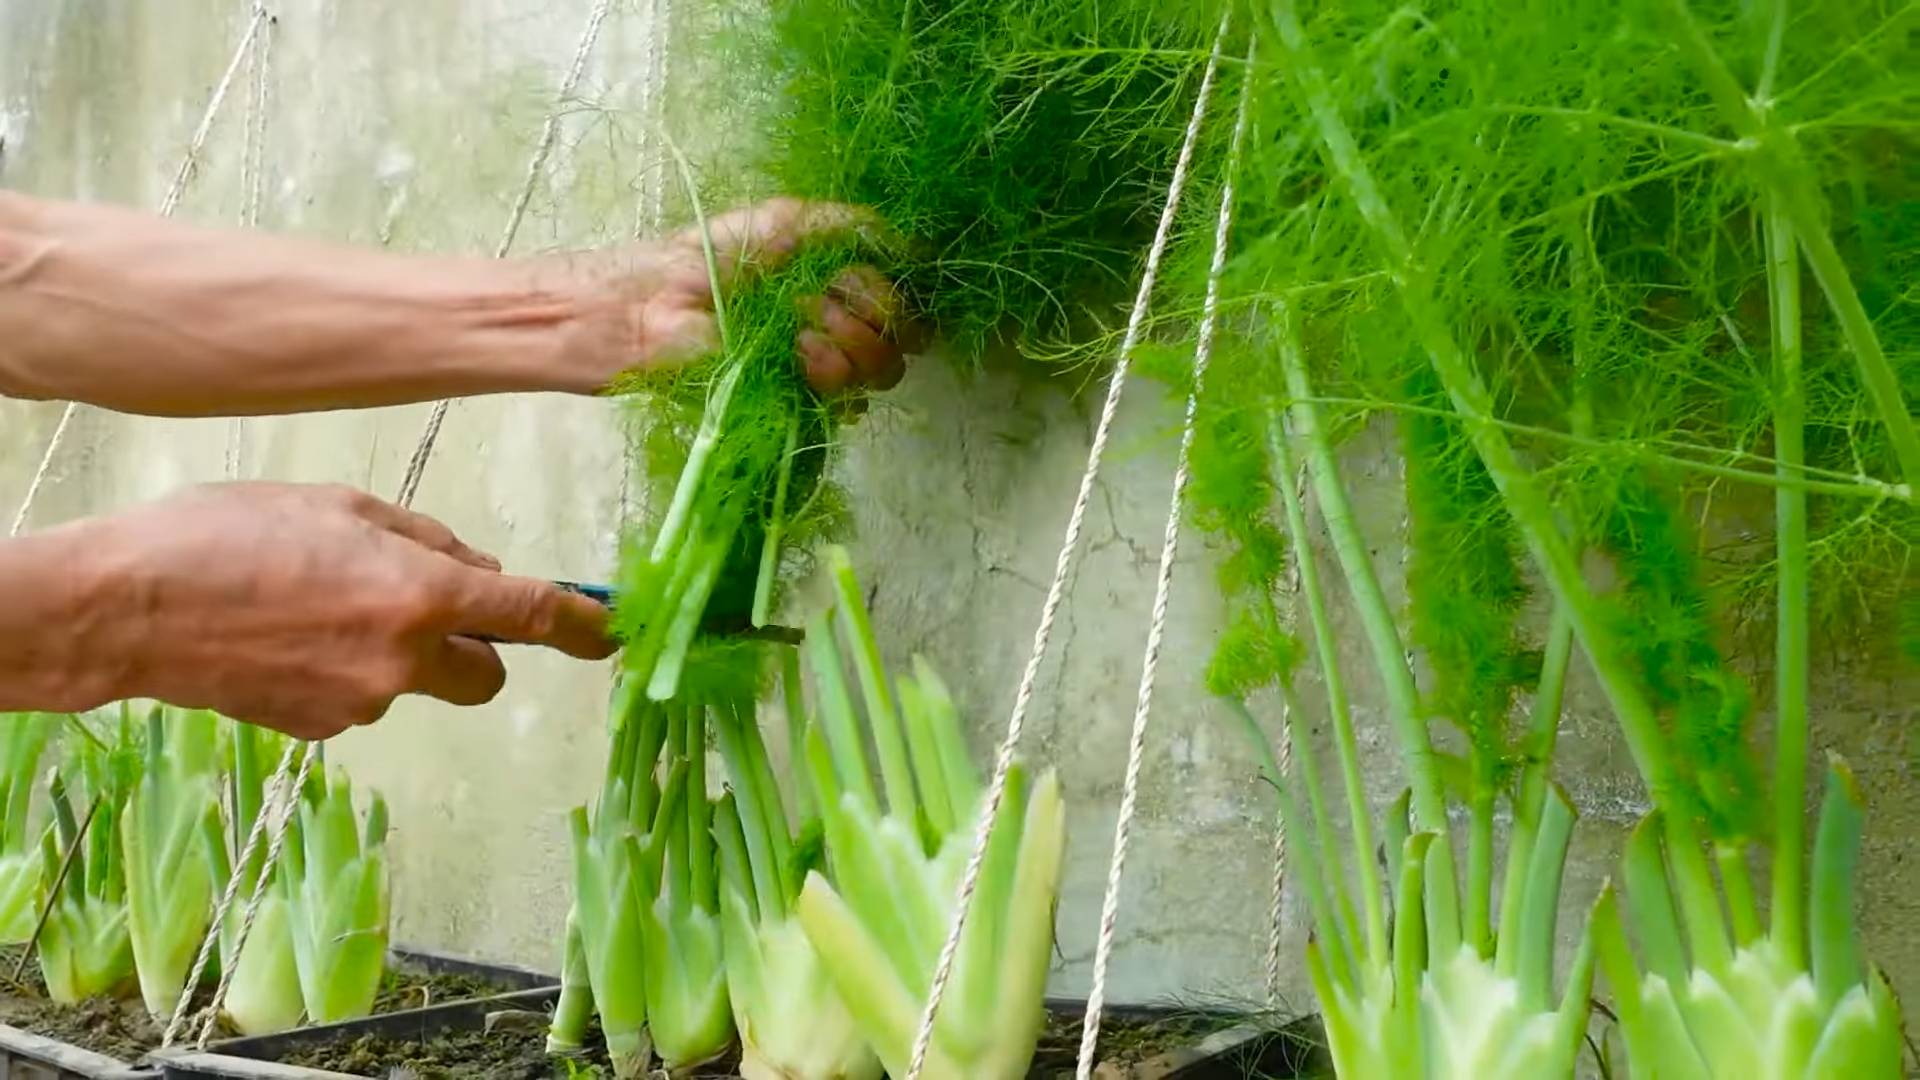
1. **Snip the Leaves:** Use scissors or pruning shears to snip off the leaves as needed. Start with the outer leaves, as these are the oldest.
2. **Harvest Regularly:** Regular harvesting will encourage the plant to produce more leaves.
3. **Flowering:** If your dill plant starts to flower, don’t worry! You can still harvest the leaves, but they may become slightly less flavorful. You can also harvest the dill seeds once the flowers have dried.
Troubleshooting
Even with the best care, you might encounter a few problems along the way. Here are some common issues and how to address them:
* **Yellowing Leaves:** This could be a sign of overwatering, underwatering, or nutrient deficiency. Check the soil moisture and adjust your watering accordingly. If the soil is dry, water deeply. If the soil is soggy, allow it to dry out before watering again. You can also try fertilizing with a balanced liquid fertilizer.
* **Leggy Growth:** This is usually caused by insufficient light. Move your dill plants to a sunnier location or supplement with grow lights.
* **Pests:** Dill is relatively pest-resistant, but aphids and spider mites can sometimes be a problem. If you notice any pests, try spraying the plants with insecticidal soap or neem oil.
* **Powdery Mildew:** This fungal disease can cause a white, powdery coating on the leaves. Improve air circulation and avoid overhead watering. You can also try spraying the plants with a fungicide.
Encouraging Bushier Growth
Want a fuller, more productive dill plant? Here are a few tips:
* Pinching Back: Regularly pinch back the tips of the stems. This encourages the plant to branch out and produce more leaves.
* Rotating the Plant: Rotate the plant regularly to ensure that all sides receive equal sunlight. This will prevent the plant from leaning towards the light source.
* Proper Pot Size: Make sure your dill plant has enough room to grow. If the roots become crowded, the plant will become stunted. Transplant it to a larger pot if necessary.
Saving Dill Seeds
If you let your dill flower and go to seed, you can save the seeds for planting next year.
1. **Allow the Flowers to Dry:** Let the flowers dry completely on the plant. The seed heads will turn brown and brittle.
2. **Harvest the Seeds:** Cut off the seed heads and place them in a paper bag.
3. **Dry the Seeds:** Allow the seeds to dry completely in a cool, dry place for a few weeks.
4. **Store the Seeds:** Store the seeds in an airtight container in a cool, dark place. They should remain viable for several years.
Using Your Fresh Dill
Now for the fun part – using your homegrown dill! Fresh dill adds a bright, herbaceous flavor to a variety of dishes.
* Salads: Sprinkle chopped dill over salads for a refreshing flavor boost.
* Dips and Sauces: Add dill to dips and sauces for a tangy, aromatic touch.
* Fish and Seafood: Dill is a classic pairing for fish and seafood.
* Pickles: Use dill to flavor homemade pickles.
* Eggs: Add dill to scrambled eggs, omelets, or quiches.
* Potatoes: Dill is delicious with potatoes, whether they’re mashed, roasted, or boiled.
Dill Varieties to Consider for Indoor Growing
While any dill variety *can* be grown indoors, some are better suited than others due to their size and growth habits. Here are a few to consider:
* Fernleaf Dill: As mentioned earlier, this is a popular choice for indoor growing because it stays relatively compact, reaching only about 18 inches tall.
* Dwarf Dill: This variety is even smaller than Fernleaf, making it ideal for small spaces.
* Bouquet Dill: While it can grow taller, Bouquet dill is known for its abundant foliage and strong flavor. Just be prepared to provide adequate support if it gets too top-heavy.
Extra Tips for Success
* Start with Fresh Seeds: Dill seeds have a relatively short shelf life, so it’s best to use fresh seeds for the best germination rate.
* Don’t Overcrowd: Give your dill plants plenty of space to grow. Overcrowding can lead to poor
Conclusion
So, there you have it! Growing dill indoors is not only achievable, but it’s also incredibly rewarding. Imagine having fresh, fragrant dill readily available, no matter the season, to elevate your culinary creations. Forget those sad, wilted bunches from the grocery store – with a little effort, you can cultivate a thriving dill plant right on your windowsill.
This DIY trick is a must-try for several compelling reasons. First and foremost, it grants you access to a constant supply of fresh dill, far superior in flavor and aroma to its dried counterpart. Think of the vibrant dill sprigs you can add to your creamy dips, the delicate dill fronds you can sprinkle over your salmon, or the aromatic dill you can infuse into your homemade pickles. The possibilities are endless!
Beyond the culinary benefits, growing dill indoors offers a therapeutic and aesthetically pleasing experience. Nurturing a plant, watching it grow, and harvesting its bounty can be incredibly satisfying. Plus, the feathery foliage of dill adds a touch of greenery and freshness to your indoor space.
But the best part? It’s surprisingly easy! With the right setup and a little bit of care, you can successfully grow dill indoors, even if you don’t have a green thumb.
Now, let’s talk about variations. While the basic method outlined above is a great starting point, you can certainly experiment to find what works best for you. For instance, if you’re short on space, consider using a smaller pot or a vertical planter. You can also try growing different varieties of dill, such as ‘Bouquet’ or ‘Dukat,’ each with its own unique flavor profile.
Another variation involves the type of lighting you use. While a sunny windowsill is ideal, you can supplement with a grow light if needed, especially during the darker months. Experiment with different light intensities and durations to see what promotes the healthiest growth.
Finally, don’t be afraid to get creative with your dill! Use it to make dill-infused oil, dill vinegar, or even dill-flavored butter. The only limit is your imagination.
We wholeheartedly encourage you to try this DIY trick and experience the joy of growing dill indoors for yourself. It’s a simple, rewarding, and delicious way to enhance your cooking and brighten your home.
And most importantly, we want to hear about your experience! Share your tips, tricks, and successes (and even your challenges!) in the comments below. Let’s create a community of indoor dill growers and learn from each other. What variety of dill did you choose? What kind of container did you use? What challenges did you face, and how did you overcome them? Your insights could be invaluable to other aspiring dill growers.
So, grab your seeds, your pot, and your potting mix, and get ready to embark on a dill-ightful adventure! Happy growing! Remember, fresh, homegrown dill is just a few steps away.
Frequently Asked Questions (FAQ)
What is the best time of year to start growing dill indoors?
You can start growing dill indoors at any time of year! Unlike outdoor gardening, indoor growing isn’t dictated by the seasons. As long as you provide the right conditions – adequate light, proper watering, and suitable temperature – your dill can thrive year-round. However, starting in early spring might give your dill a head start, allowing it to establish itself before the less sunny winter months arrive.
How much sunlight does indoor dill need?
Dill thrives in bright, direct sunlight. Aim for at least 6-8 hours of sunlight per day. A south-facing window is usually the best option. If you don’t have access to enough natural light, supplement with a grow light. Position the grow light a few inches above the dill plant and keep it on for 12-14 hours per day. Insufficient light can lead to leggy, weak growth.
What kind of soil should I use for growing dill indoors?
Use a well-draining potting mix. Avoid using garden soil, as it can be too heavy and compact for container gardening. A good potting mix will provide adequate drainage and aeration, preventing root rot. You can also amend your potting mix with perlite or vermiculite to improve drainage.
How often should I water my indoor dill plant?
Water your dill plant when the top inch of soil feels dry to the touch. Avoid overwatering, as this can lead to root rot. Ensure that the pot has drainage holes to allow excess water to escape. During the warmer months, you may need to water more frequently than during the cooler months.
How do I harvest dill from my indoor plant?
You can start harvesting dill leaves once the plant is about 6-8 inches tall. Simply snip off the leaves or stems as needed. Avoid removing more than one-third of the plant at a time, as this can stunt its growth. Regular harvesting will encourage the plant to produce more leaves.
My dill plant is getting leggy and falling over. What should I do?
Leggy growth is usually a sign of insufficient light. Move your dill plant to a sunnier location or supplement with a grow light. You can also try pinching back the stems to encourage bushier growth. Ensure that the plant is adequately supported, especially as it grows taller.
Can I grow dill from seed indoors?
Yes, you can easily grow dill from seed indoors. Sow the seeds directly into the potting mix, about ¼ inch deep. Keep the soil moist but not soggy. Germination usually occurs within 7-14 days. Once the seedlings emerge, thin them out so that there is only one plant per pot.
My dill plant is attracting pests. What should I do?
Common pests that can affect dill plants include aphids, spider mites, and whiteflies. Inspect your plant regularly for signs of infestation. If you find pests, try washing them off with a strong stream of water. You can also use insecticidal soap or neem oil to control pests.
How long will my indoor dill plant last?
Dill is an annual plant, meaning it completes its life cycle in one growing season. However, with proper care, you can extend its lifespan and enjoy fresh dill for several months. Once the plant starts to flower, it will produce seeds and eventually die. You can collect the seeds and save them for planting next year.
Can I transplant my indoor dill plant outdoors?
Yes, you can transplant your indoor dill plant outdoors, but it’s important to acclimate it gradually to the outdoor conditions. Start by placing the plant outdoors in a sheltered location for a few hours each day, gradually increasing the amount of time it spends outdoors. This will help it adjust to the sun, wind, and temperature changes.
Leave a Comment