
Grow Dill Kitchen Garden: Imagine stepping into your kitchen, needing a sprig of fresh dill for your creamy cucumber salad, and simply snipping it right from your windowsill. Sounds idyllic, right? Well, it’s absolutely achievable! For centuries, cultivating herbs like dill in small, accessible spaces has been a cornerstone of home cooking, connecting us to the land and providing fresh flavors at our fingertips. From ancient Roman gardens to medieval monastery plots, the practice of growing herbs close to the kitchen has deep historical roots.
But in today’s fast-paced world, who has time for a sprawling garden? That’s where our DIY tricks and hacks come in! I’m going to show you how easy it is to grow dill kitchen garden, even if you have limited space or a less-than-green thumb. Dill is a fantastic herb to start with – it’s relatively low-maintenance, adds a burst of flavor to countless dishes, and its feathery foliage is simply beautiful.
This article is packed with simple, step-by-step instructions and clever tips to ensure your dill thrives indoors. We’ll cover everything from choosing the right container and soil to providing optimal light and watering. Say goodbye to expensive, wilted herbs from the grocery store and hello to a constant supply of fresh, fragrant dill, ready to elevate your culinary creations. Let’s get started!
Dill Anbauen: Dein Küchengarten-Projekt für frischen Geschmack
Hallo liebe Gartenfreunde! Ich freue mich riesig, euch heute zu zeigen, wie ihr ganz einfach Dill in eurer eigenen Küche anbauen könnt. Frischer Dill ist einfach unschlagbar, egal ob für Salate, Fischgerichte oder einfach nur als Topping auf einem leckeren Brot. Und das Beste daran? Es ist super einfach und macht richtig Spaß!
Was du brauchst: Die Materialliste
Bevor wir loslegen, hier eine Liste mit allem, was du für dein Dill-Projekt benötigst:
* Dillsamen: Am besten Bio-Qualität, damit du sicher sein kannst, dass keine schädlichen Stoffe enthalten sind. Du findest sie in jedem Gartencenter oder online.
* Anzuchttöpfe oder -schalen: Kleine Töpfe oder Schalen mit Drainagelöchern sind ideal. Du kannst auch Joghurtbecher oder Eierkartons verwenden, wenn du kreativ sein möchtest.
* Anzuchterde: Diese Erde ist besonders nährstoffarm und locker, perfekt für die Keimung der Samen.
* Blumenerde: Wenn die Dillpflänzchen größer sind, brauchen sie nährstoffreichere Erde.
* Ein größerer Topf (ca. 20 cm Durchmesser): Hier ziehen die Dillpflanzen später ein.
* Gießkanne oder Sprühflasche: Zum sanften Bewässern der Samen und Pflänzchen.
* Ein sonniger Standort: Dill liebt die Sonne! Ein Fensterbrett oder ein Balkon mit viel Sonne ist perfekt.
* Optional: Eine kleine Schaufel oder ein Löffel zum Umtopfen.
Phase 1: Die Aussaat – So bringst du deine Dillsamen zum Keimen
Die Aussaat ist der erste und wichtigste Schritt. Hier zeige ich dir, wie du es richtig machst:
1. Vorbereitung der Anzuchttöpfe: Fülle die Anzuchttöpfe oder -schalen mit Anzuchterde. Drücke die Erde leicht an, aber nicht zu fest. Sie sollte locker und luftig bleiben.
2. Aussaat der Samen: Verteile die Dillsamen gleichmäßig auf der Erde. Du kannst ruhig ein paar Samen mehr aussäen, da nicht alle keimen werden. Ich säe meistens 3-5 Samen pro Töpfchen.
3. Bedecken der Samen: Bedecke die Samen mit einer dünnen Schicht Anzuchterde (ca. 0,5 cm).
4. Bewässerung: Befeuchte die Erde vorsichtig mit einer Sprühflasche oder einer Gießkanne mit feinem Brausekopf. Die Erde sollte feucht, aber nicht nass sein. Vermeide Staunässe!
5. Der richtige Standort: Stelle die Anzuchttöpfe an einen warmen und hellen Ort. Eine Temperatur von 18-20°C ist ideal für die Keimung. Direkte Sonneneinstrahlung ist jetzt noch nicht nötig.
6. Geduld ist gefragt: Jetzt heißt es warten! Die Samen keimen in der Regel innerhalb von 10-14 Tagen. Halte die Erde während dieser Zeit feucht, aber vermeide Staunässe.
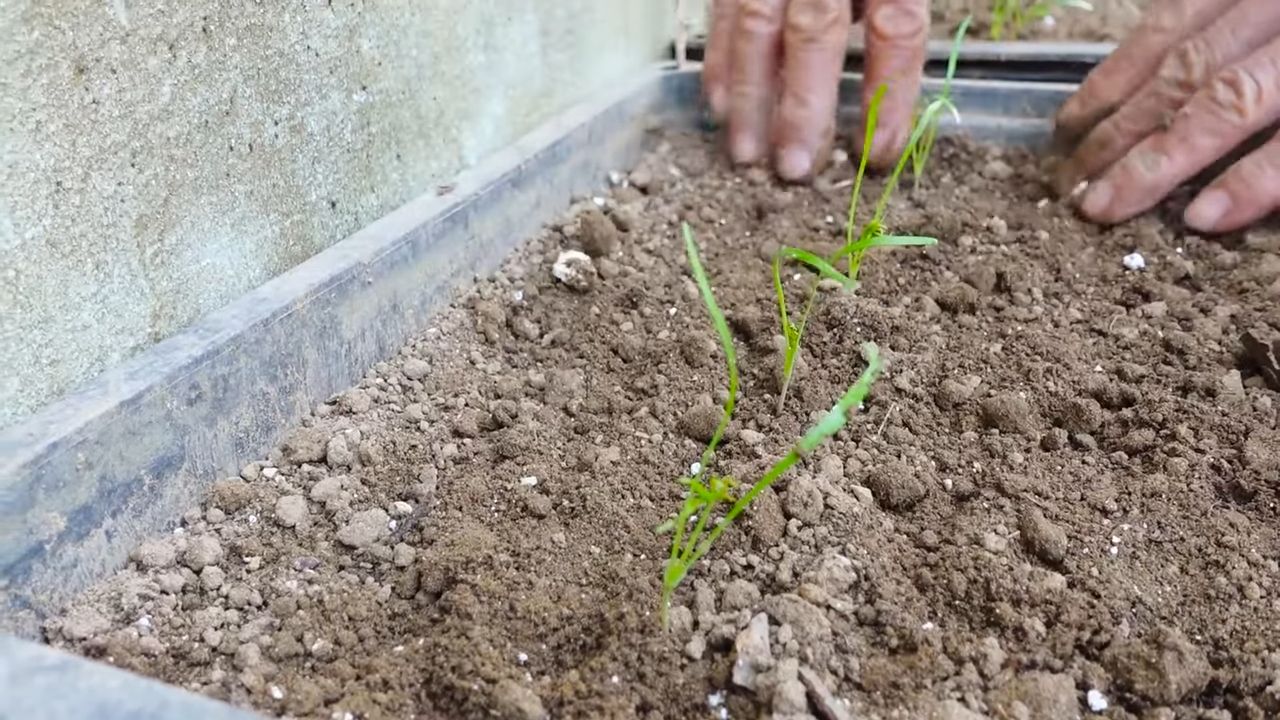
Phase 2: Die Pflege der Dillpflänzchen – So wachsen sie stark und gesund
Sobald die ersten grünen Spitzen aus der Erde sprießen, beginnt die nächste Phase: die Pflege der Dillpflänzchen.
1. Mehr Licht: Sobald die Pflänzchen gekeimt sind, brauchen sie viel Licht. Stelle sie an einen sonnigen Standort, z.B. auf ein Fensterbrett mit Südausrichtung oder auf den Balkon.
2. Regelmäßige Bewässerung: Gieße die Pflänzchen regelmäßig, aber nicht zu viel. Die Erde sollte immer leicht feucht sein. Vermeide Staunässe, da dies zu Wurzelfäule führen kann. Ich prüfe immer mit dem Finger, ob die Erde trocken ist, bevor ich gieße.
3. Vereinzeln der Pflänzchen: Wenn mehrere Pflänzchen in einem Topf wachsen, solltest du sie vereinzeln, sobald sie ein paar Zentimeter groß sind. Das bedeutet, dass du die schwächeren Pflänzchen entfernst, damit die stärkeren genug Platz zum Wachsen haben.
4. Düngen (optional): Dill ist nicht besonders anspruchsvoll, aber eine gelegentliche Düngung kann das Wachstum fördern. Verwende einen organischen Flüssigdünger und befolge die Anweisungen auf der Verpackung. Ich dünge meine Dillpflanzen etwa alle zwei Wochen.
5. Drehen der Töpfe: Drehe die Töpfe regelmäßig, damit die Pflänzchen gleichmäßig wachsen und sich nicht zum Licht hinbiegen.
Phase 3: Das Umtopfen – Ein neues Zuhause für deinen Dill
Wenn die Dillpflänzchen groß genug sind (ca. 10-15 cm), ist es Zeit, sie in einen größeren Topf umzutopfen.
1. Vorbereitung des neuen Topfes: Fülle den größeren Topf mit Blumenerde. Achte darauf, dass der Topf Drainagelöcher hat, damit überschüssiges Wasser ablaufen kann.
2. Vorsichtiges Herausnehmen der Pflänzchen: Löse die Dillpflänzchen vorsichtig aus den Anzuchttöpfen. Versuche, die Wurzeln so wenig wie möglich zu beschädigen.
3. Einsetzen in den neuen Topf: Setze die Dillpflänzchen in den neuen Topf und fülle den Topf mit Blumenerde auf. Drücke die Erde leicht an.
4. Bewässerung: Gieße die Dillpflänzchen nach dem Umtopfen gründlich.
5. Der richtige Standort: Stelle den Topf an einen sonnigen Standort.
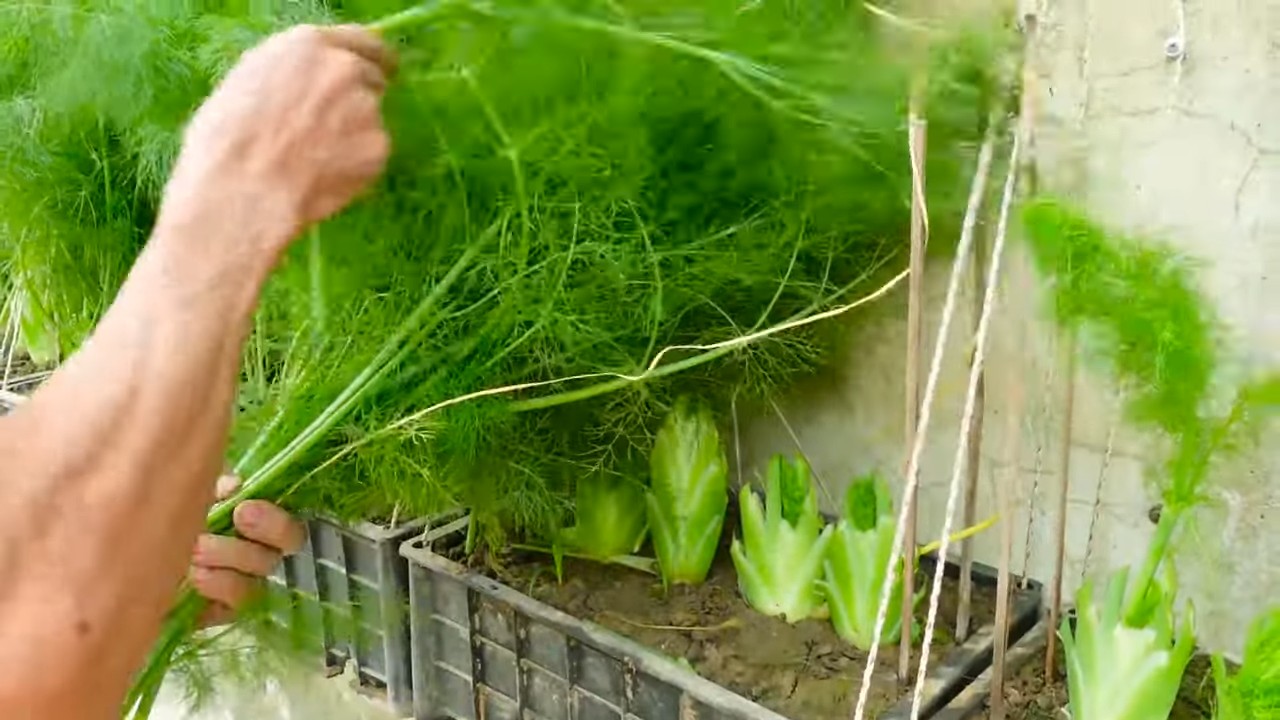
Phase 4: Die Ernte – Frischer Dill für deine Küche
Nach ein paar Wochen kannst du endlich deinen eigenen Dill ernten!
1. Erntezeitpunkt: Du kannst Dill ernten, sobald er eine Höhe von ca. 15-20 cm erreicht hat.
2. Erntemethode: Schneide die Dillstängel mit einer Schere oder einem Messer ab. Du kannst entweder einzelne Blätter oder ganze Stängel ernten.
3. Regelmäßige Ernte: Durch regelmäßiges Ernten förderst du das Wachstum der Pflanze. Schneide die Blütenstände ab, bevor sie sich öffnen, da die Pflanze sonst ihre Energie in die Samenbildung steckt und weniger Blätter produziert.
4. Lagerung: Frischer Dill hält sich im Kühlschrank ein paar Tage. Du kannst ihn auch einfrieren oder trocknen.
Zusätzliche Tipps und Tricks für deinen Dill-Erfolg
* Schädlinge: Dill ist relativ resistent gegen Schädlinge. Gelegentlich können Blattläuse auftreten. Diese kannst du einfach mit einem Wasserstrahl abspülen oder mit einem biologischen Schädlingsbekämpfungsmittel behandeln.
* Krankheiten: Staunässe kann zu Wurzelfäule führen. Achte daher auf eine gute Drainage und vermeide übermäßiges Gießen.
* Aussaatzeitpunkt: Du kannst Dill von Frühjahr bis Herbst aussäen.
* Dill im Freien: Wenn du einen Garten hast, kannst du Dill auch direkt ins Freiland säen.
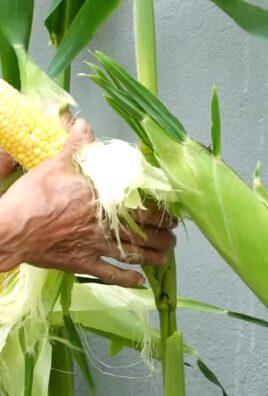
* Dill als Begleitpflanze: Dill ist eine gute Begleitpflanze für viele Gemüsesorten, z.B. Gurken, Tomaten und Kohl. Er hält Schädlinge fern und fördert das Wachstum der Pflanzen.
Ich hoffe, diese Anleitung hilft dir dabei, deinen eigenen Dill in der Küche anzubauen. Es ist wirklich ein tolles Gefühl, frische Kräuter aus dem eigenen Garten zu ernten und damit deine Gerichte zu verfeinern. Viel Spaß beim Gärtnern!
Conclusion
So, there you have it! Cultivating your own dill, right in your kitchen, is not only achievable but also incredibly rewarding. This simple DIY trick for a kitchen garden offers a constant supply of fresh, aromatic dill, ready to elevate your culinary creations at a moment’s notice. Forget those sad, wilted bunches from the grocery store; imagine the vibrant flavor of freshly snipped dill sprigs enhancing your salads, soups, dips, and seafood dishes.
Why is this a must-try? Because it’s more than just growing herbs; it’s about connecting with your food, reducing waste, and adding a touch of green to your indoor space. It’s about the satisfaction of nurturing a plant from seed to harvest, all within the comfort of your own home. Plus, think of the money you’ll save by not having to constantly repurchase dill!
But the beauty of this DIY project lies in its adaptability. Feel free to experiment with different containers – from repurposed yogurt cups to stylish ceramic pots. Consider using a variety of dill seeds, such as ‘Bouquet’ for its prolific leaf production or ‘Long Island Mammoth’ for its impressive size. You can even try companion planting, adding small marigolds or basil to your dill container to deter pests and enhance growth.
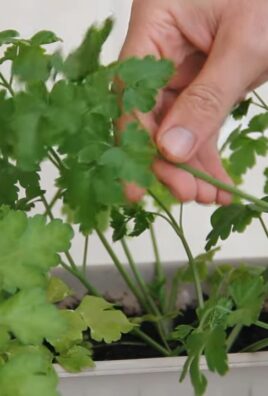
And don’t stop at dill! Once you’ve mastered this technique, you can easily apply it to other herbs like parsley, chives, or mint, creating a thriving indoor herb garden that caters to your specific culinary needs. Imagine the possibilities!
We wholeheartedly encourage you to give this DIY trick a try. It’s a simple, cost-effective, and incredibly satisfying way to bring the freshness of the garden into your kitchen. We’re confident that you’ll be amazed at how easy it is to grow your own dill.
Once you’ve embarked on your dill-growing adventure, we’d love to hear about your experience! Share your tips, tricks, and photos with us in the comments below. Let’s create a community of indoor gardeners, sharing our knowledge and inspiring others to embrace the joy of growing their own food. So, grab your seeds, potting mix, and a sunny windowsill, and get ready to experience the magic of growing your own **dill kitchen garden**! We can’t wait to see what you create!
Frequently Asked Questions (FAQ)
What kind of soil is best for growing dill indoors?
Dill thrives in well-draining soil that is rich in organic matter. A good starting point is a standard potting mix amended with compost or aged manure. Avoid heavy clay soils, as they can retain too much moisture and lead to root rot. You can also create your own custom blend by combining equal parts potting soil, perlite, and vermiculite. This mixture provides excellent drainage and aeration, which are crucial for healthy dill growth. Remember to choose a potting mix that is specifically formulated for containers, as these mixes are designed to retain moisture without becoming waterlogged.
How much sunlight does dill need when grown indoors?
Dill requires at least 6 hours of direct sunlight per day to thrive. If you don’t have a sunny windowsill, you can supplement with grow lights. Place the grow lights about 6-12 inches above the plants and keep them on for 12-14 hours per day. Insufficient sunlight can lead to leggy growth and reduced flavor. Rotate your dill plants regularly to ensure that all sides receive adequate light. If you notice that your dill is stretching towards the light source, it’s a sign that it needs more light.
How often should I water my indoor dill plant?
Water your dill plant when the top inch of soil feels dry to the touch. Avoid overwatering, as this can lead to root rot. Ensure that your container has drainage holes to allow excess water to escape. During the warmer months, you may need to water more frequently than during the cooler months. Check the soil moisture regularly and adjust your watering schedule accordingly. A good rule of thumb is to water deeply but infrequently, allowing the soil to dry out slightly between waterings.
How do I harvest dill from my indoor garden?
You can start harvesting dill leaves once the plant is about 6-8 inches tall. Simply snip off the leaves with scissors or your fingers. Avoid removing more than one-third of the plant at a time, as this can stunt its growth. Regular harvesting encourages the plant to produce more leaves. You can also harvest the dill seeds once the flower heads have dried and turned brown. Dill seeds have a stronger flavor than the leaves and can be used in pickling, soups, and stews.
What are some common pests and diseases that affect indoor dill plants?
Common pests that can affect indoor dill plants include aphids, spider mites, and whiteflies. These pests can be controlled with insecticidal soap or neem oil. Ensure that you spray all parts of the plant, including the undersides of the leaves. Overwatering can lead to fungal diseases such as powdery mildew and root rot. To prevent these diseases, ensure that your dill plant has good air circulation and well-draining soil. Avoid overcrowding your plants and water them in the morning so that the leaves have time to dry before nightfall.
Can I grow dill from seed indoors, or is it better to start with a transplant?
Growing dill from seed indoors is relatively easy and often more successful than transplanting. Dill seedlings can be sensitive to transplant shock, so starting from seed allows them to establish their roots in their final container. Sow the seeds directly into your potting mix and keep the soil moist until they germinate. Once the seedlings have emerged, thin them out to allow for adequate spacing.
How long does it take for dill to grow from seed to harvest indoors?
Dill typically takes about 40-60 days to grow from seed to harvest indoors. The exact time will depend on factors such as temperature, light, and soil fertility. Provide your dill plant with optimal growing conditions to ensure a faster harvest.
Can I dry or freeze dill from my indoor garden?
Yes, you can dry or freeze dill to preserve it for later use. To dry dill, hang the stems upside down in a cool, dry place until the leaves are brittle. You can also use a dehydrator to speed up the drying process. To freeze dill, chop the leaves and place them in ice cube trays with water or olive oil. Once frozen, transfer the cubes to a freezer bag for long-term storage.
What are some creative ways to use fresh dill from my kitchen garden?
Fresh dill can be used in a variety of dishes, including salads, soups, dips, sauces, and seafood. It pairs well with cucumbers, yogurt, cream cheese, and lemon. You can also use dill to flavor pickles, vinegars, and oils. Add fresh dill to your scrambled eggs, omelets, or frittatas for a burst of flavor. Garnish your grilled fish or chicken with fresh dill sprigs for an elegant presentation. The possibilities are endless!
Is it possible to grow dill indoors year-round?
Yes, with proper care and attention, you can grow dill indoors year-round. Provide your dill plant with adequate light, water, and nutrients, and it will continue to produce fresh leaves throughout the year. You may need to adjust your watering and fertilizing schedule depending on the season. During the winter months, when daylight hours are shorter, you may need to supplement with grow lights to ensure that your dill plant receives enough light.
Leave a Comment