
Alcohol Dish Soap Cleaner: Your secret weapon for a sparkling home, naturally! Have you ever looked at your grimy shower door or greasy stovetop and thought, “There has to be a better way?” I know I have! For generations, people have sought simple, effective cleaning solutions that don’t rely on harsh chemicals. From ancient civilizations using natural oils and herbs to modern-day DIY enthusiasts, the quest for a clean home has always been a priority.
That’s where this amazing Alcohol Dish Soap Cleaner comes in. In this article, I’m going to share a super easy DIY trick that will revolutionize your cleaning routine. Why spend a fortune on expensive, store-bought cleaners when you can whip up a powerful, all-purpose solution with just two common household ingredients? This hack is perfect for anyone looking to save money, reduce their environmental impact, and achieve a truly clean and fresh home. Get ready to ditch the chemicals and embrace the power of simple, effective cleaning!
DIY Streak-Free Window Cleaner: Alcohol & Dish Soap Magic!
Hey everyone! I’m so excited to share my go-to recipe for sparkling clean windows. Forget those expensive store-bought cleaners – this DIY solution using just alcohol and dish soap is incredibly effective, super affordable, and leaves absolutely no streaks. I’ve been using it for years, and my windows have never looked better. Trust me, you’ll love it!
What You’ll Need: The Essential Supplies
Before we dive in, let’s gather all the necessary supplies. Having everything ready will make the whole process much smoother.
* Isopropyl Alcohol (Rubbing Alcohol): I recommend using 70% or 91% isopropyl alcohol. The higher the percentage, the faster it evaporates, which helps prevent streaks.
* Dish Soap: A small amount of dish soap is all you need. I prefer using a clear, unscented dish soap to avoid any potential residue or discoloration. Dawn is a classic choice, but any gentle dish soap will work.
* Spray Bottle: A clean, empty spray bottle is essential for applying the cleaner. Make sure it’s properly cleaned to avoid contaminating the solution.
* Distilled Water: Using distilled water is crucial for streak-free results. Tap water often contains minerals that can leave spots on your windows.
* Microfiber Cloths: These are my secret weapon for streak-free cleaning! Microfiber cloths are super absorbent and won’t leave lint behind.
* Optional: Squeegee: While not essential, a squeegee can be helpful for larger windows or mirrors.
* Optional: Bucket: If you’re cleaning a lot of windows, a bucket of clean water can be useful for rinsing your microfiber cloths.
Mixing the Magic Potion: Step-by-Step Instructions
Now for the fun part – mixing our DIY window cleaner! This is a simple process, but precise measurements are key to achieving the best results.
1. Prepare the Spray Bottle: Make sure your spray bottle is clean and dry. Any residue inside could affect the performance of the cleaner.
2. Add Isopropyl Alcohol: Pour 1 cup of isopropyl alcohol into the spray bottle. This is the main cleaning agent, responsible for cutting through grime and grease.
3. Add Distilled Water: Next, add 1 cup of distilled water to the spray bottle. The distilled water helps dilute the alcohol and prevents mineral deposits.
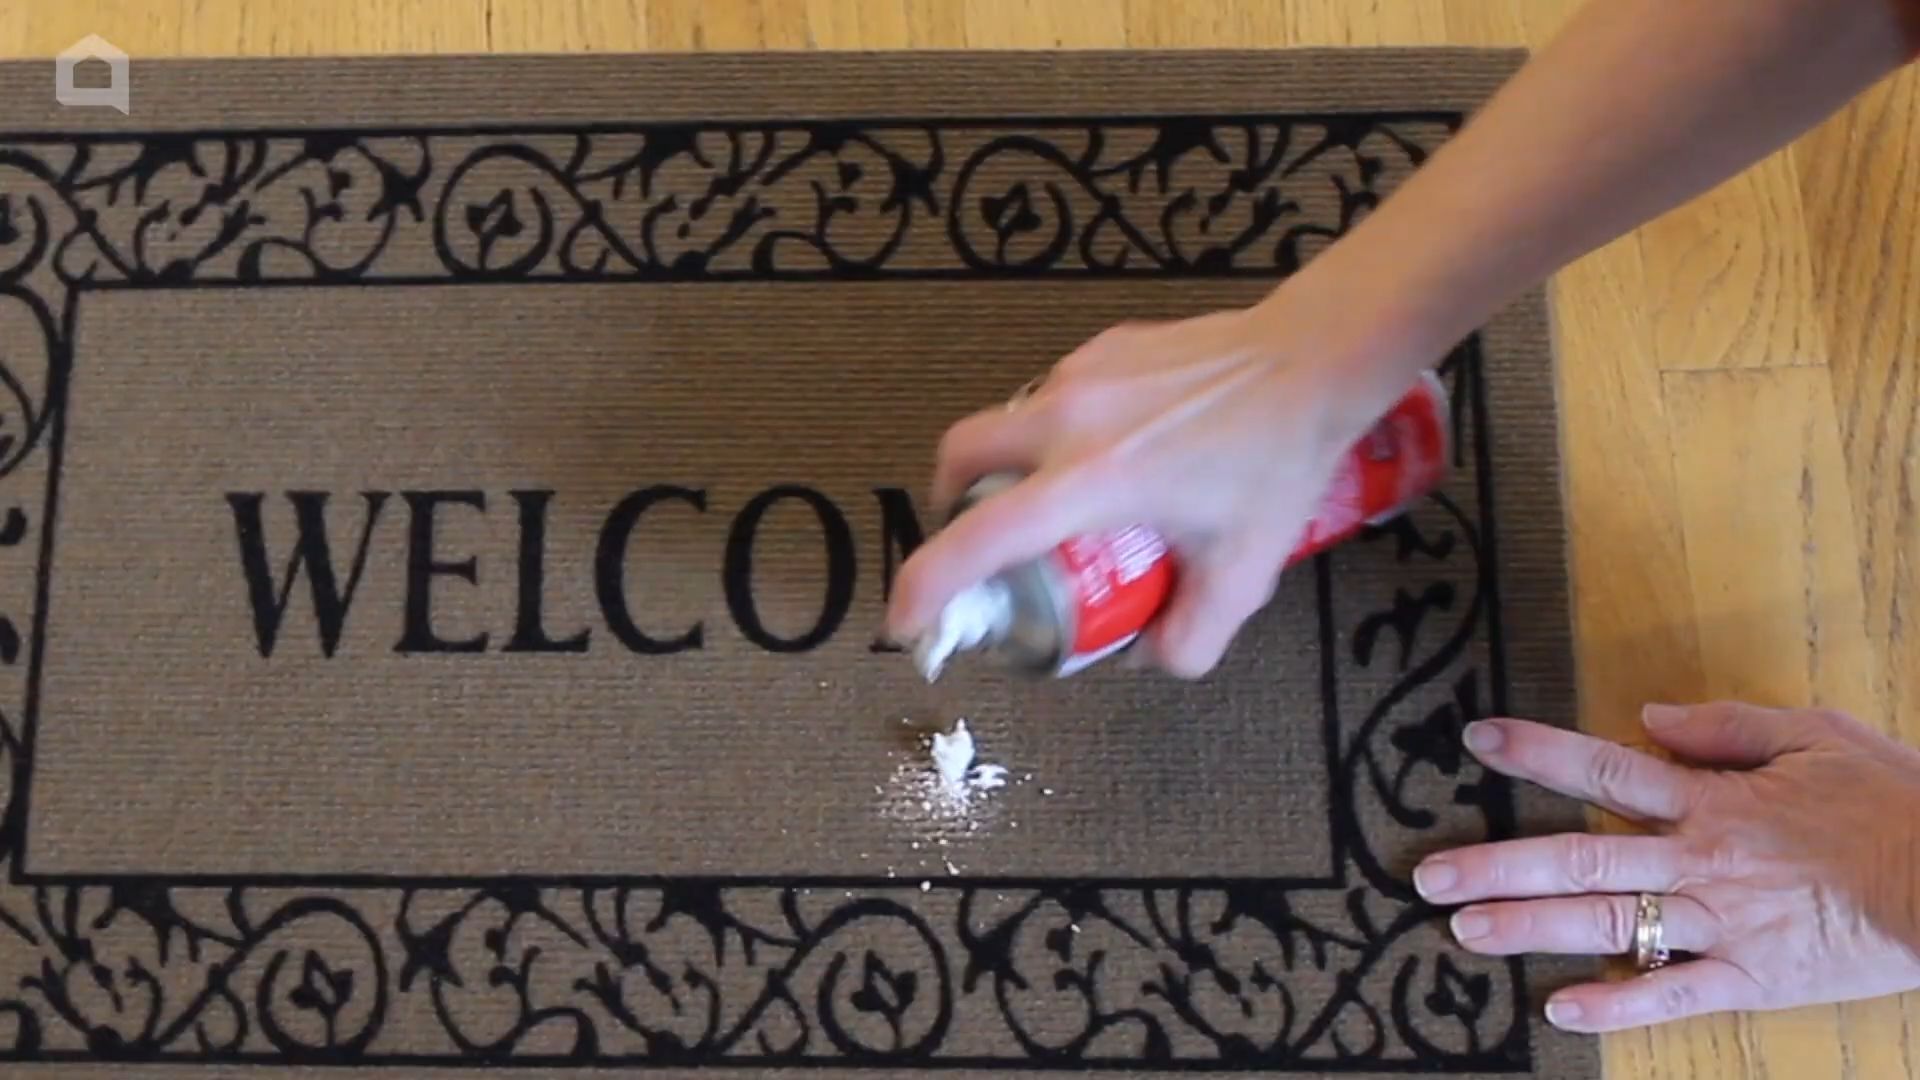
4. Add Dish Soap (Sparingly!): This is where less is more! Add only 1/4 teaspoon of dish soap to the mixture. Too much soap will leave a residue and cause streaks. I use a measuring spoon to ensure I don’t add too much.
5. Shake Well: Secure the spray bottle lid tightly and shake the mixture vigorously for about 30 seconds to ensure all the ingredients are thoroughly combined.
Cleaning Your Windows: The Ultimate Guide
Okay, we’ve got our cleaner ready. Now let’s get those windows sparkling! I’m going to walk you through my tried-and-true method for achieving streak-free results every time.
1. Prepare the Window: Before you start spraying, it’s important to prepare the window surface. Use a dry microfiber cloth to remove any loose dirt, dust, or cobwebs. This will prevent you from just spreading the dirt around when you apply the cleaner.
2. Spray the Window: Hold the spray bottle about 6-8 inches away from the window and spray a generous amount of the cleaner onto the surface. You want to make sure the entire window is covered, but avoid oversaturating it.
3. Wipe with a Microfiber Cloth: Immediately after spraying, use a clean, dry microfiber cloth to wipe the window. Use overlapping strokes, working from top to bottom. Apply gentle pressure to remove any stubborn dirt or grime.
4. Dry with a Clean Microfiber Cloth: This is the most important step for achieving streak-free results! Use a second clean, dry microfiber cloth to dry the window completely. Again, use overlapping strokes and apply gentle pressure.
5. Optional: Use a Squeegee: If you’re using a squeegee, overlap each stroke slightly and wipe the blade clean after each pass. This will prevent streaks and ensure a smooth, even finish.
6. Repeat if Necessary: For heavily soiled windows, you may need to repeat the cleaning process. Don’t be afraid to give it another go if you’re not happy with the initial results.
Tackling Tough Stains and Grime
Sometimes, windows have stubborn stains or grime that require a little extra attention. Here are a few tips for dealing with those tricky spots:
* Bug Splatter: For dried bug splatter, try soaking the area with the cleaner for a few minutes before wiping. You can also use a soft-bristled brush to gently scrub the area.
* Hard Water Stains: Hard water stains can be difficult to remove. Try using a solution of equal parts white vinegar and water to pre-treat the stains before cleaning with the alcohol and dish soap mixture.
* Grease and Grime: For greasy windows, you may need to use a slightly stronger dish soap solution. However, be careful not to use too much soap, as it can leave a residue.
* Bird Droppings: Bird droppings can be corrosive and difficult to remove. Soak the area with the cleaner for several minutes before wiping. You may need to use a plastic scraper to gently remove the droppings.
Tips and Tricks for Sparkling Windows
Here are a few extra tips and tricks I’ve learned over the years to help you achieve the best possible results:
* Clean on a Cloudy Day: Avoid cleaning your windows on a sunny day, as the cleaner will dry too quickly and leave streaks. A cloudy day is ideal.
* Use Two Buckets: If you’re cleaning a lot of windows, use two buckets – one for rinsing your microfiber cloths and one for clean water. This will prevent you from spreading dirt around.
* Wash Your Microfiber Cloths Regularly: Dirty microfiber cloths will leave streaks on your windows. Wash them regularly in hot water with a mild detergent. Avoid using fabric softener, as it can reduce their absorbency.
* Clean Your Window Screens: Don’t forget to clean your window screens! Dirty screens will quickly re-soil your clean windows. You can use a brush or vacuum cleaner to remove dust and debris.
* Test in an Inconspicuous Area: Before cleaning your entire window, test the cleaner in an inconspicuous area to make sure it doesn’t damage the surface. This is especially important for tinted or coated windows.
* Don’t Over-Spray: Avoid oversaturating the window with cleaner. Too much cleaner can leave a residue and cause streaks.
* Change Your Microfiber Cloths Frequently: As you clean, your microfiber cloths will become saturated with dirt and grime. Change them frequently to ensure you’re always using a clean cloth.
* Clean from Top to Bottom: Always clean your windows from top to bottom to prevent drips from running down onto already cleaned areas.
* Pay Attention to the Edges: Don’t forget to clean the edges of your windows, where dirt and grime tend to accumulate.
* Be Patient: Cleaning windows can be a bit time-consuming, but the results are worth it! Take your time and be patient, and you’ll be rewarded with sparkling clean windows.
Safety First: Important Precautions
While this DIY window cleaner is generally safe, it’s important to take a few precautions:
* Ventilation: Work in a well-ventilated area to avoid inhaling the fumes from the isopropyl alcohol.
* Eye Protection: Wear eye protection to prevent the cleaner from splashing into your eyes.
* Skin Protection: Wear gloves to protect your skin from irritation.
* Keep Out of Reach of Children: Store the cleaner in a safe place, out of reach of children and pets.
* Flammable: Isopropyl alcohol is flammable, so keep the cleaner away from heat and open flames.
Why This Recipe Works: The Science Behind the Sparkle
So, what makes this simple recipe so effective? Let’s break down the science:
* Isopropyl Alcohol: Isopropyl alcohol is a powerful solvent that effectively dissolves grease, grime, and other stubborn stains. It also evaporates quickly, which helps prevent streaks.
* Dish Soap: Dish soap acts as a surfactant, which means it helps to break down the surface tension of water, allowing the cleaner to spread more evenly and penetrate dirt and grime more effectively.
* Distilled Water: Distilled water is free of minerals and impurities, which can leave spots and streaks on your windows.
Troubleshooting: Common Problems and Solutions
Even with the best recipe and technique, you might encounter a few problems. Here are some common issues and how to fix them:
* Streaks: If you’re getting streaks, it’s likely due to
Conclusion
So, there you have it! This simple yet incredibly effective Alcohol Dish Soap Cleaner is a game-changer for anyone looking to streamline their cleaning routine and achieve sparkling results without harsh chemicals. We’ve walked you through the easy steps, highlighted the benefits, and hopefully, convinced you that this DIY cleaner deserves a permanent spot in your cleaning arsenal.
Why is this a must-try? Because it’s more than just a cleaner; it’s a solution. It’s a solution to the overwhelming number of expensive, chemical-laden products lining store shelves. It’s a solution to stubborn grime and grease that seem impossible to remove. And it’s a solution that empowers you to take control of the ingredients you’re using in your home, creating a healthier and safer environment for yourself and your loved ones.
But the beauty of this DIY cleaner lies not only in its simplicity and effectiveness but also in its versatility. Feel free to experiment with different essential oils to customize the scent to your liking. Lavender, lemon, tea tree, and eucalyptus are all excellent choices, each offering its own unique aroma and potential benefits. For instance, adding a few drops of tea tree oil can boost the cleaner’s antibacterial properties, while lemon oil can enhance its degreasing power.
Consider using different types of alcohol as well. While isopropyl alcohol (rubbing alcohol) is the most common and readily available option, you can also use denatured alcohol or even vodka in a pinch. Just be sure to adjust the concentration accordingly, as the alcohol content can vary.
Another variation you might want to explore is adding a small amount of white vinegar to the mixture. Vinegar is a natural disinfectant and can help to cut through hard water stains and mineral deposits. However, be cautious when using vinegar on certain surfaces, such as marble or granite, as it can etch the stone.
The possibilities are truly endless! The key is to start with the basic recipe and then experiment with different ingredients and ratios until you find what works best for you and your specific cleaning needs.
We are confident that once you try this Alcohol Dish Soap Cleaner, you’ll be amazed by its cleaning power and its ability to leave your surfaces sparkling and fresh. It’s a cost-effective, eco-friendly, and incredibly satisfying way to keep your home clean and healthy.
So, what are you waiting for? Gather your ingredients, mix up a batch, and experience the difference for yourself. And most importantly, we want to hear about your experience! Share your tips, variations, and success stories in the comments below. Let’s build a community of DIY cleaning enthusiasts and help each other create cleaner, healthier homes. We can’t wait to see what you create!
Frequently Asked Questions (FAQ)
What kind of alcohol should I use for this cleaner?
Isopropyl alcohol (rubbing alcohol) is the most commonly used and readily available option. Look for a concentration of 70% or higher for optimal cleaning and disinfecting power. You can also use denatured alcohol or even vodka as alternatives, but be sure to adjust the concentration accordingly. Avoid using methanol or other toxic alcohols.
Can I use any type of dish soap?
While most dish soaps will work, it’s best to use a clear, unscented dish soap to avoid any unwanted residue or discoloration. Look for a dish soap that is specifically designed for grease-cutting, as this will enhance the cleaner’s effectiveness. Avoid using dish soaps that contain added moisturizers or lotions, as these can leave a film on surfaces.
Is this cleaner safe to use on all surfaces?
This Alcohol Dish Soap Cleaner is generally safe to use on most non-porous surfaces, such as glass, tile, stainless steel, and sealed countertops. However, it’s always a good idea to test it in an inconspicuous area first, especially on delicate or sensitive surfaces like wood, painted surfaces, or natural stone. Avoid using it on surfaces that are known to be damaged by alcohol or dish soap.
Can I add essential oils to this cleaner?
Yes, you can definitely add essential oils to customize the scent and enhance the cleaning properties of this cleaner. Lavender, lemon, tea tree, and eucalyptus are all excellent choices. Add a few drops of your favorite essential oil to the mixture and shake well before using. Be sure to use pure, therapeutic-grade essential oils for the best results.
How long does this cleaner last?
This cleaner can last for several months if stored properly in an airtight container in a cool, dark place. However, it’s best to use it within a few weeks for optimal effectiveness. If you notice any changes in color, odor, or consistency, discard the cleaner and make a fresh batch.
Can I use this cleaner to disinfect surfaces?
While this cleaner does contain alcohol, which has disinfecting properties, it’s not a substitute for a dedicated disinfectant. To properly disinfect surfaces, you need to use a product that is specifically labeled as a disinfectant and follow the manufacturer’s instructions. However, this cleaner can be used as a general-purpose cleaner to remove dirt, grime, and grease, which can help to reduce the number of germs on surfaces.
What are the benefits of using this DIY cleaner compared to store-bought cleaners?
There are several benefits to using this DIY cleaner compared to store-bought cleaners. First, it’s much more cost-effective, as you can make a large batch for a fraction of the cost of a commercial cleaner. Second, it’s more eco-friendly, as you’re reducing your reliance on plastic bottles and harsh chemicals. Third, you have complete control over the ingredients, so you can avoid any allergens or irritants. And fourth, it’s incredibly effective at cleaning and degreasing surfaces, leaving them sparkling and fresh.
Can I use this cleaner in a spray bottle?
Yes, this cleaner is perfect for use in a spray bottle. Just be sure to use a spray bottle that is specifically designed for cleaning solutions, as some spray bottles can be damaged by alcohol. Label the spray bottle clearly so that you don’t accidentally mistake it for another cleaning product.
What if I don’t have alcohol on hand? Can I still make a similar cleaner?
While alcohol is a key ingredient in this cleaner due to its degreasing and disinfecting properties, you can try making a similar cleaner using white vinegar instead. Mix equal parts white vinegar and water, and add a few drops of dish soap. This cleaner will be less effective at disinfecting, but it can still be used to clean and degrease surfaces.
Is this cleaner safe to use around pets and children?
While this cleaner is generally safe to use around pets and children, it’s important to take precautions to prevent accidental ingestion. Store the cleaner in a safe place out of reach of children and pets. When using the cleaner, be sure to ventilate the area well and avoid spraying it directly on pets or children. If you have any concerns, consult with your veterinarian or pediatrician.

Leave a Comment