
Clean Frying Pan Baking Soda: Your secret weapon for a sparkling kitchen! Let’s face it, we’ve all been there. You’ve just whipped up a delicious meal, but the aftermath? A stubbornly greasy, burnt-on mess clinging to your favorite frying pan. Don’t despair! Before you resign yourself to endless scrubbing or, worse, tossing that pan in the trash, I’m here to tell you there’s a simple, effective, and surprisingly affordable solution: baking soda.
Baking soda, also known as sodium bicarbonate, isn’t just for baking cookies. For generations, it’s been a go-to cleaning agent, passed down through families as a natural and powerful way to tackle tough stains and grime. Think of your grandmother’s spotless kitchen – chances are, baking soda played a starring role! This humble ingredient has a rich history, dating back to ancient Egypt, where it was used for everything from cleaning to medicinal purposes.
But why is this DIY trick so essential today? In our busy lives, who has time to spend hours scrubbing pots and pans? We all want to enjoy our meals without dreading the cleanup. Plus, many commercial cleaning products are packed with harsh chemicals that can be harmful to our health and the environment. Using clean frying pan baking soda is a safe, eco-friendly, and cost-effective alternative. I’m going to show you exactly how to use this miracle ingredient to restore your frying pans to their former glory, saving you time, money, and a whole lot of elbow grease. Get ready to say goodbye to stubborn grease and hello to sparkling clean cookware!
DIY: Restore Your Frying Pan with Baking Soda Magic!
Hey there, fellow home cooks! Are you tired of staring at that stubbornly stained frying pan, the one that’s seen better days and now looks like it’s been through a war zone? Don’t despair! Before you toss it and buy a new one, let me share a super simple, budget-friendly trick that can bring your trusty pan back to life using the power of baking soda. I’ve personally used this method countless times, and it’s saved me a fortune in replacement cookware. Let’s get started!
What You’ll Need
Before we dive in, gather these essential supplies:
* Baking Soda: This is our star ingredient! A box of baking soda is inexpensive and a must-have for any DIY cleaning arsenal.
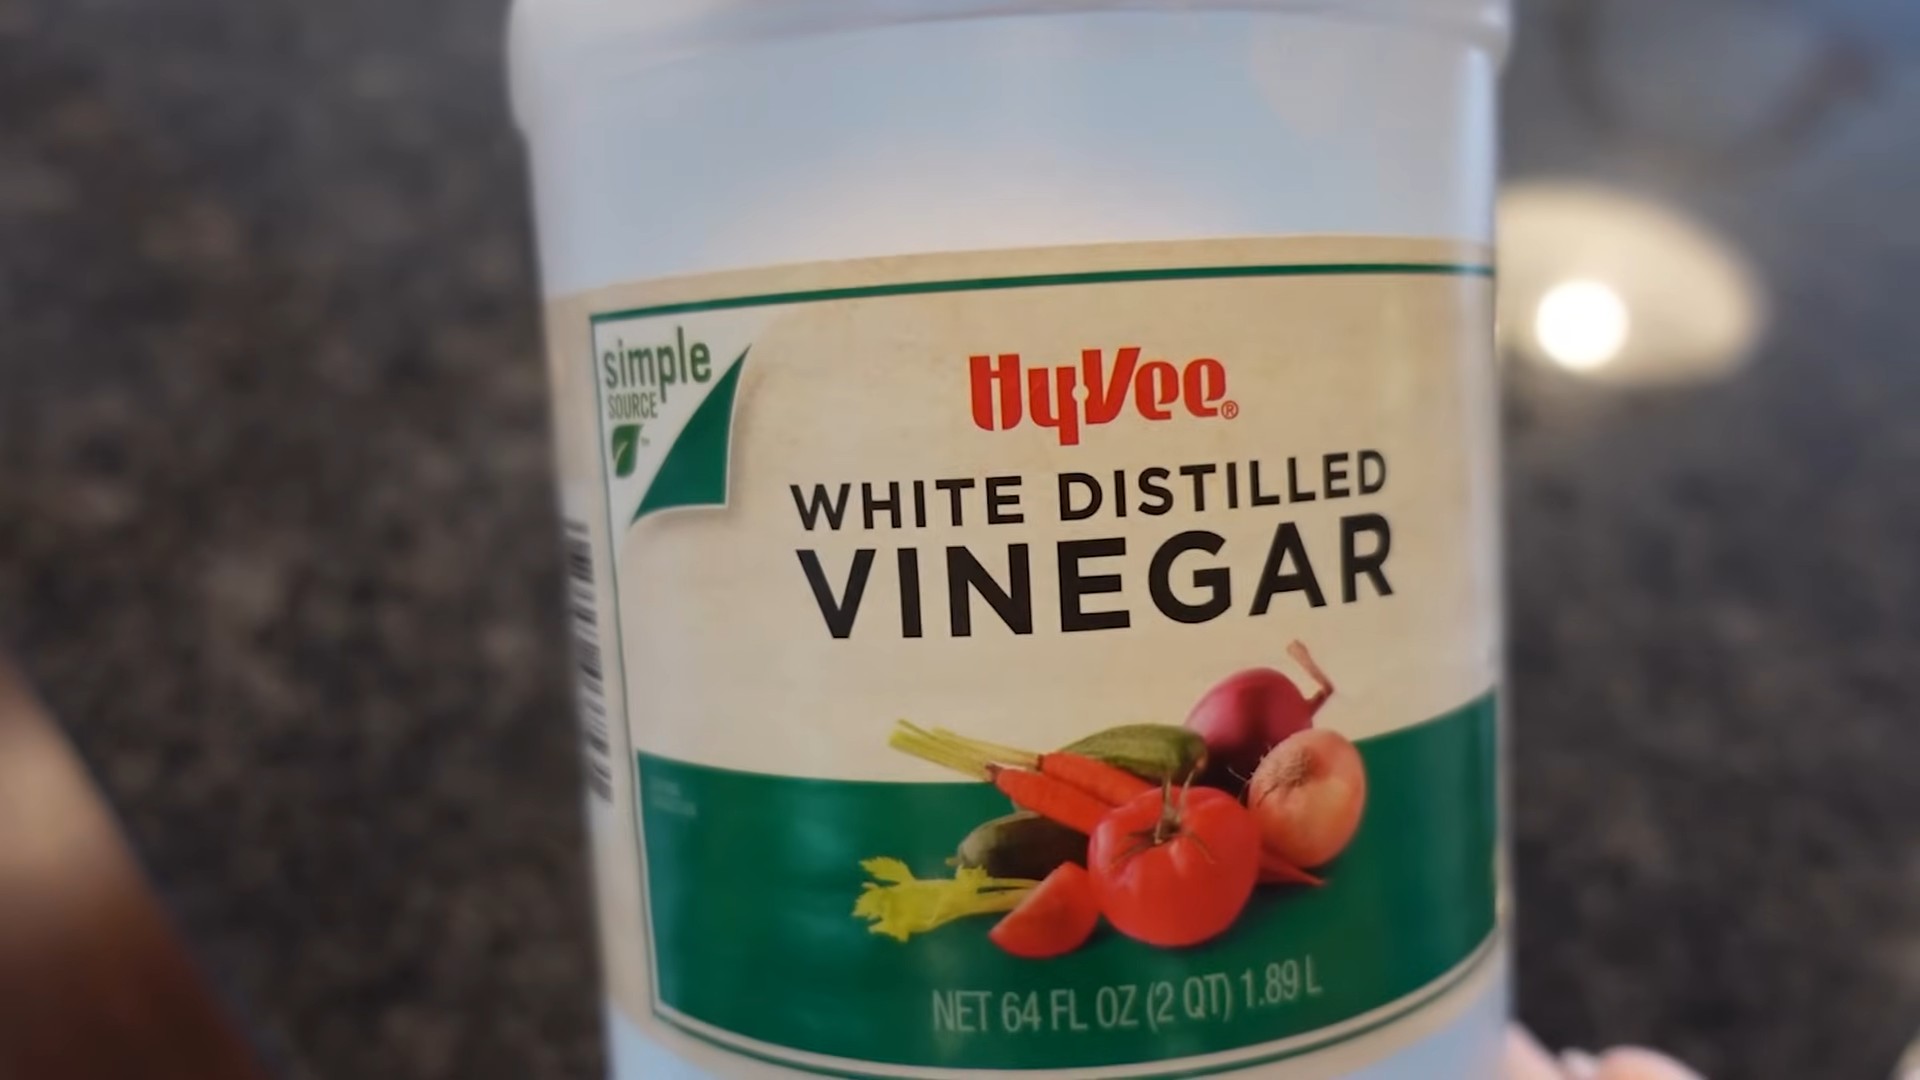
* White Vinegar: The acidic power of vinegar helps to break down stubborn grease and grime.
* Dish Soap: A good quality dish soap will help to lift away the loosened residue.
* Water: We’ll need both hot and cold water for different stages of the cleaning process.
* Scrubbing Sponge or Pad: Choose a non-abrasive sponge or pad to avoid scratching the pan’s surface. I prefer using a sponge with a scrubbing side.
* Soft Cloth or Paper Towels: For drying and polishing the pan.
* Optional: Rubber Gloves: If you have sensitive skin, gloves will protect your hands from the cleaning solutions.
Step-by-Step Guide to a Sparkling Clean Frying Pan
Here’s the breakdown of how we’re going to tackle this cleaning project:
* Pre-Soaking (if needed): For pans with really tough, baked-on messes, a pre-soak can make a huge difference.
* Baking Soda Paste Application: We’ll create a powerful cleaning paste using baking soda and water.
* Vinegar Activation: The magic happens when we combine baking soda and vinegar!
* Scrubbing and Rinsing: Time to put in a little elbow grease and remove the loosened grime.
* Final Wash and Dry: A final wash with dish soap ensures a squeaky-clean finish.
Phase 1: The Pre-Soak (For Extra-Stubborn Stains)
If your frying pan is heavily stained with burnt food or grease, a pre-soak is highly recommended. This will loosen the stubborn residue and make the cleaning process much easier.
1. Fill the Pan with Hot Water: Place your frying pan in the sink and fill it with hot water. Make sure the water covers all the stained areas.
2. Add Dish Soap: Squirt a generous amount of dish soap into the hot water.
3. Let it Soak: Allow the pan to soak for at least 30 minutes, or even longer for extremely stubborn stains. I sometimes let mine soak overnight!
Phase 2: Baking Soda Paste Power
Now, let’s create our cleaning paste. This is where the baking soda really shines!
1. Drain the Pan: If you pre-soaked your pan, drain the soapy water and rinse it briefly with clean water.
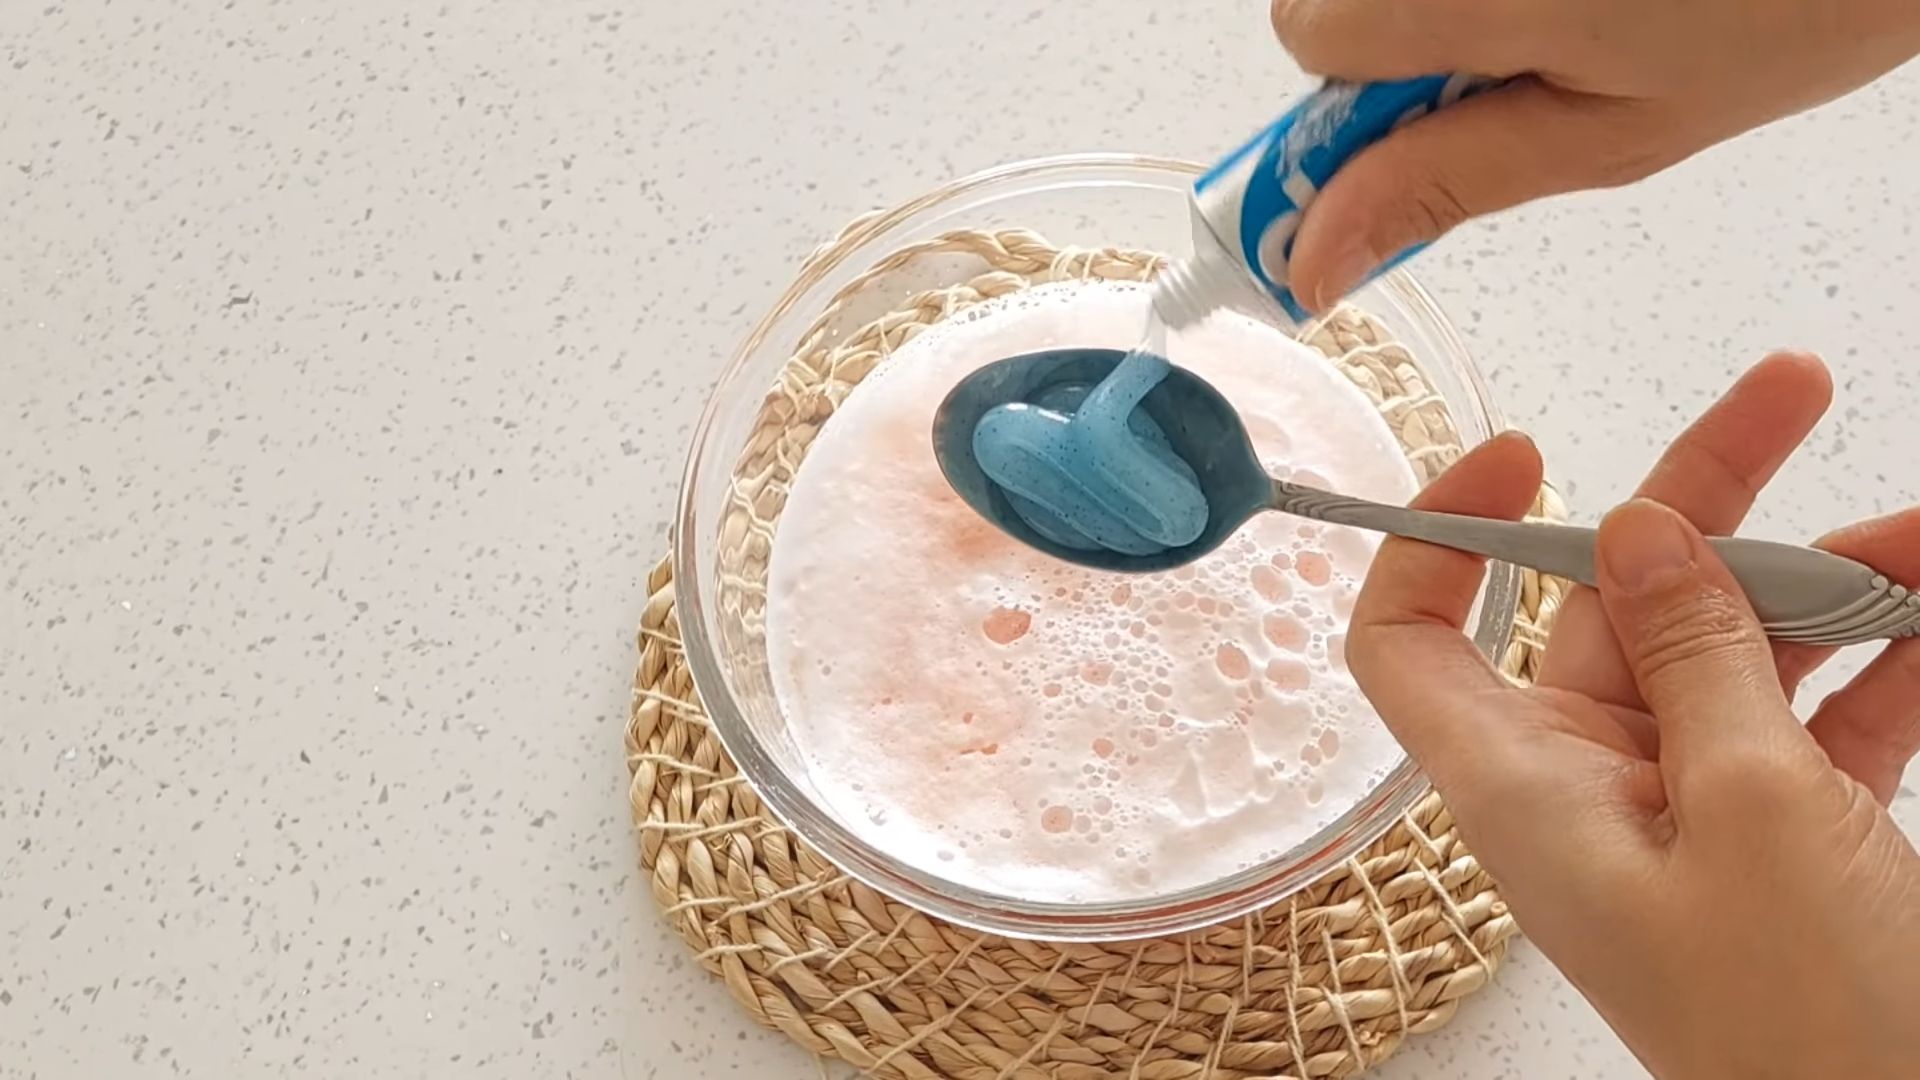
2. Make the Baking Soda Paste: In a small bowl, mix baking soda with a small amount of water to form a thick paste. The consistency should be similar to toothpaste. I usually start with about 1/2 cup of baking soda and add water gradually until I get the right consistency.
3. Apply the Paste: Using your fingers or a sponge, generously apply the baking soda paste to all the stained areas of the frying pan. Make sure to cover the entire surface evenly.
4. Let it Sit: Allow the baking soda paste to sit on the stains for at least 15-20 minutes. This gives the baking soda time to penetrate and loosen the grime.
Phase 3: The Vinegar Fizz
This is where the magic happens! The combination of baking soda and vinegar creates a fizzing action that helps to lift away even the most stubborn stains.
1. Pour Vinegar Over the Paste: Slowly pour white vinegar over the baking soda paste. You’ll notice a fizzing reaction as the vinegar interacts with the baking soda.
2. Let it Fizz: Allow the mixture to fizz for a few minutes. This fizzing action is what helps to break down the grease and grime.
3. Add More Vinegar (If Needed): If the fizzing subsides quickly, you can add a little more vinegar to keep the reaction going.
Phase 4: Scrubbing Time!
Now it’s time to put in a little elbow grease and scrub away the loosened residue.
1. Scrub the Pan: Using your scrubbing sponge or pad, scrub the stained areas of the frying pan. Apply firm, even pressure and work in circular motions.
2. Focus on Stubborn Areas: Pay extra attention to areas with particularly stubborn stains. You may need to scrub these areas a little harder or for a longer period of time.
3. Rinse with Hot Water: As you scrub, rinse the pan frequently with hot water to remove the loosened grime and baking soda/vinegar mixture.
Phase 5: Final Wash and Dry
Almost there! A final wash with dish soap will ensure a squeaky-clean finish.
1. Wash with Dish Soap: Wash the frying pan with dish soap and warm water, just like you would normally wash your dishes.
2. Rinse Thoroughly: Rinse the pan thoroughly with clean water to remove all traces of soap.
3. Dry Completely: Dry the frying pan completely with a soft cloth or paper towels. This will prevent water spots and ensure a sparkling clean finish.
Tips and Tricks for Best Results
* Don’t Use Abrasive Cleaners: Avoid using abrasive cleaners or steel wool, as these can scratch the surface of your frying pan.
* Repeat if Necessary: For extremely stubborn stains, you may need to repeat the process a few times.
* Prevention is Key: To prevent future stains, try to clean your frying pan immediately after each use.
* For Burnt Food: If you have burnt food stuck to the bottom of your pan, try adding a cup of water and a tablespoon of baking soda to the pan and simmering it on the stovetop for a few minutes before proceeding with the cleaning process.
* Test in an Inconspicuous Area: Before applying the baking soda paste to the entire pan, test it in a small, inconspicuous area to make sure it doesn’t damage the surface.
* Consider the Pan’s Material: This method works well on stainless steel and non-stick pans. However, for cast iron pans, you’ll need to follow specific cast iron cleaning and seasoning instructions.
Dealing with Specific Types of Stains
* Burnt Food: As mentioned above, simmering water and baking soda can help loosen burnt food. You can also try adding a few tablespoons of salt to the water.
* Grease Buildup: The baking soda and vinegar combination is excellent for removing grease buildup. Make sure to scrub thoroughly and use hot water.
* Hard Water Stains: If you have hard water, you may notice white spots or stains on your frying pan. Vinegar is your best friend here! Soak the pan in a solution of equal parts vinegar and water for a few minutes, then scrub and rinse.
Maintaining Your Clean Frying Pan
Once you’ve restored your frying pan to its former glory, here are a few tips to keep it looking its best:
* Clean After Each Use: The easiest way to prevent stains is to clean your frying pan immediately after each use.
* Avoid Overheating: Overheating can cause food to burn and stick to the pan, making it harder to clean.
* Use the Right Utensils: Avoid using metal utensils on non-stick pans, as they can scratch the surface.
* Proper Storage: Store your frying pan in a safe place where it won’t get scratched or damaged.
And there you have it! A simple, effective, and budget-friendly way to clean your frying pan using the power of baking soda. I hope this guide helps you restore your trusty cookware and enjoy many more delicious meals! Happy cooking!
Conclusion
So, there you have it! A simple, effective, and surprisingly satisfying way to breathe new life into your grimy frying pans using the power of baking soda. Forget spending hours scrubbing with harsh chemicals or resigning yourself to replacing your cookware prematurely. This DIY trick offers a cost-effective and environmentally friendly alternative that delivers remarkable results.
Why is this a must-try? Because it works! We’ve all been there – staring down a frying pan caked with burnt-on food and grease, dreading the arduous task ahead. This method cuts through the grime with minimal effort, saving you time and energy. Plus, it utilizes ingredients you likely already have in your pantry, making it a convenient solution whenever your pans need a refresh.
Beyond the basic method, feel free to experiment with variations to suit your specific needs. For particularly stubborn stains, try adding a splash of white vinegar to the baking soda paste. The fizzing action can help loosen the grime even further. You could also pre-soak the pan in hot, soapy water before applying the baking soda paste for an extra boost. Another variation involves using a non-abrasive scrubbing pad or an old toothbrush to gently work the paste into the affected areas. Remember to always test a small, inconspicuous area first to ensure the method doesn’t damage the pan’s surface, especially if you’re dealing with non-stick cookware.
This DIY cleaning solution isn’t just limited to frying pans either. You can use this baking soda method to clean other cookware items, such as pots, baking sheets, and even oven racks. The versatility of baking soda makes it a true cleaning powerhouse in the kitchen.
We are confident that once you try this simple baking soda cleaning method, you’ll be amazed by the results. It’s a game-changer for anyone who wants to keep their frying pans looking their best without resorting to harsh chemicals or endless scrubbing.
Don’t just take our word for it – give it a try! We encourage you to put this DIY trick to the test and see the difference it makes in your kitchen. And most importantly, we want to hear about your experience! Share your before-and-after photos, tips, and variations in the comments below. Let’s build a community of clean-pan enthusiasts and help each other keep our cookware sparkling! Your feedback will not only help other readers but also inspire us to continue sharing helpful and effective cleaning solutions. Embrace the power of baking soda and say goodbye to stubborn grime for good!
Frequently Asked Questions
What kind of baking soda should I use?
The good news is that you can use any standard baking soda (sodium bicarbonate) that you find at your local grocery store. There’s no need to buy a special or expensive type. As long as it’s pure baking soda, it will work effectively for cleaning your frying pans. Make sure to check the expiration date to ensure it’s still fresh, although baking soda generally has a long shelf life.
Can I use this method on non-stick frying pans?
Yes, you can use this method on non-stick frying pans, but with extra caution. The key is to avoid using abrasive scrubbing pads or excessive force, as these can damage the non-stick coating. Instead, use a soft sponge or cloth to gently apply and work the baking soda paste. If the grime is particularly stubborn, let the paste sit for a longer period to loosen it before gently wiping it away. Always test a small, inconspicuous area first to ensure the baking soda doesn’t scratch or damage the coating.
How long should I leave the baking soda paste on the pan?
The amount of time you leave the baking soda paste on the pan depends on the severity of the grime. For light stains, 15-30 minutes may be sufficient. For more stubborn, burnt-on food, you can leave the paste on for several hours or even overnight. Just be sure to keep the paste moist by covering the pan with plastic wrap or a damp cloth. This will prevent the baking soda from drying out and becoming less effective.
What if the baking soda paste doesn’t remove all the grime?
If the baking soda paste doesn’t remove all the grime on the first try, don’t give up! You can repeat the process as needed. For particularly stubborn areas, try adding a splash of white vinegar to the baking soda paste. The fizzing action can help loosen the grime. You can also try gently scrubbing the area with an old toothbrush or a non-abrasive scrubbing pad. If all else fails, you may need to use a commercial oven cleaner, but be sure to follow the manufacturer’s instructions carefully and wear appropriate safety gear.
Will this method work on cast iron frying pans?
While baking soda can be used on cast iron, it’s important to be mindful of the seasoning. Baking soda is mildly alkaline and can potentially strip away the seasoning if used excessively or left on for too long. If you choose to use this method on cast iron, use it sparingly and rinse the pan thoroughly afterward. Be sure to re-season the pan after cleaning to maintain its protective coating. A better option for cleaning cast iron is often just hot water and a stiff brush.
Can I use this method to clean other types of cookware?
Yes, this method is versatile and can be used to clean other types of cookware, such as pots, baking sheets, and even oven racks. However, always test a small, inconspicuous area first to ensure the baking soda doesn’t damage the surface. For stainless steel cookware, baking soda is generally safe and effective. For aluminum cookware, use caution as baking soda can sometimes cause discoloration.
Is baking soda safe to use for cleaning?
Yes, baking soda is generally considered safe to use for cleaning. It’s a natural, non-toxic substance that is less harsh than many commercial cleaning products. However, it’s still important to take precautions. Avoid getting baking soda in your eyes, and if you have sensitive skin, wear gloves when using it for cleaning. Also, be sure to rinse surfaces thoroughly after cleaning to remove any baking soda residue.
How often should I clean my frying pans with baking soda?
The frequency with which you clean your frying pans with baking soda depends on how often you use them and how much food gets stuck on them. For pans that are used frequently and tend to accumulate a lot of grime, you may want to clean them with baking soda once a week or as needed. For pans that are used less often, you can clean them less frequently. Regular cleaning with baking soda can help prevent the buildup of stubborn grime and keep your pans looking their best.
What are some other uses for baking soda in the kitchen?
Baking soda is a versatile ingredient with many uses in the kitchen beyond cleaning frying pans. It can be used to deodorize your refrigerator, remove stains from coffee mugs, leaven baked goods, tenderize meat, and even relieve heartburn. Keep a box of baking soda in your pantry and you’ll always have a handy solution for a variety of kitchen needs.

Leave a Comment