
More Chilies Less Effort – isn’t that the dream for every home gardener who loves a bit of spice in their life? I know it is for me! Imagine baskets overflowing with vibrant red and green chilies, ready to add a fiery kick to your favorite dishes, all without breaking your back or spending hours toiling in the garden.
Chili peppers have a rich history, dating back thousands of years in the Americas, where they were not just a food source but also held cultural and medicinal significance. From ancient Aztec rituals to modern-day culinary traditions, chilies have always been a symbol of flavor and vitality. Today, growing your own chilies is a fantastic way to connect with that history and enjoy fresh, organic produce right from your backyard.
But let’s be honest, sometimes getting a bountiful chili harvest can feel like a real challenge. Pests, diseases, and unpredictable weather can all conspire to thwart your efforts. That’s where these DIY tricks and hacks come in! I’m going to share some simple, yet effective, techniques that will help you achieve more chilies less effort. These tips are designed to boost your chili plant’s growth, protect it from common problems, and ultimately, maximize your yield. So, get ready to transform your chili growing game and enjoy a spicy harvest like never before!
Growing Chilies Like a Pro: My Lazy Gardener’s Guide to Maximum Yield
Okay, chili lovers, gather ’round! I’m about to let you in on my secret to growing a ridiculous amount of chilies with minimal effort. I’m not talking about some complicated, high-maintenance gardening routine. This is all about smart choices and a few clever tricks that will have you swimming in peppers before you know it. Get ready to spice up your life!
Choosing the Right Chilies (and Starting Them Right!)
Before we even think about planting, we need to talk about the stars of the show: the chili plants themselves.
- Variety is the Spice of Life (and Your Garden): Don’t just pick one! Think about what you like to cook with. Jalapeños for poppers? Habaneros for fiery sauces? Serranos for everyday heat? Choose a few different varieties to keep things interesting. I usually go for a mix of mild, medium, and hot peppers.
- Seeds vs. Seedlings: This is a big one. Starting from seeds is cheaper, but it takes longer and requires more attention. Buying seedlings from a nursery is faster and easier, but it’s more expensive. For this lazy gardener’s guide, I’m going to recommend seedlings, especially if you’re a beginner. It’s just less hassle.
- Healthy Seedlings are Key: When you’re at the nursery, don’t just grab the first plants you see. Look for seedlings that are vibrant green, have sturdy stems, and show no signs of pests or diseases. Avoid plants that are root-bound (roots circling tightly around the bottom of the pot).
Preparing Your Chili Paradise
Now that we have our chili babies, let’s get their home ready.
- Location, Location, Location: Chilies LOVE sunshine. They need at least 6-8 hours of direct sunlight per day. Choose a spot in your garden that gets plenty of sun. If you’re growing in containers, make sure you can move them around to follow the sun if needed.
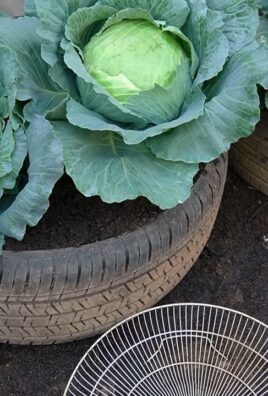
- Soil Matters: Chilies need well-draining soil that’s rich in organic matter. If your garden soil is heavy clay, amend it with compost, aged manure, or other organic materials. You can also grow chilies in raised beds or containers filled with a good quality potting mix. I personally prefer raised beds because they warm up faster in the spring and provide excellent drainage.
- Spacing is Important: Don’t cram your chili plants together! They need room to grow and breathe. Check the plant label for recommended spacing, but generally, you’ll want to space them about 18-24 inches apart. This will help prevent diseases and ensure that each plant gets enough sunlight and air circulation.
Planting Your Chili Plants: The Easy Way
Alright, let’s get those chilies in the ground!
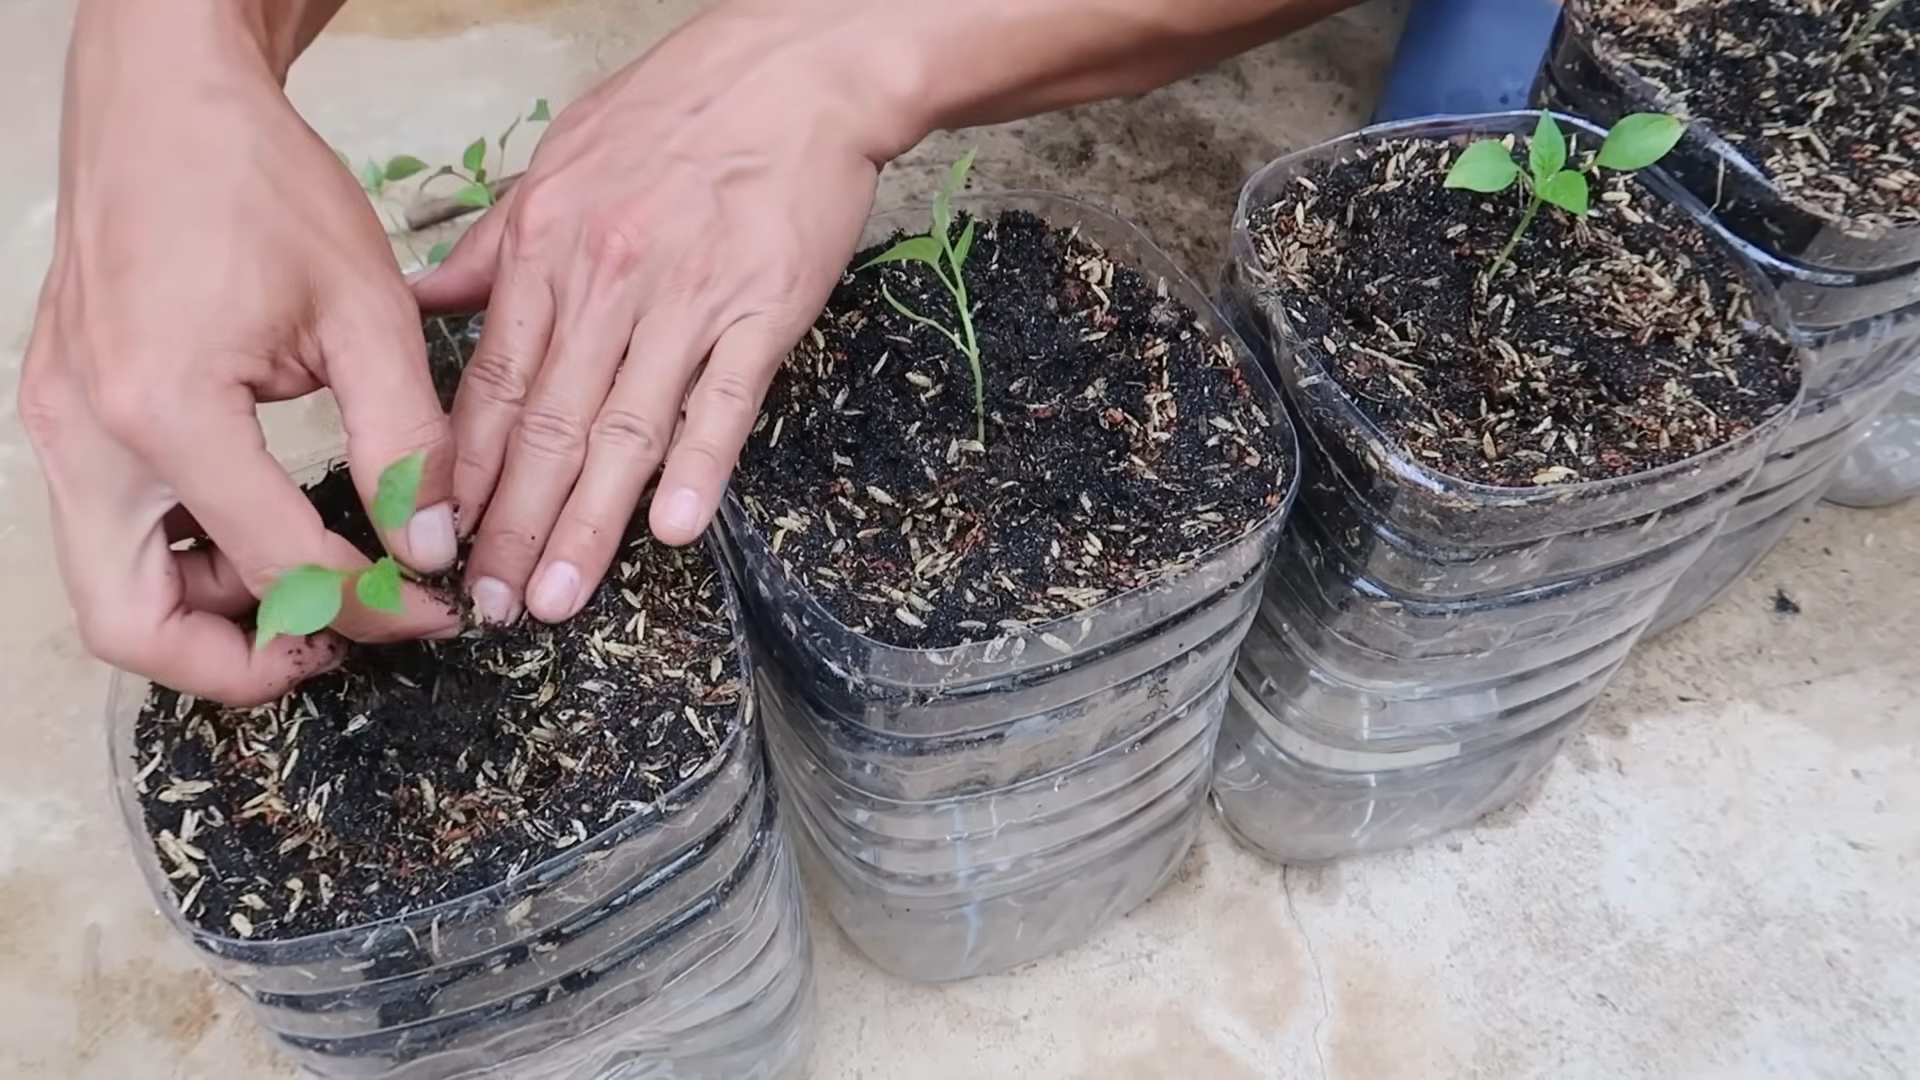
- Dig a Hole: Dig a hole that’s slightly larger than the root ball of your seedling.
- Gently Remove the Seedling: Carefully remove the seedling from its pot. If the roots are circling around the bottom, gently loosen them up with your fingers.
- Plant the Seedling: Place the seedling in the hole, making sure the top of the root ball is level with the surrounding soil.
- Fill the Hole: Fill the hole with soil and gently firm it around the base of the plant.
- Water Thoroughly: Water the newly planted seedling thoroughly to help settle the soil and get the roots established.
Watering and Feeding: Keeping Your Chilies Happy
Watering and feeding are crucial for healthy chili plants and a bountiful harvest. But don’t worry, I’ll keep it simple.
- Watering Wisely: Water your chili plants deeply and regularly, especially during hot, dry weather. The best time to water is in the morning, so the foliage has time to dry before nightfall. Avoid overhead watering, as this can promote fungal diseases. A good rule of thumb is to water when the top inch of soil feels dry to the touch.
- Feeding Time: Chilies are heavy feeders, meaning they need plenty of nutrients to produce lots of peppers. I like to use a balanced fertilizer (like 10-10-10) every few weeks. You can also use organic fertilizers like compost tea or fish emulsion. Avoid over-fertilizing, as this can lead to excessive foliage growth and fewer peppers.
- Mulch, Mulch, Mulch: Apply a layer of mulch around your chili plants to help retain moisture, suppress weeds, and regulate soil temperature. I like to use straw, wood chips, or shredded leaves.
Dealing with Pests and Diseases: Keeping the Bad Guys Away
Even the laziest gardener needs to be aware of potential pests and diseases. But don’t panic! Most problems can be prevented with a few simple measures.
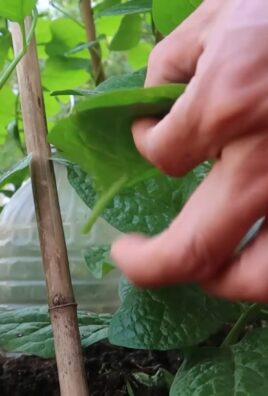
- Prevention is Key: The best way to deal with pests and diseases is to prevent them in the first place. Choose disease-resistant varieties, provide good air circulation, and avoid overwatering.
- Common Pests: Aphids, spider mites, and whiteflies are common pests that can attack chili plants. You can control them with insecticidal soap, neem oil, or by simply blasting them off with a strong stream of water.
- Common Diseases: Fungal diseases like powdery mildew and blossom end rot can also affect chili plants. To prevent these diseases, avoid overhead watering, provide good air circulation, and use a fungicide if necessary. Blossom end rot is often caused by calcium deficiency, so you can add calcium to the soil or use a calcium-rich fertilizer.
- Regular Inspection: Regularly inspect your chili plants for signs of pests or diseases. The sooner you catch a problem, the easier it will be to solve.
Harvesting Your Chilies: The Sweet Reward
This is the best part! Harvesting your chilies is the culmination of all your hard work (or, in this case, your lazy gardening efforts).
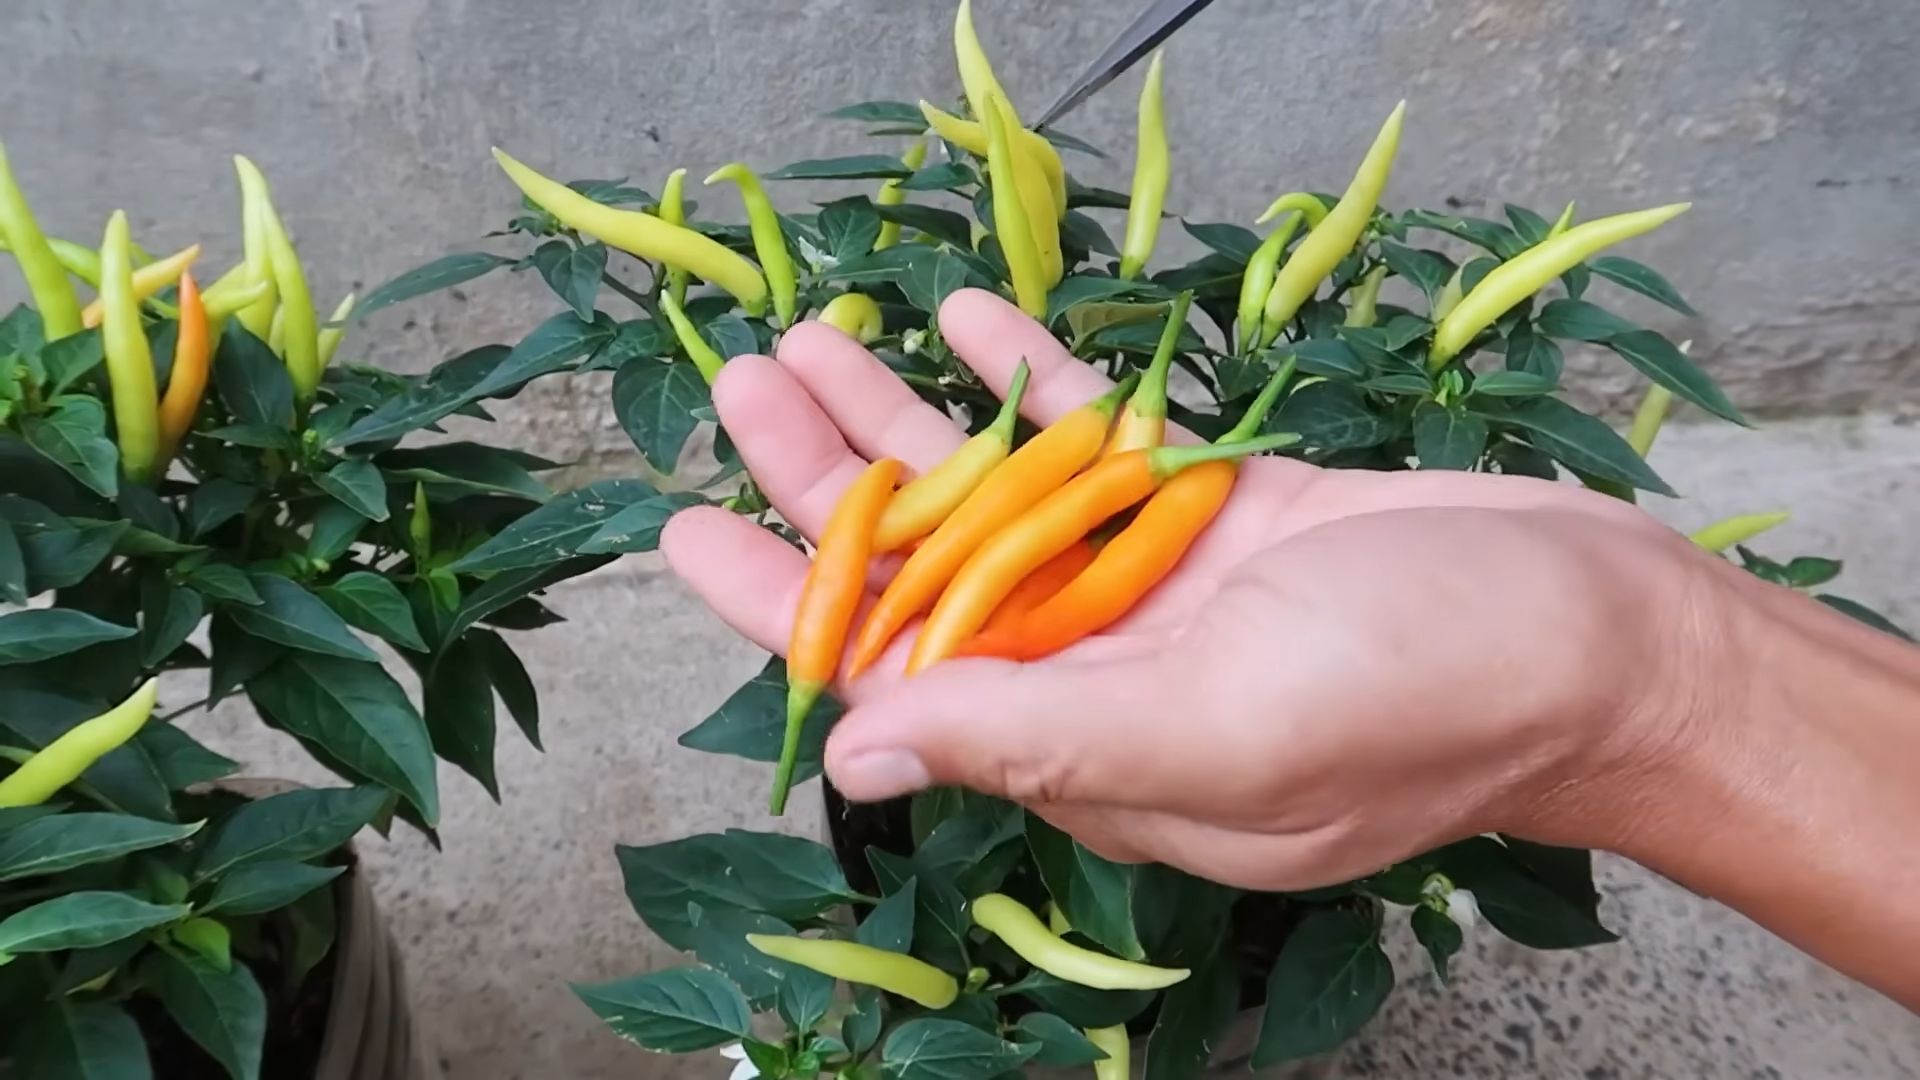
- When to Harvest: The best time to harvest chilies depends on the variety and your personal preference. Generally, you’ll want to harvest them when they’ve reached their mature color and size. Some people prefer to harvest green chilies, while others prefer to wait until they turn red, yellow, or orange.
- How to Harvest: Use a sharp knife or scissors to cut the chilies from the plant. Be careful not to damage the plant.
- Handling Hot Peppers: If you’re harvesting hot peppers, wear gloves to protect your hands from the capsaicin (the chemical that makes chilies hot). Avoid touching your eyes or face while handling hot peppers.
- Storing Your Chilies: You can store fresh chilies in the refrigerator for up to a week. You can also dry them, freeze them, or pickle them for longer storage.
Bonus Tips for the Lazy Chili Gardener
Here are a few extra tips to make your chili growing experience even easier:
- Self-Watering Containers: If you’re growing in containers, consider using self-watering containers. These containers have a reservoir that holds water, so you don’t have to water as often.
- Drip Irrigation: Install a drip irrigation system to water your chili plants automatically. This will save you time and ensure that your plants get consistent moisture.
- Companion Planting: Plant basil, marigolds, or other companion plants near your chilies to help repel pests and attract beneficial insects.
- Don’t Be Afraid to Experiment: Gardening is all about experimentation. Don’t be afraid to try new things and see what works best for you.
Troubleshooting Common Chili Problems
Even with the best planning, sometimes things go wrong. Here’s a quick guide to troubleshooting common chili problems:
Yellowing Leaves
* Possible Cause: Overwatering, nutrient deficiency (especially nitrogen), or pest infestation.
* Solution: Adjust watering schedule, fertilize with a balanced fertilizer, inspect for pests and treat accordingly.
Blossom End Rot (Dark, Sunken Spot on the Bottom of the Chili)
* Possible Cause: Calcium deficiency, inconsistent watering.
* Solution: Add calcium to the soil (bone meal or crushed eggshells), ensure consistent watering.
Lack of Fruit Production
* Possible Cause: Insufficient sunlight, over-fertilizing with nitrogen, extreme temperatures.
* Solution: Ensure at least 6 hours of direct sunlight, use a balanced fertilizer, provide shade during extreme heat.
Pest Infestation (Aphids, Spider Mites)
* Possible Cause: Unhealthy plants, favorable environmental conditions.
* Solution: Insecticidal soap, neem oil, strong stream of water.
Wilting
* Possible Cause
Conclusion
So, there you have it! This simple yet incredibly effective DIY trick for preserving chilies is a game-changer for anyone who loves adding a fiery kick to their meals. Forget about wilting, molding, or flavorless chilies relegated to the back of your refrigerator. This method ensures you have vibrant, potent chilies ready to use whenever inspiration strikes.
Why is this a must-try? Because it’s economical, reduces food waste, and most importantly, preserves the intense flavor and heat of your chilies far better than simply storing them in the fridge. Imagine the convenience of reaching for perfectly preserved chilies, knowing they’ll deliver that satisfying spice you crave, every single time.
But the beauty of this DIY trick lies in its adaptability. Feel free to experiment with different types of chilies. From fiery habaneros to smoky chipotles, each variety will bring its unique character to your dishes. You can also infuse the oil with other aromatics like garlic cloves, rosemary sprigs, or bay leaves for an extra layer of flavor. Consider adding a pinch of salt to the oil for enhanced preservation. For those who prefer a milder heat, try using milder chilies like Anaheim or poblano peppers. The possibilities are truly endless!
This DIY chili preservation method is more than just a trick; it’s a culinary investment. It’s about maximizing flavor, minimizing waste, and empowering you to create delicious, spicy meals with ease.
Don’t just take our word for it. We wholeheartedly encourage you to try this DIY chili preservation method yourself. It’s quick, easy, and the results are undeniably impressive. Once you’ve experienced the convenience and flavor boost of perfectly preserved chilies, you’ll wonder how you ever lived without it.
We’re confident that this will become a staple in your kitchen. After you’ve given it a go, we’d absolutely love to hear about your experience. Share your tips, variations, and favorite ways to use your preserved chilies in the comments below. Let’s build a community of chili enthusiasts and unlock the full potential of this amazing spice! Let us know what kind of chilies you used and what flavors you infused the oil with. Did you find that this method extended the shelf life of your chilies significantly? We are eager to learn from your experiences!
Ready to elevate your chili game? Give this DIY trick a try and let the spicy adventures begin!
Frequently Asked Questions (FAQ)
Q: What types of chilies work best with this preservation method?
A: The beauty of this method is its versatility! You can use virtually any type of chili, from small, fiery bird’s eye chilies to larger, milder varieties like Anaheim or poblano peppers. Consider the flavor profile and heat level you desire when selecting your chilies. For example, habaneros will provide intense heat and a fruity flavor, while chipotles will offer a smoky, earthy taste. Experiment with different varieties to discover your favorites! Remember to adjust the amount of chili you use in your recipes based on their heat level.
Q: How long will the chilies last using this preservation method?
A: When stored properly in an airtight container in the refrigerator, chilies preserved in oil can last for several months, typically up to 6 months or even longer. The oil acts as a barrier against oxygen and moisture, preventing spoilage and preserving the chilies’ flavor and heat. However, it’s crucial to monitor the chilies for any signs of mold or discoloration. If you notice any changes, discard them immediately. Always use clean utensils when removing chilies from the oil to prevent contamination.
Q: Can I use any type of oil for this preservation method?
A: While you can technically use any type of oil, we recommend using a high-quality olive oil or a neutral-flavored vegetable oil like canola or sunflower oil. Olive oil adds a subtle flavor that complements most chilies, while neutral oils allow the chili’s flavor to shine through. Avoid using oils with strong flavors, such as sesame oil, as they may overpower the chili’s taste. Ensure the oil you choose is fresh and has a long shelf life.
Q: Do I need to sterilize the jars before storing the chilies?
A: While not strictly necessary for refrigerator storage, sterilizing the jars is always a good practice to ensure maximum preservation and prevent the growth of harmful bacteria. To sterilize the jars, wash them thoroughly with hot, soapy water, then place them in a boiling water bath for 10 minutes. Alternatively, you can bake them in a preheated oven at 250°F (120°C) for 10 minutes. Allow the jars to cool completely before filling them with the chilies and oil.
Q: Can I add other ingredients to the oil for added flavor?
A: Absolutely! Infusing the oil with other aromatics is a fantastic way to enhance the flavor of your preserved chilies. Consider adding garlic cloves, rosemary sprigs, thyme, bay leaves, or even citrus zest to the oil. Gently heat the oil with the aromatics over low heat for about 30 minutes to allow the flavors to infuse. Let the oil cool completely before adding the chilies. Remember to remove any fresh herbs or garlic after a few weeks to prevent them from spoiling.
Q: What are some ways to use these preserved chilies in my cooking?
A: The possibilities are endless! Preserved chilies can be used in a wide variety of dishes to add a spicy kick and depth of flavor. Chop them finely and add them to sauces, stews, soups, stir-fries, and marinades. Use the infused oil to drizzle over pizzas, pasta dishes, or grilled vegetables. Add them to homemade salsas, dips, and dressings. You can even use them to spice up your breakfast eggs or avocado toast. Get creative and experiment with different ways to incorporate these flavorful chilies into your favorite recipes.
Q: Is it safe to eat the garlic cloves that are preserved along with the chilies?
A: While garlic cloves preserved in oil can be flavorful, it’s important to exercise caution. Garlic stored in oil at room temperature can create an environment conducive to the growth of *Clostridium botulinum*, which produces botulinum toxin. To minimize the risk of botulism, always store garlic-infused oil in the refrigerator and consume it within a week. Alternatively, you can acidify the garlic by pickling it in vinegar before adding it to the oil. If you’re unsure about the safety of the garlic, it’s best to discard it.
Q: What if my chilies start to float above the oil?
A: It’s important to ensure that the chilies are completely submerged in the oil to prevent spoilage. If the chilies start to float above the oil, gently press them down with a clean utensil. You can also add more oil to ensure they are fully covered. Consider using a smaller jar or adding a weight to the top of the chilies to keep them submerged. Regularly check the jar to ensure the chilies remain covered in oil.
Q: Can I freeze the preserved chilies?
A: While you can freeze the preserved chilies, it may affect their texture and flavor. The oil may become cloudy and the chilies may become slightly softer. However, freezing is a viable option if you want to extend their shelf life even further. To freeze the chilies, transfer them to a freezer-safe container and cover them completely with oil. Thaw them in the refrigerator before using.
Q: What should I do if I see mold growing in the jar?
A: If you notice any signs of mold, discoloration, or an off odor, discard the entire batch of preserved chilies immediately. Mold can produce harmful toxins that can make you sick. It’s always better to be safe than sorry when it comes to food safety.
Leave a Comment