
DIY carpet cleaning essential oils – ever thought about ditching those harsh chemicals and embracing the power of nature to freshen up your carpets? I know I did, and let me tell you, it’s been a game-changer! For generations, people have relied on natural remedies for cleaning, long before the advent of commercial products. Think about it: our grandmothers used vinegar and baking soda for everything! Now, we’re rediscovering that wisdom, combining it with the aromatic and therapeutic benefits of essential oils.
But why should *you* consider DIY carpet cleaning with essential oils? Well, for starters, many commercial carpet cleaners are packed with synthetic fragrances and chemicals that can irritate your skin, trigger allergies, and even harm your pets. Plus, they often leave behind a residue that attracts more dirt! With this DIY approach, you’re in control of the ingredients, ensuring a safe and healthy environment for your family.
This article is your ultimate guide to creating effective and fragrant carpet cleaning solutions using essential oils. We’ll explore different oil blends, application techniques, and even tackle tough stains. Get ready to transform your home into a fresh, clean, and naturally scented sanctuary with these simple yet powerful DIY carpet cleaning essential oils tricks!
DIY Carpet Cleaning with Essential Oils: A Natural and Refreshing Approach
Hey there, fellow DIY enthusiasts! Are you tired of harsh chemicals in your carpet cleaners? Do you crave a fresh, natural scent that lingers long after cleaning? Well, you’ve come to the right place! I’m going to walk you through creating your own effective and aromatic carpet cleaner using the power of essential oils. This method is not only eco-friendly but also customizable to your favorite scents and cleaning needs. Let’s get started!
What You’ll Need: The Essential Supplies
Before we dive into the mixing and cleaning, let’s gather our supplies. This is crucial for a smooth and efficient process. Trust me, having everything ready beforehand will save you a lot of time and frustration.
* Baking Soda: This is the base of our cleaner. Baking soda is a natural deodorizer and helps to lift dirt and grime from your carpet fibers.
* Essential Oils: The stars of the show! Choose your favorite scents based on their cleaning properties and aroma. I’ll give you some recommendations below.
* Borax (Optional): For extra cleaning power, especially for stubborn stains, Borax can be added. However, be mindful of pets and children, as it can be irritating if ingested.
* Airtight Container: To store your homemade carpet cleaner. A glass jar or a plastic container with a tight-fitting lid will work perfectly.
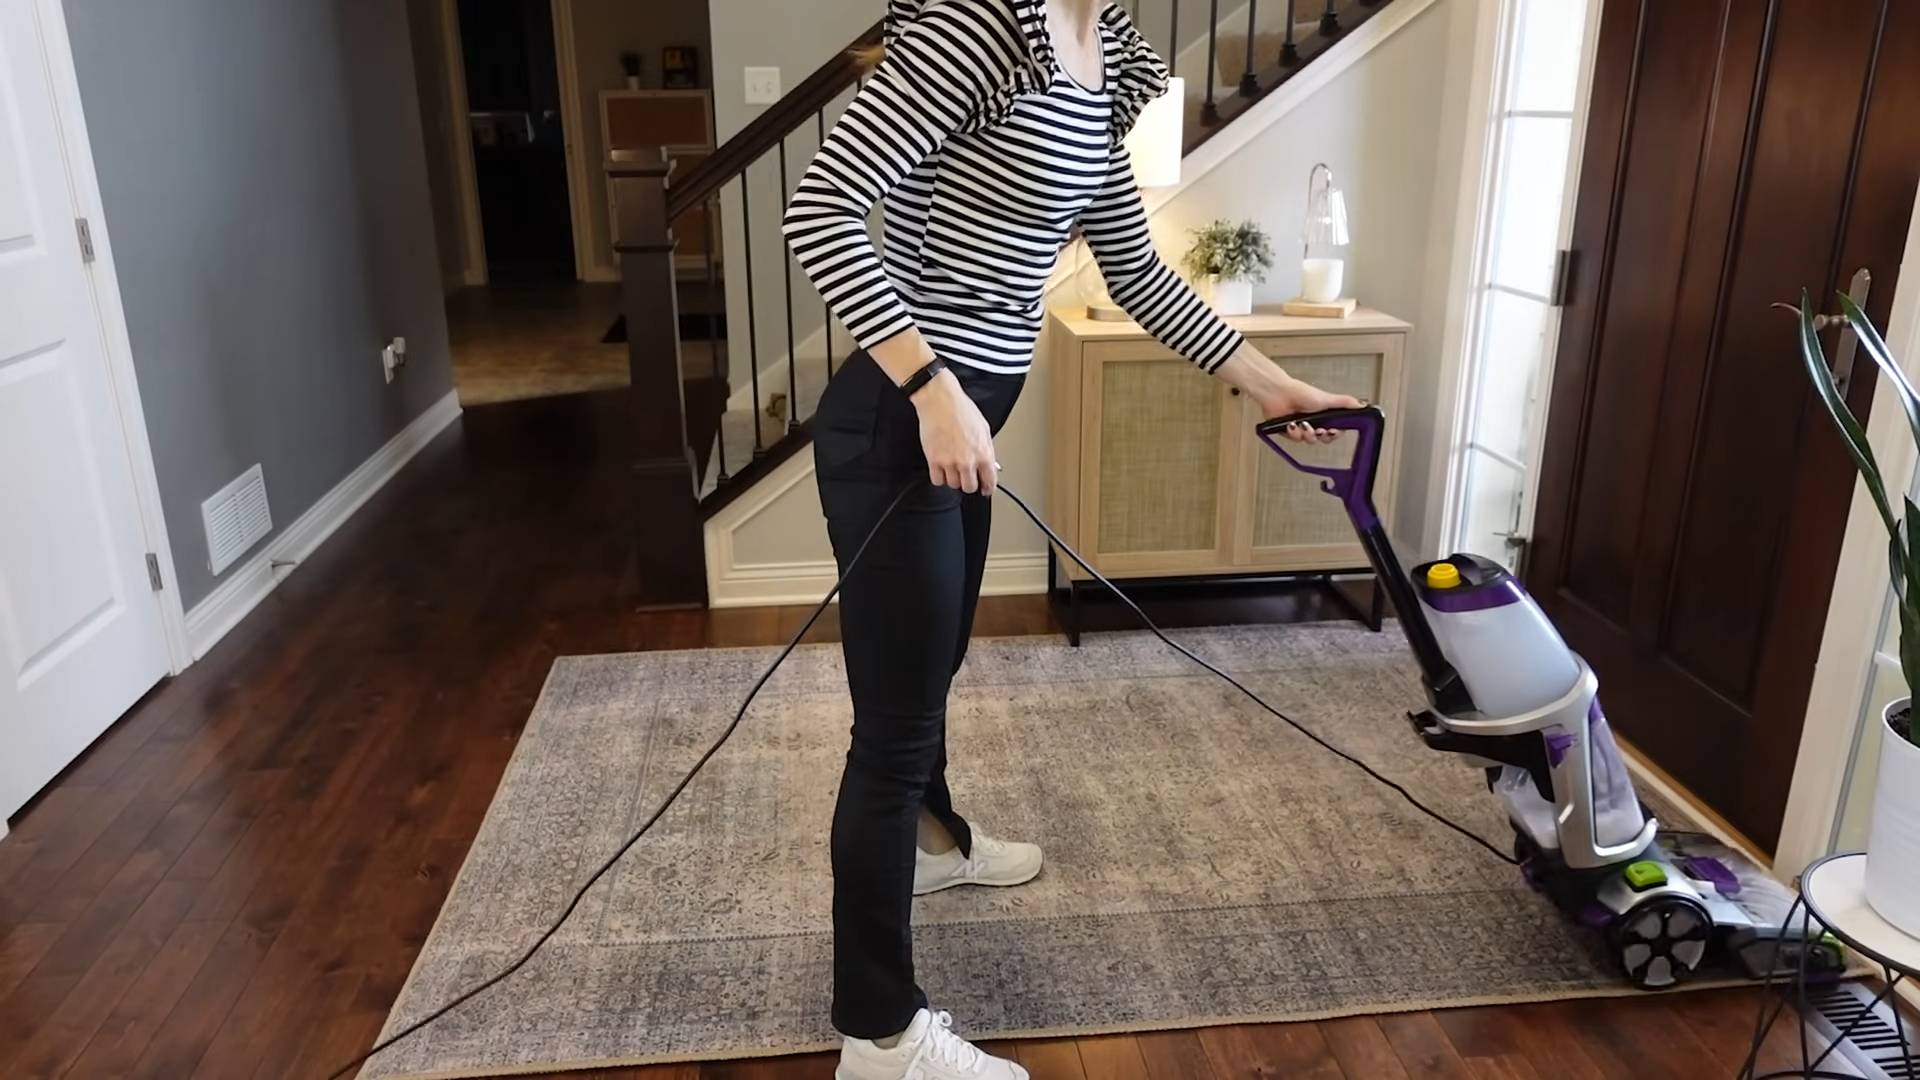
* Vacuum Cleaner: A good vacuum is essential for both pre-cleaning and post-cleaning.
* Spray Bottle (Optional): For spot treatments.
* Spoon or Whisk: For mixing the ingredients.
* Gloves (Optional): To protect your hands, especially if you’re using Borax.
Choosing the Right Essential Oils: A Scent-sational Guide
Selecting the right essential oils is key to creating a carpet cleaner that not only cleans effectively but also leaves your home smelling amazing. Here are some of my favorite essential oils for carpet cleaning, along with their benefits:
* Lavender: Known for its calming and relaxing properties, lavender also has antibacterial and antifungal benefits. It’s a great choice for bedrooms and living rooms.
* Lemon: A powerful degreaser and deodorizer, lemon essential oil is perfect for tackling tough stains and leaving a fresh, citrusy scent.
* Tea Tree: This oil is a potent antiseptic and antifungal agent, making it ideal for carpets in high-traffic areas or homes with pets.
* Eucalyptus: With its invigorating scent, eucalyptus essential oil is also a natural disinfectant and can help to eliminate dust mites.
* Peppermint: A refreshing and energizing scent, peppermint essential oil also has antibacterial properties and can help to deter pests.
* Orange: Similar to lemon, orange essential oil is a great degreaser and leaves a cheerful, uplifting aroma.
* Rosemary: Rosemary essential oil has a clean, herbal scent and is known for its antibacterial and antifungal properties.
You can use a single essential oil or create a blend of your favorites. I often combine lavender and lemon for a balanced and refreshing scent. Experiment and find what works best for you!
Step-by-Step Instructions: Creating Your DIY Carpet Cleaner
Now for the fun part! Let’s get our hands dirty (or rather, clean!). Follow these steps to create your own natural carpet cleaner:
1. Prepare Your Workspace: Clear a flat surface and gather all your ingredients and supplies. This will make the process much smoother.
2. Measure the Baking Soda: In your airtight container, pour in the baking soda. The amount will depend on the size of your carpet. For a standard-sized room, I usually start with about 1 cup. You can always adjust the amount later.
3. Add the Essential Oils: This is where you get to customize your cleaner! Add your chosen essential oils to the baking soda. A general guideline is to use 15-20 drops of essential oil per cup of baking soda. If you’re using a blend, divide the drops accordingly. For example, if you’re using lavender and lemon, you could use 10 drops of lavender and 10 drops of lemon.
4. Incorporate Borax (Optional): If you’re using Borax, add about 1/4 cup to the baking soda and essential oil mixture. Remember to handle Borax with care and keep it away from children and pets.
5. Mix Thoroughly: Use a spoon or whisk to thoroughly mix the ingredients. Make sure the essential oils are evenly distributed throughout the baking soda. This will ensure that the scent is consistent when you use the cleaner.
6. Seal and Store: Once the ingredients are well mixed, seal the container tightly and store it in a cool, dry place. This will prevent the baking soda from clumping and help to preserve the scent of the essential oils.
Applying Your DIY Carpet Cleaner: A Cleaning Guide
Now that you’ve created your amazing DIY carpet cleaner, it’s time to put it to work! Here’s how to use it effectively:
1. Vacuum Thoroughly: Before applying the cleaner, vacuum your carpet thoroughly to remove any loose dirt, dust, and debris. This will allow the cleaner to penetrate the fibers more effectively.
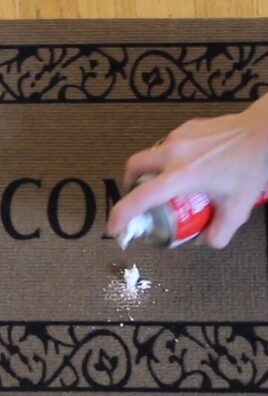
2. Sprinkle Evenly: Sprinkle the carpet cleaner evenly over the carpet. You don’t need to use a lot; a light dusting is sufficient. Focus on high-traffic areas and areas with visible stains.
3. Let it Sit: Allow the cleaner to sit on the carpet for at least 30 minutes, or even longer for heavily soiled areas. This will give the baking soda and essential oils time to absorb odors and lift dirt. I often leave it overnight for a really deep clean.
4. Vacuum Again: After the cleaner has sat for the desired amount of time, vacuum the carpet thoroughly to remove the baking soda. Make sure to go over the entire area multiple times to ensure that all the cleaner is removed.
5. Enjoy the Freshness: That’s it! Your carpet should now be clean, fresh, and smelling amazing. Enjoy the natural scent and the satisfaction of knowing you’ve cleaned your carpet without harsh chemicals.
Spot Treatment: Tackling Stubborn Stains
Sometimes, you’ll encounter stubborn stains that require a little extra attention. Here’s how to use your DIY carpet cleaner for spot treatments:
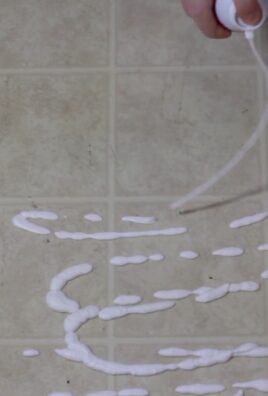
1. Create a Paste: In a small bowl, mix a small amount of your carpet cleaner with a little water to create a paste.
2. Apply to Stain: Apply the paste directly to the stain and gently rub it in with a clean cloth or sponge.
3. Let it Sit: Allow the paste to sit on the stain for 15-20 minutes.
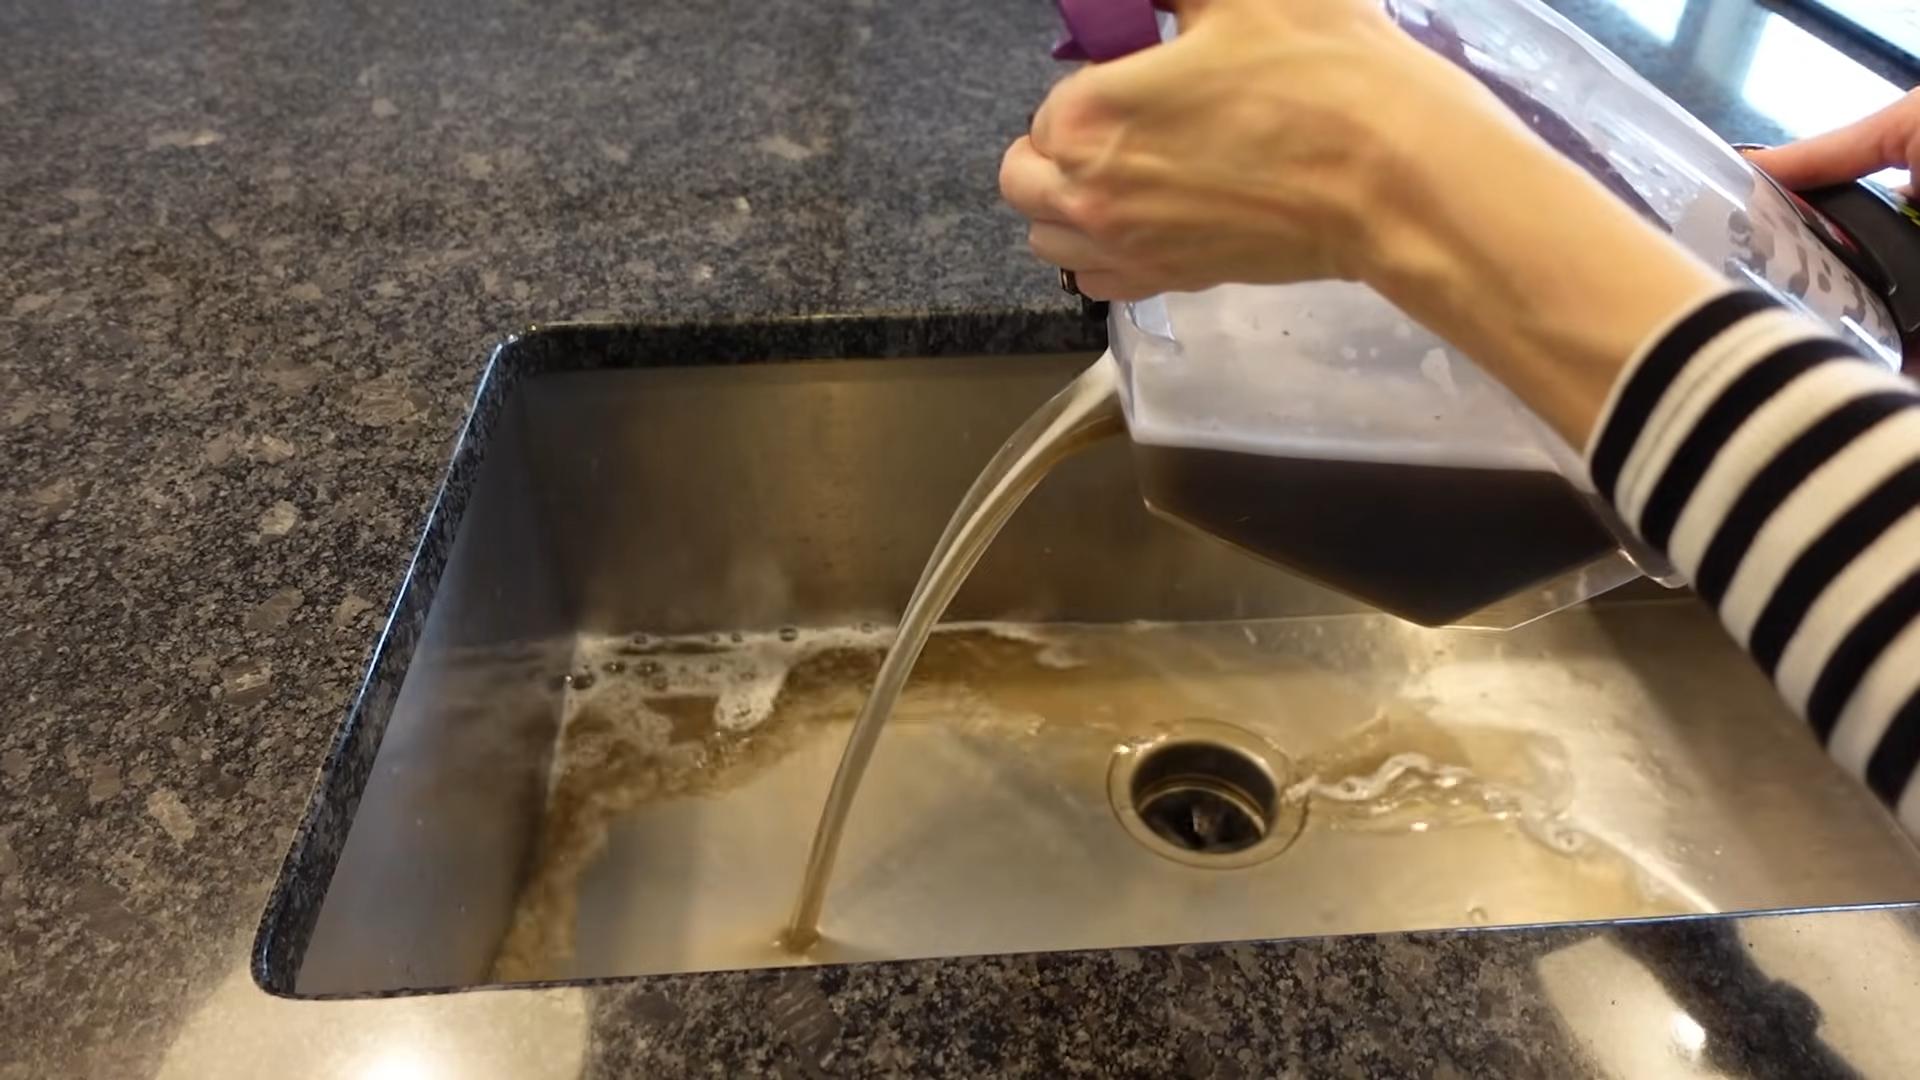
4. Blot and Rinse: Blot the stain with a clean, damp cloth to remove the paste. Rinse the area with a little water and blot dry.
5. Vacuum: Once the area is dry, vacuum it to remove any remaining residue.
Important Considerations: Safety and Best Practices
While this DIY carpet cleaner is natural and generally safe, there are a few things to keep in mind:
* Patch Test: Before applying the cleaner to your entire carpet, test it on a small, inconspicuous area to ensure that it doesn’t cause any discoloration or damage.
* Essential Oil Sensitivity: If you have sensitive skin or allergies, be cautious when handling essential oils. Wear gloves if necessary and avoid direct contact with your skin.
* Pets and Children: Keep essential oils and Borax out of reach of children and pets. Some essential oils can be toxic to animals if ingested.
* Ventilation: When cleaning your carpet, make sure the room is well-ventilated.
* Vacuum Cleaner Maintenance: Regularly clean your vacuum cleaner’s filters and dustbin to ensure optimal performance.
Troubleshooting: Common Issues and Solutions
Even with the best instructions, you might encounter a few hiccups along the way. Here are some common issues and how to solve them:
* Baking Soda Residue: If you find that there’s still baking soda residue on your carpet after vacuuming, try vacuuming again with a clean filter. You can also use a slightly damp cloth to wipe away any remaining residue.
* Weak Scent: If the scent of the essential oils is not strong enough, you can add a few more drops to the baking soda mixture.
* Clumping: If the baking soda clumps together, break it up with a spoon or whisk before applying it to your carpet.
* Stains Not Removing: For stubborn stains, try using a stronger concentration of essential oils or adding a little Borax to the spot treatment paste.
Beyond Carpets: Other Uses for Your DIY Cleaner
The beauty of this DIY carpet cleaner is that it’s not just limited to carpets! You can also use it to freshen up rugs, upholstery, and even mattresses. Just follow the same steps as for carpet cleaning, adjusting the amount
Conclusion
So, there you have it! Ditching harsh chemicals and embracing the power of nature to achieve a sparkling clean carpet is not only possible, but surprisingly simple and incredibly rewarding. This DIY carpet cleaning essential oils method is more than just a cleaning hack; it’s a conscious choice to create a healthier, happier home environment for you, your family, and even your furry friends.
Think about it: no more lingering chemical smells, no more worrying about toxic residues, and a significant reduction in your environmental footprint. Plus, you get to customize the scent to perfectly match your mood and preferences! Imagine walking into a room filled with the invigorating aroma of citrus and rosemary, or the calming scent of lavender and chamomile, all while knowing your carpet is not only clean but also infused with the therapeutic benefits of essential oils.
This DIY approach is a game-changer for anyone seeking a natural and effective way to maintain their carpets. It’s cost-effective, eco-friendly, and allows you to take control of the ingredients used in your home. The satisfaction of knowing you’ve created a safe and clean space using simple, natural ingredients is truly unparalleled.
But the benefits don’t stop there. This method is also incredibly versatile. Feel free to experiment with different essential oil blends to target specific needs. For instance, tea tree oil and eucalyptus can be added for their antibacterial and antifungal properties, making them ideal for homes with pets or those prone to allergies. Peppermint oil can help deter pests and leave a refreshing scent. For a deeper clean, consider adding a tablespoon of borax to the dry mixture. Just remember to always test a small, inconspicuous area of your carpet first to ensure colorfastness.
We understand that trying something new can sometimes feel daunting, but we urge you to give this DIY carpet cleaning method a try. The process is straightforward, the ingredients are readily available, and the results are truly remarkable. You’ll be amazed at how effectively this natural solution lifts dirt, eliminates odors, and leaves your carpets looking and smelling fresh.
Don’t just take our word for it! We encourage you to embark on this DIY journey and experience the transformative power of essential oils for yourself. Once you’ve tried it, we’d love to hear about your experience. Share your favorite essential oil blends, any modifications you made to the recipe, and the results you achieved. Your insights and feedback will not only inspire others but also help us refine and improve this already fantastic cleaning method. Let’s create a community of conscious cleaners, sharing our knowledge and empowering each other to create healthier homes, one carpet at a time. So, grab your essential oils, gather your supplies, and get ready to experience the joy of naturally clean carpets!
Frequently Asked Questions (FAQ)
What types of carpets is this DIY cleaning method suitable for?
This DIY carpet cleaning method is generally safe for most types of carpets, including synthetic fibers like nylon, polyester, and olefin, as well as natural fibers like wool and cotton. However, it’s crucial to perform a spot test in an inconspicuous area before applying the mixture to the entire carpet. This will help you ensure that the essential oils and other ingredients don’t cause any discoloration or damage to the fibers. For delicate or antique carpets, it’s always best to consult with a professional carpet cleaner before attempting any DIY cleaning methods. Also, be mindful of carpets with special treatments or coatings, as some ingredients might affect their effectiveness.
How often should I use this DIY carpet cleaning method?
The frequency of cleaning depends on several factors, including the amount of foot traffic your carpets receive, whether you have pets or children, and your personal preferences. As a general guideline, you can use this DIY method every 1-3 months for regular maintenance. For high-traffic areas or carpets that are prone to spills and stains, you might need to clean them more frequently. If you notice any visible dirt, odors, or stains, it’s a good indication that it’s time for a cleaning. Remember to vacuum your carpets regularly (at least once a week) to remove loose dirt and debris, which will help extend the life of your carpets and reduce the need for frequent deep cleaning.
Can I use any essential oils for carpet cleaning?
While many essential oils possess cleaning and deodorizing properties, some are more suitable for carpet cleaning than others. Popular choices include lavender, lemon, tea tree, eucalyptus, peppermint, and rosemary. Lavender is known for its calming scent and antibacterial properties, while lemon is a powerful degreaser and deodorizer. Tea tree and eucalyptus have antifungal and antimicrobial properties, making them ideal for homes with pets or allergies. Peppermint can help deter pests and leave a refreshing scent, and rosemary has a stimulating aroma and can help boost circulation. Avoid using essential oils that are known to stain fabrics, such as those with a dark color or high resin content. Always dilute essential oils properly before applying them to your carpets, and perform a spot test to ensure they don’t cause any discoloration.
What if I don’t have all the ingredients listed in the recipe?
The basic recipe for DIY carpet cleaning essential oils typically includes baking soda, essential oils, and sometimes borax or cornstarch. If you’re missing one of these ingredients, you can often substitute it with something else. For example, if you don’t have borax, you can use more baking soda or add a small amount of washing soda. If you don’t have cornstarch, you can use arrowroot powder or tapioca starch as a substitute. The most important ingredient is the baking soda, as it acts as a natural deodorizer and absorbent. The essential oils are primarily for fragrance and added cleaning benefits, so you can adjust the blend based on what you have available.
How do I remove the baking soda mixture from the carpet after cleaning?
After applying the baking soda mixture to your carpet and letting it sit for the recommended time (usually 30 minutes to a few hours), you’ll need to thoroughly vacuum it up. Use a vacuum cleaner with strong suction and a clean filter. Go over the carpet multiple times in different directions to ensure that you remove all the baking soda residue. If you notice any lingering powder, you can lightly dampen a clean cloth with water and blot the area to help dissolve and remove the remaining residue. Avoid using too much water, as this can damage your carpets. Once you’ve removed all the baking soda, allow your carpets to air dry completely before walking on them.
Is this DIY method safe for pets and children?
When using essential oils around pets and children, it’s important to exercise caution and choose oils that are considered safe for them. Some essential oils can be toxic to pets if ingested or applied topically, so it’s crucial to research the safety of each oil before using it. Generally, lavender, chamomile, and cedarwood are considered safe for pets in diluted form. Avoid using tea tree oil, peppermint oil, and citrus oils around cats, as they can be toxic to them. When using essential oils around children, dilute them even further and avoid using them on infants under 6 months old. Always keep essential oils out of reach of children and pets, and monitor them closely for any adverse reactions. If you’re concerned about the safety of essential oils, you can opt for fragrance-free alternatives or consult with a veterinarian or pediatrician.
Can this method remove tough stains from my carpet?
While this DIY carpet cleaning method is effective for general cleaning and deodorizing, it might not be sufficient for removing tough stains like red wine, coffee, or pet accidents. For stubborn stains, you might need to pre-treat the area with a stain remover before applying the baking soda mixture. There are many natural stain removers you can try, such as a mixture of vinegar and water, baking soda paste, or hydrogen peroxide. Apply the stain remover to the affected area, let it sit for a few minutes, and then blot it with a clean cloth. Once the stain is removed, you can proceed with the DIY carpet cleaning method as usual. For particularly difficult stains, you might need to repeat the process or consult with a professional carpet cleaner.
What are the benefits of using essential oils for carpet cleaning compared to commercial cleaners?
Using essential oils for carpet cleaning offers several advantages over commercial cleaners. First and foremost, essential oils are natural and non-toxic, which means you’re avoiding harsh chemicals and synthetic fragrances that can be harmful to your health and the environment. Essential oils also have antibacterial, antifungal, and antiviral properties, which can help eliminate germs and allergens from your carpets. Additionally, essential oils provide a natural and pleasant scent, unlike the artificial fragrances found in many commercial cleaners. Finally, DIY carpet cleaning with essential oils is often more cost-effective than buying commercial cleaners, especially if you already have a collection of essential oils. By making the switch to natural carpet cleaning, you’re not only creating a healthier home environment but also reducing your environmental footprint.
Leave a Comment