
Hydrogen Peroxide Grout Cleaner: Are you tired of staring at dingy, discolored grout lines that seem impossible to clean? I know I was! It felt like no matter how much scrubbing I did, that stubborn grime just wouldn’t budge. But what if I told you the solution to sparkling clean grout was already sitting in your medicine cabinet?
Grout, that porous material between your tiles, has been a staple in homes for centuries, dating back to ancient Roman architecture. While it provides structural integrity and a beautiful finish, it’s also a magnet for dirt, mildew, and stains. Over time, these build-ups can make your kitchen and bathroom look older and less appealing than they actually are.
That’s where this DIY hydrogen peroxide grout cleaner trick comes in! Forget about harsh chemicals and expensive cleaning products. This simple, effective, and budget-friendly method uses the power of hydrogen peroxide to lift away dirt and disinfect your grout, leaving it looking fresh and new. I’m going to show you exactly how to use this readily available solution to achieve professional-looking results without breaking a sweat (or the bank!). Get ready to say goodbye to grimy grout and hello to a sparkling clean home!
DIY Hydrogen Peroxide Grout Cleaner: Sparkling Grout Made Easy!
Okay, let’s face it: grout is the bane of every homeowner’s existence. It gets grimy, stained, and just plain gross. But don’t despair! You don’t need to spend a fortune on fancy cleaners. I’m going to show you how to make a super effective grout cleaner using something you probably already have in your bathroom: hydrogen peroxide! This method is budget-friendly, relatively eco-friendly, and, most importantly, it works!
Here’s what we’ll cover:
* Why Hydrogen Peroxide Works: A quick science lesson (don’t worry, it’s painless!).
* Gathering Your Supplies: What you’ll need to get started.
* The Basic Hydrogen Peroxide Paste: Our go-to recipe.
* Boosting Power with Baking Soda: For extra stubborn stains.
* Adding Dish Soap for Grease: Tackling kitchen grout.
* Application and Scrubbing Techniques: Getting down and dirty (the right way!).
* Safety First!: Important precautions to keep you safe.
* Troubleshooting: What to do if things aren’t working as expected.
Why Hydrogen Peroxide Works
Hydrogen peroxide (H2O2) is a mild antiseptic with bleaching properties. It breaks down organic matter and lightens stains. It’s also a fantastic disinfectant, killing mold and mildew that often thrive in grout lines. The bubbling action you see when you apply it helps lift dirt and grime away from the surface. It’s a much gentler alternative to harsh chemicals like bleach, which can damage your grout and release harmful fumes.
Gathering Your Supplies
Before we dive in, let’s make sure you have everything you need. This will make the whole process smoother and more efficient.
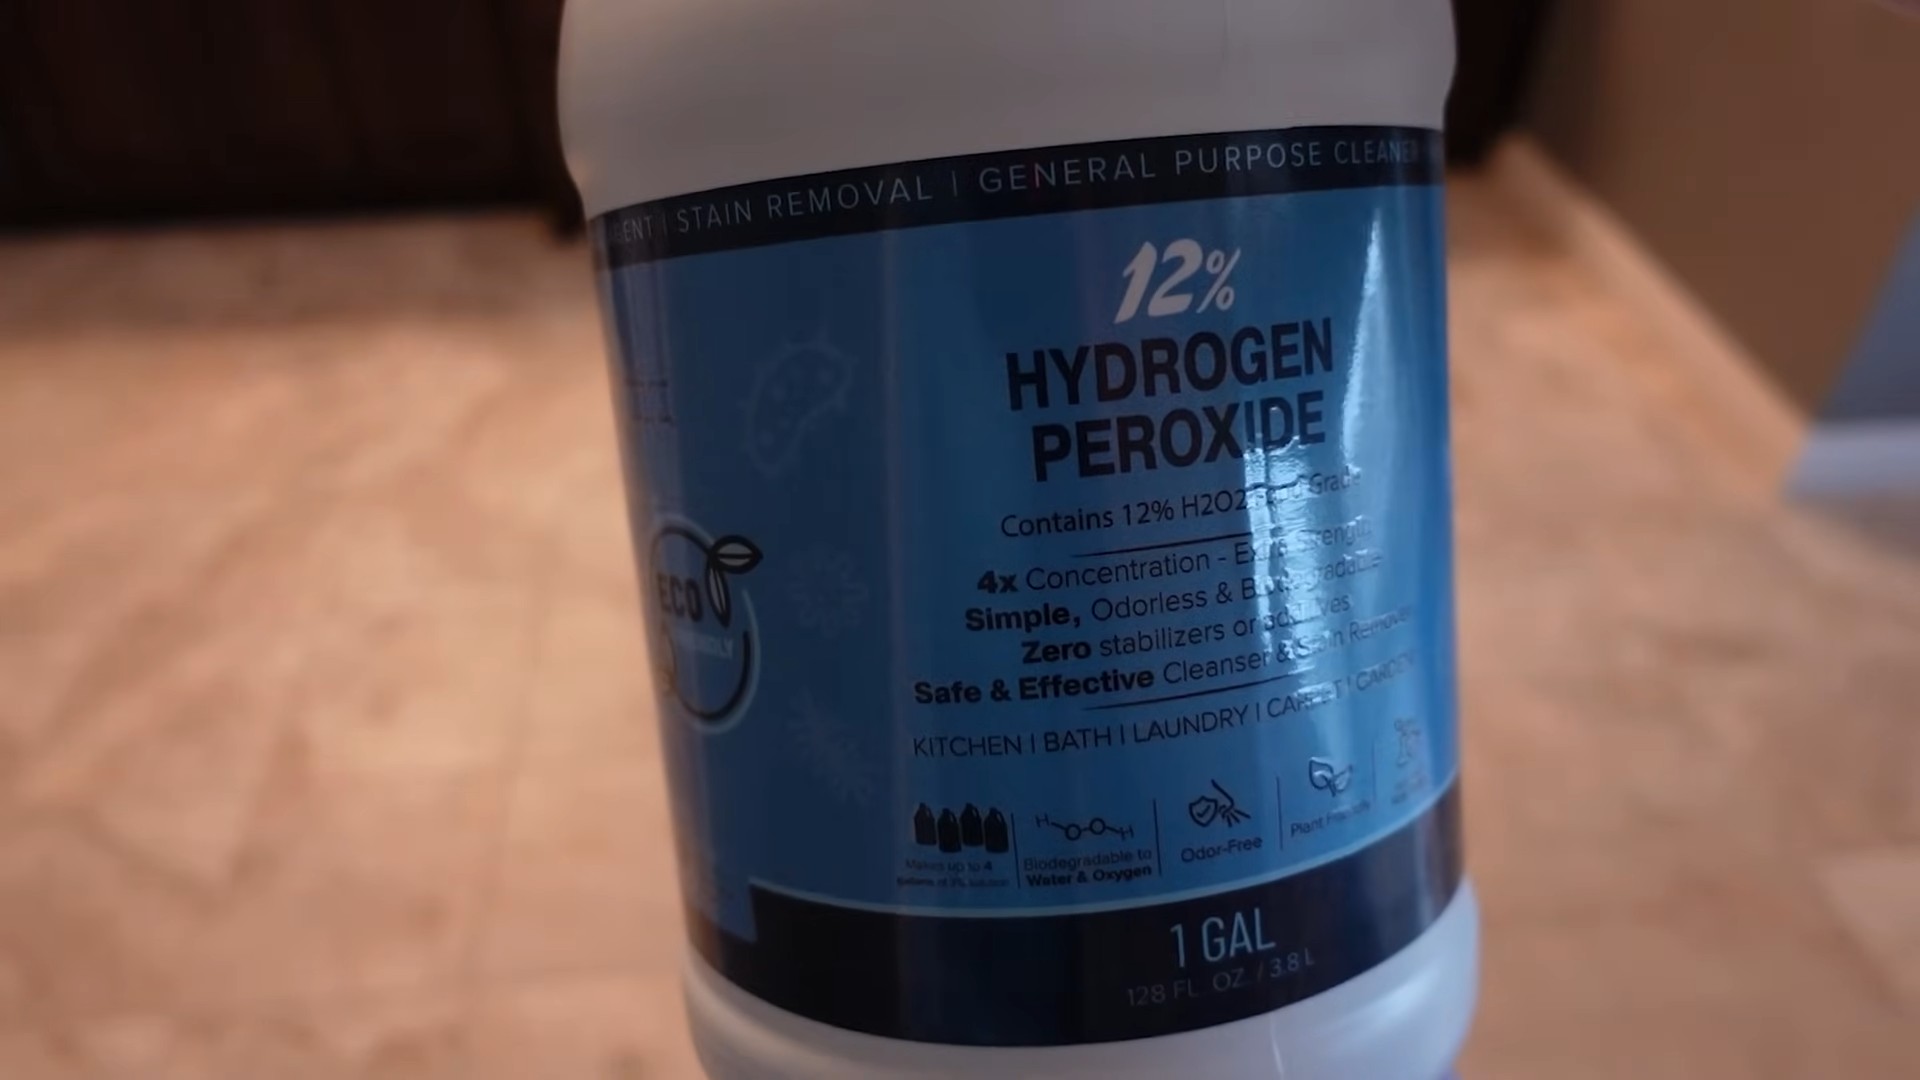
* Hydrogen Peroxide (3%): This is the standard concentration you find at the drugstore. Don’t use anything stronger unless you know what you’re doing.
* Baking Soda: This acts as a mild abrasive and helps to lift stains.
* Dish Soap (Optional): A few drops of dish soap can help cut through grease and grime, especially in kitchen grout. Dawn is a popular choice, but any grease-cutting dish soap will do.
* Spray Bottle (Optional): For applying the hydrogen peroxide solution.
* Small Bowl or Container: For mixing your cleaning paste.
* Old Toothbrush or Grout Brush: For scrubbing the grout lines. An electric toothbrush with a small brush head can also work wonders!
* Sponge or Cloth: For wiping away the cleaner.
* Gloves: To protect your hands from irritation.
* Eye Protection (Optional): Just in case of splashes.
* Water: For rinsing.
* Paper Towels or Clean Cloths: For drying.
The Basic Hydrogen Peroxide Paste
This is the foundation of our grout cleaning adventure. It’s simple, effective, and a great starting point for most grout cleaning jobs.
1. Combine Ingredients: In your small bowl, mix together hydrogen peroxide and baking soda to form a paste. The consistency should be similar to toothpaste. I usually start with about 1/2 cup of baking soda and slowly add hydrogen peroxide until I get the right consistency.
2. Apply the Paste: Using your fingers (with gloves on, of course!) or a small spatula, apply the paste liberally to the grout lines. Make sure to cover all the stained areas.
3. Let it Sit: This is the key! Let the paste sit on the grout for at least 5-10 minutes. For heavily stained grout, you can let it sit for up to 30 minutes. The longer it sits, the more time the hydrogen peroxide has to work its magic.
4. Scrub: Using your old toothbrush or grout brush, scrub the grout lines vigorously. You’ll likely see the paste start to turn gray or brown as it lifts away the dirt and grime.
5. Rinse: Rinse the area thoroughly with water. Use a sponge or cloth to wipe away any remaining paste.
6. Dry: Dry the area with paper towels or a clean cloth.
Boosting Power with Baking Soda
Sometimes, the basic paste just isn’t enough. For those extra stubborn stains, we need to amp up the cleaning power with a higher concentration of baking soda.
1. Create a Thicker Paste: Follow the same steps as above, but use a higher ratio of baking soda to hydrogen peroxide. You want a very thick paste that will really cling to the grout lines.
2. Apply Generously: Apply the thick paste to the stained grout lines, making sure to completely cover the affected areas.
3. Extended Soak Time: Let this super-powered paste sit for a longer period, ideally 30-60 minutes. This gives the baking soda and hydrogen peroxide more time to penetrate and break down the stains.
4. Aggressive Scrubbing: Get ready to put in some elbow grease! Scrub the grout lines with your toothbrush or grout brush, applying firm pressure. You might need to scrub in different directions to loosen the stubborn stains.
5. Rinse Thoroughly: Rinse the area multiple times with water to remove all traces of the paste. Baking soda can leave a white residue if not rinsed properly.
6. Inspect and Repeat: After rinsing and drying, inspect the grout lines. If the stains are still visible, repeat the process. Sometimes, it takes a few applications to completely remove stubborn stains.
Adding Dish Soap for Grease
Kitchen grout often suffers from grease buildup, which can make it particularly difficult to clean. Adding a few drops of dish soap to our hydrogen peroxide and baking soda mixture can help cut through the grease and grime.
1. Combine Ingredients: In your bowl, mix together 1/2 cup of baking soda, enough hydrogen peroxide to form a paste, and a few drops (about 1 teaspoon) of dish soap.
2. Apply to Greasy Grout: Apply the mixture to the greasy grout lines in your kitchen.
3. Let it Sit: Allow the mixture to sit for 15-20 minutes to give the dish soap time to break down the grease.
4. Scrub and Rinse: Scrub the grout lines with your toothbrush or grout brush, then rinse thoroughly with water.
5. Dry: Dry the area with paper towels or a clean cloth.
Application and Scrubbing Techniques
The way you apply and scrub the cleaner can make a big difference in the results. Here are a few tips to keep in mind:
* Work in Small Sections: Don’t try to clean the entire floor or wall at once. Work in small sections (e.g., a 2×2 foot area) to prevent the paste from drying out before you have a chance to scrub it.
* Apply Evenly: Make sure to apply the paste evenly to all the grout lines in the section you’re working on.
* Use a Circular Motion: When scrubbing, use a circular motion to help loosen the dirt and grime.
* Apply Pressure: Don’t be afraid to apply some pressure when scrubbing, especially on stubborn stains.
* Rinse Thoroughly: Rinse the area thoroughly after scrubbing to remove all traces of the cleaner. Leftover residue can attract dirt and grime.
* Dry Completely: Dry the area completely to prevent mold and mildew growth.
Safety First!
While hydrogen peroxide is generally safe, it’s still important to take a few precautions:
* Wear Gloves: Hydrogen peroxide can irritate the skin, so wear gloves to protect your hands.
* Protect Your Eyes: Wear eye protection to prevent splashes from getting into your eyes.
* Ventilation: Work in a well-ventilated area.
* Avoid Mixing with Other Cleaners: Never mix hydrogen peroxide with bleach or other cleaning products, as this can create dangerous fumes.
* Test in an Inconspicuous Area: Before cleaning a large area, test the cleaner in an inconspicuous area to make sure it doesn’t damage the grout or tile.
* Keep Out of Reach of Children and Pets: Store hydrogen peroxide out of reach of children and pets.
Troubleshooting
Sometimes, even with the best efforts, things don’t go as planned. Here are a few common problems and how to fix them:
* Stains Aren’t Lifting: If the stains aren’t lifting, try using a thicker paste, letting it sit for a longer period, and scrubbing more vigorously. You can also try using a stronger concentration of hydrogen peroxide (but be careful!).
* Grout is Discoloring: If the grout is discoloring, you may be using too much hydrogen peroxide or letting it sit for too long. Try diluting the hydrogen peroxide with water or reducing the soak time.
* Paste is Drying Out:
Conclusion
So, there you have it! Armed with just hydrogen peroxide and a few readily available tools, you can conquer even the most stubborn grout stains and restore your tile surfaces to their former glory. This DIY hydrogen peroxide grout cleaner method isn’t just about saving money; it’s about taking control of your cleaning routine and achieving professional-level results without harsh chemicals.
Why is this a must-try? Because it’s effective, affordable, and surprisingly simple. Commercial grout cleaners often contain harsh chemicals that can irritate your skin, damage your tile, and pollute your home. Hydrogen peroxide, on the other hand, is a relatively gentle yet powerful cleaning agent that breaks down stains and disinfects surfaces. It’s a win-win!
But the beauty of this DIY approach lies in its adaptability. Feel free to experiment with variations to suit your specific needs and preferences. For instance, if you’re dealing with particularly stubborn stains, consider adding a small amount of baking soda to the hydrogen peroxide to create a paste. The baking soda acts as a mild abrasive, helping to scrub away the grime. Alternatively, for a refreshing scent, you can add a few drops of your favorite essential oil, such as lemon or tea tree oil, to the mixture. Just be sure to test the mixture in an inconspicuous area first to ensure it doesn’t damage your tile.
Don’t be afraid to get creative and customize the recipe to your liking!
We’ve found that using an old toothbrush or a grout brush works best for applying the cleaner and scrubbing the grout lines. A microfiber cloth is perfect for wiping away the excess solution and revealing the sparkling clean grout beneath. Remember to always wear gloves to protect your hands and ensure proper ventilation in the area you’re cleaning.
This DIY hydrogen peroxide grout cleaner is not just a cleaning solution; it’s an empowering tool that allows you to maintain a clean and healthy home environment without relying on expensive and potentially harmful commercial products. It’s a testament to the fact that sometimes, the simplest solutions are the most effective.
We wholeheartedly encourage you to give this DIY trick a try. You’ll be amazed at the difference it can make in the appearance of your tile surfaces. And more importantly, we want to hear about your experience! Share your before-and-after photos, your tips and tricks, and any variations you’ve tried in the comments below. Let’s create a community of DIY enthusiasts who are passionate about keeping their homes clean and healthy! Your feedback will not only help other readers but also inspire us to continue sharing valuable DIY solutions. So, grab your hydrogen peroxide, put on your gloves, and get ready to transform your grout! We can’t wait to see your results!
Frequently Asked Questions (FAQ)
1. Is hydrogen peroxide safe to use on all types of grout and tile?
While hydrogen peroxide is generally safe for most types of grout and tile, it’s always a good idea to test it in an inconspicuous area first. This is especially important for colored grout, as hydrogen peroxide can sometimes cause fading. Apply a small amount of the hydrogen peroxide solution to a hidden area and let it sit for a few minutes. Then, wipe it away and check for any discoloration or damage. If you notice any adverse effects, discontinue use. For natural stone tiles like marble or granite, it’s best to consult with a professional cleaner before using any DIY cleaning solutions, as these materials can be more sensitive to certain chemicals.
2. What concentration of hydrogen peroxide should I use?
The standard 3% hydrogen peroxide solution that you can find at most drugstores is typically sufficient for cleaning grout. Higher concentrations of hydrogen peroxide can be more effective for stubborn stains, but they can also be more likely to cause damage or discoloration. If you choose to use a higher concentration, be sure to dilute it with water and test it in an inconspicuous area first. Always wear gloves and eye protection when handling hydrogen peroxide, regardless of the concentration.
3. How long should I let the hydrogen peroxide sit on the grout before scrubbing?
The amount of time you should let the hydrogen peroxide sit on the grout depends on the severity of the stains. For light stains, 5-10 minutes may be sufficient. For more stubborn stains, you may need to let it sit for 15-20 minutes, or even longer. You can also try applying the hydrogen peroxide solution multiple times, allowing it to dry completely between applications. Just be sure to monitor the grout closely and check for any signs of damage or discoloration.
4. What if hydrogen peroxide alone isn’t enough to clean my grout?
If hydrogen peroxide alone isn’t cutting it, you can try combining it with other cleaning agents to boost its effectiveness. As mentioned earlier, baking soda is a great addition for its mild abrasive properties. You can also try mixing hydrogen peroxide with dish soap or vinegar. However, be careful when mixing cleaning agents, as some combinations can create harmful fumes. Never mix hydrogen peroxide with bleach, as this can produce toxic chlorine gas. Always work in a well-ventilated area and wear appropriate safety gear when mixing cleaning agents.
5. How often should I clean my grout with hydrogen peroxide?
The frequency with which you should clean your grout depends on how much traffic it receives and how prone it is to staining. In general, it’s a good idea to clean your grout every few weeks to prevent stains from setting in. You can also spot-clean grout as needed to remove spills and messes. Regular cleaning will not only keep your grout looking its best but also help to prevent the growth of mold and mildew.
6. Can I use this DIY hydrogen peroxide grout cleaner on vertical surfaces, like shower walls?
Yes, you can use this DIY hydrogen peroxide grout cleaner on vertical surfaces. However, you may need to adjust the consistency of the solution to prevent it from running down the wall. Adding a thickening agent, such as cornstarch or flour, can help to create a paste that will adhere to the vertical surface. Apply the paste to the grout lines, let it sit for the recommended amount of time, and then scrub and rinse as usual.
7. How do I prevent grout from getting stained in the first place?
Prevention is always better than cure! To prevent grout from getting stained, consider sealing it with a grout sealer. Grout sealers create a protective barrier that repels water and stains. Apply a grout sealer according to the manufacturer’s instructions, and reapply it every year or two to maintain its effectiveness. You can also wipe up spills and messes promptly to prevent them from soaking into the grout. Using mats and rugs in high-traffic areas can also help to protect your grout from dirt and grime.
8. My grout is severely stained and discolored. Will hydrogen peroxide still work?
For severely stained and discolored grout, hydrogen peroxide may still be effective, but it may require multiple applications and longer soaking times. You may also need to use a more aggressive scrubbing technique. If hydrogen peroxide alone isn’t enough, you can try using a commercial grout cleaner or hiring a professional cleaning service. In some cases, severely stained grout may need to be replaced.
9. What are the environmental benefits of using hydrogen peroxide as a grout cleaner?
Using hydrogen peroxide as a grout cleaner offers several environmental benefits compared to commercial cleaners. Hydrogen peroxide is a biodegradable compound that breaks down into water and oxygen, making it a much more environmentally friendly option. Commercial cleaners often contain harsh chemicals that can pollute waterways and harm aquatic life. By choosing hydrogen peroxide, you can reduce your environmental impact and contribute to a cleaner, healthier planet.
10. Where can I find the ingredients and tools needed for this DIY grout cleaner?
The ingredients and tools needed for this DIY grout cleaner are readily available at most drugstores, supermarkets, and hardware stores. You can find hydrogen peroxide in the first aid section of most drugstores. Baking soda is a common household item that you likely already have in your pantry. You can purchase grout brushes, toothbrushes, and microfiber cloths at most supermarkets and hardware stores. Gloves and eye protection are also available at hardware stores.

Leave a Comment