
Backyard melon growing tips are your ticket to enjoying juicy, homegrown sweetness all summer long! Forget those bland, store-bought melons – imagine biting into a perfectly ripe, fragrant melon that you nurtured from seed to table. Sounds amazing, right?
Melons have a rich history, dating back to ancient Egypt and beyond, where they were prized for their refreshing qualities and nutritional value. Cultivating melons was a sign of prosperity and a way to connect with the land. Today, we can tap into that same connection, even in our own backyards!
But let’s be honest, growing melons can sometimes feel like a challenge. They need the right conditions, the right care, and a little bit of know-how to truly thrive. That’s where these DIY tricks and hacks come in! I’m going to share some simple, yet effective, techniques that will help you overcome common melon-growing hurdles and maximize your harvest. Whether you’re dealing with limited space, pesky pests, or just want to boost your melon’s sweetness, I’ve got you covered.
This article is packed with practical advice and easy-to-follow instructions, so you can confidently embark on your backyard melon growing tips adventure. Get ready to impress your friends and family with the most delicious melons they’ve ever tasted – all thanks to your green thumb and these handy DIY secrets!
DIY Backyard Melon Growing: From Seed to Sweet Success!
Alright, melon lovers! I’m here to share my tried-and-true method for growing juicy, delicious melons right in your own backyard. Forget those bland grocery store melons – we’re talking about homegrown sweetness that will blow your mind! This guide covers everything from choosing the right variety to harvesting your prize-winning fruit. Let’s get started!
Choosing Your Melon Variety
Before we even think about planting, let’s talk melons! The variety you choose will depend on your climate, space, and personal taste. Here are a few of my favorites:
* Watermelon: A classic! Look for bush varieties if you’re short on space, or go big with a traditional vine. ‘Sugar Baby’ is a reliable small watermelon, while ‘Crimson Sweet’ is a larger, more flavorful option.
* Cantaloupe: Sweet and aromatic, cantaloupe is a summer staple. ‘Hales Best Jumbo’ is a popular choice, known for its disease resistance.
* Honeydew: Mild and refreshing, honeydew is a great alternative to cantaloupe. ‘Honey Globe’ is a reliable and productive variety.
* Specialty Melons: Don’t be afraid to experiment! Try growing Galia melons, Charentais melons, or even Korean melons for a unique flavor experience.
Preparing Your Melon Patch
Melons are sun-loving, hungry plants. Giving them the right start is crucial for a bountiful harvest.
* Sunlight: Melons need at least 6-8 hours of direct sunlight per day. Choose a location in your yard that gets plenty of sunshine.
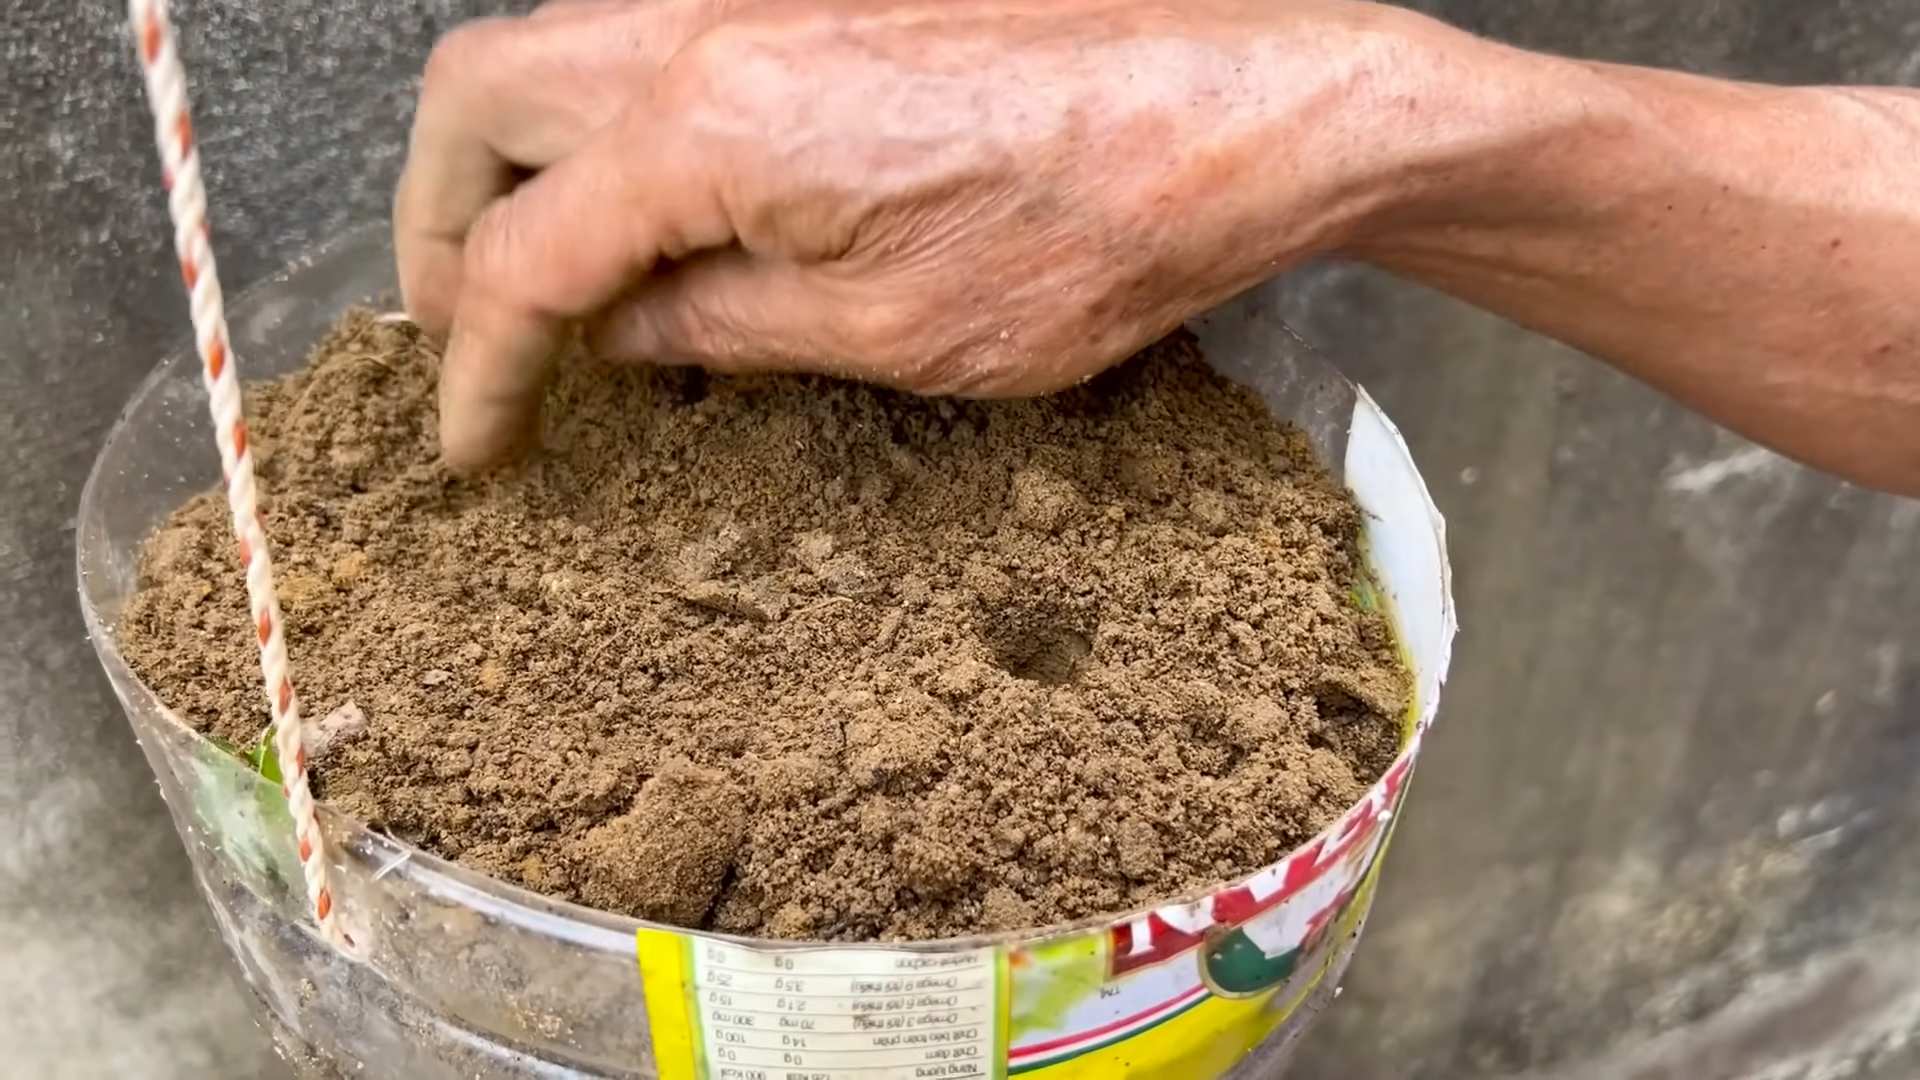
* Soil: Well-drained soil is essential. Melons don’t like soggy feet! Amend your soil with compost or well-rotted manure to improve drainage and fertility. A slightly acidic to neutral pH (6.0-7.0) is ideal.
* Space: Melons need plenty of room to spread. Vining varieties can take up a lot of space, so plan accordingly. Bush varieties are a good option for smaller gardens. Consider vertical gardening techniques like trellising for vining types to save space.
* Water: Consistent watering is key, especially during fruit development. Aim for about 1-2 inches of water per week.
* Fertilizer: Melons are heavy feeders. Use a balanced fertilizer (e.g., 10-10-10) at planting time, and then side-dress with a nitrogen-rich fertilizer a few weeks later.
Starting Your Melon Seeds
You can either direct sow your melon seeds or start them indoors. I prefer starting them indoors, especially in cooler climates, to get a head start on the growing season.
* When to Start: Start your seeds indoors about 4-6 weeks before the last expected frost.
* What You’ll Need: Seed starting trays or pots, seed starting mix, a heat mat (optional), and a grow light (optional).
* How to Start:
1. Fill your seed starting trays or pots with seed starting mix.
2. Moisten the mix thoroughly.
3. Plant 2-3 seeds per cell or pot, about 1/2 inch deep.
4. Cover the seeds with soil and gently water.
5. Place the trays or pots on a heat mat (if using) and under a grow light (if using).
6. Keep the soil moist but not soggy.
7. Once the seedlings emerge, thin them to one plant per cell or pot.
8. Harden off the seedlings by gradually exposing them to outdoor conditions for a week before transplanting.
Transplanting Your Melon Seedlings
Once the danger of frost has passed and the soil has warmed up, it’s time to transplant your melon seedlings into the garden.
* When to Transplant: Wait until the soil temperature is consistently above 60°F (15°C).
* How to Transplant:
1. Choose a cloudy day to minimize transplant shock.
2. Dig a hole that is slightly larger than the root ball of the seedling.
3. Gently remove the seedling from its container, being careful not to damage the roots.
4. Place the seedling in the hole and backfill with soil.
5. Water thoroughly.
6. Space the plants according to the variety’s recommendations (usually 2-3 feet apart for bush varieties and 4-6 feet apart for vining varieties).
7. Mulch around the plants to help retain moisture and suppress weeds. I like using straw or shredded leaves.
Caring for Your Melon Plants
Once your melon plants are in the ground, it’s important to provide them with the care they need to thrive.
* Watering: Water deeply and regularly, especially during hot, dry weather. Avoid overhead watering, which can lead to fungal diseases. Drip irrigation or soaker hoses are ideal.
* Fertilizing: Side-dress your plants with a nitrogen-rich fertilizer a few weeks after transplanting. You can also use a liquid fertilizer every 2-3 weeks. Once the fruits start to develop, switch to a fertilizer that is higher in phosphorus and potassium to promote fruit production.
* Weeding: Keep the area around your melon plants free of weeds. Weeds compete with the plants for water and nutrients.
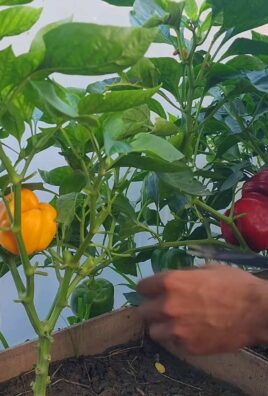
* Pest Control: Keep an eye out for common melon pests, such as aphids, squash bugs, and cucumber beetles. Use organic pest control methods, such as insecticidal soap or neem oil, to control these pests.
* Disease Control: Melons are susceptible to fungal diseases, such as powdery mildew and downy mildew. To prevent these diseases, provide good air circulation, avoid overhead watering, and apply a fungicide if necessary.
* Pollination: Melons need to be pollinated in order to produce fruit. If you’re not seeing any fruit set, you may need to hand-pollinate the flowers. To hand-pollinate, use a small paintbrush to transfer pollen from the male flowers to the female flowers. The female flowers have a small fruit at the base of the flower.
Trellising Melons (Optional but Recommended!)
For vining varieties, trellising can save space, improve air circulation, and make harvesting easier.
* Choosing a Trellis: Use a sturdy trellis that can support the weight of the melons. A cattle panel or a strong wooden trellis works well.
* Training the Vines: As the vines grow, gently train them to climb the trellis. You may need to tie them to the trellis with twine or plant clips.
* Supporting the Fruit: As the melons develop, they may need additional support. You can use slings made from pantyhose or netting to support the fruit and prevent it from breaking off the vine.
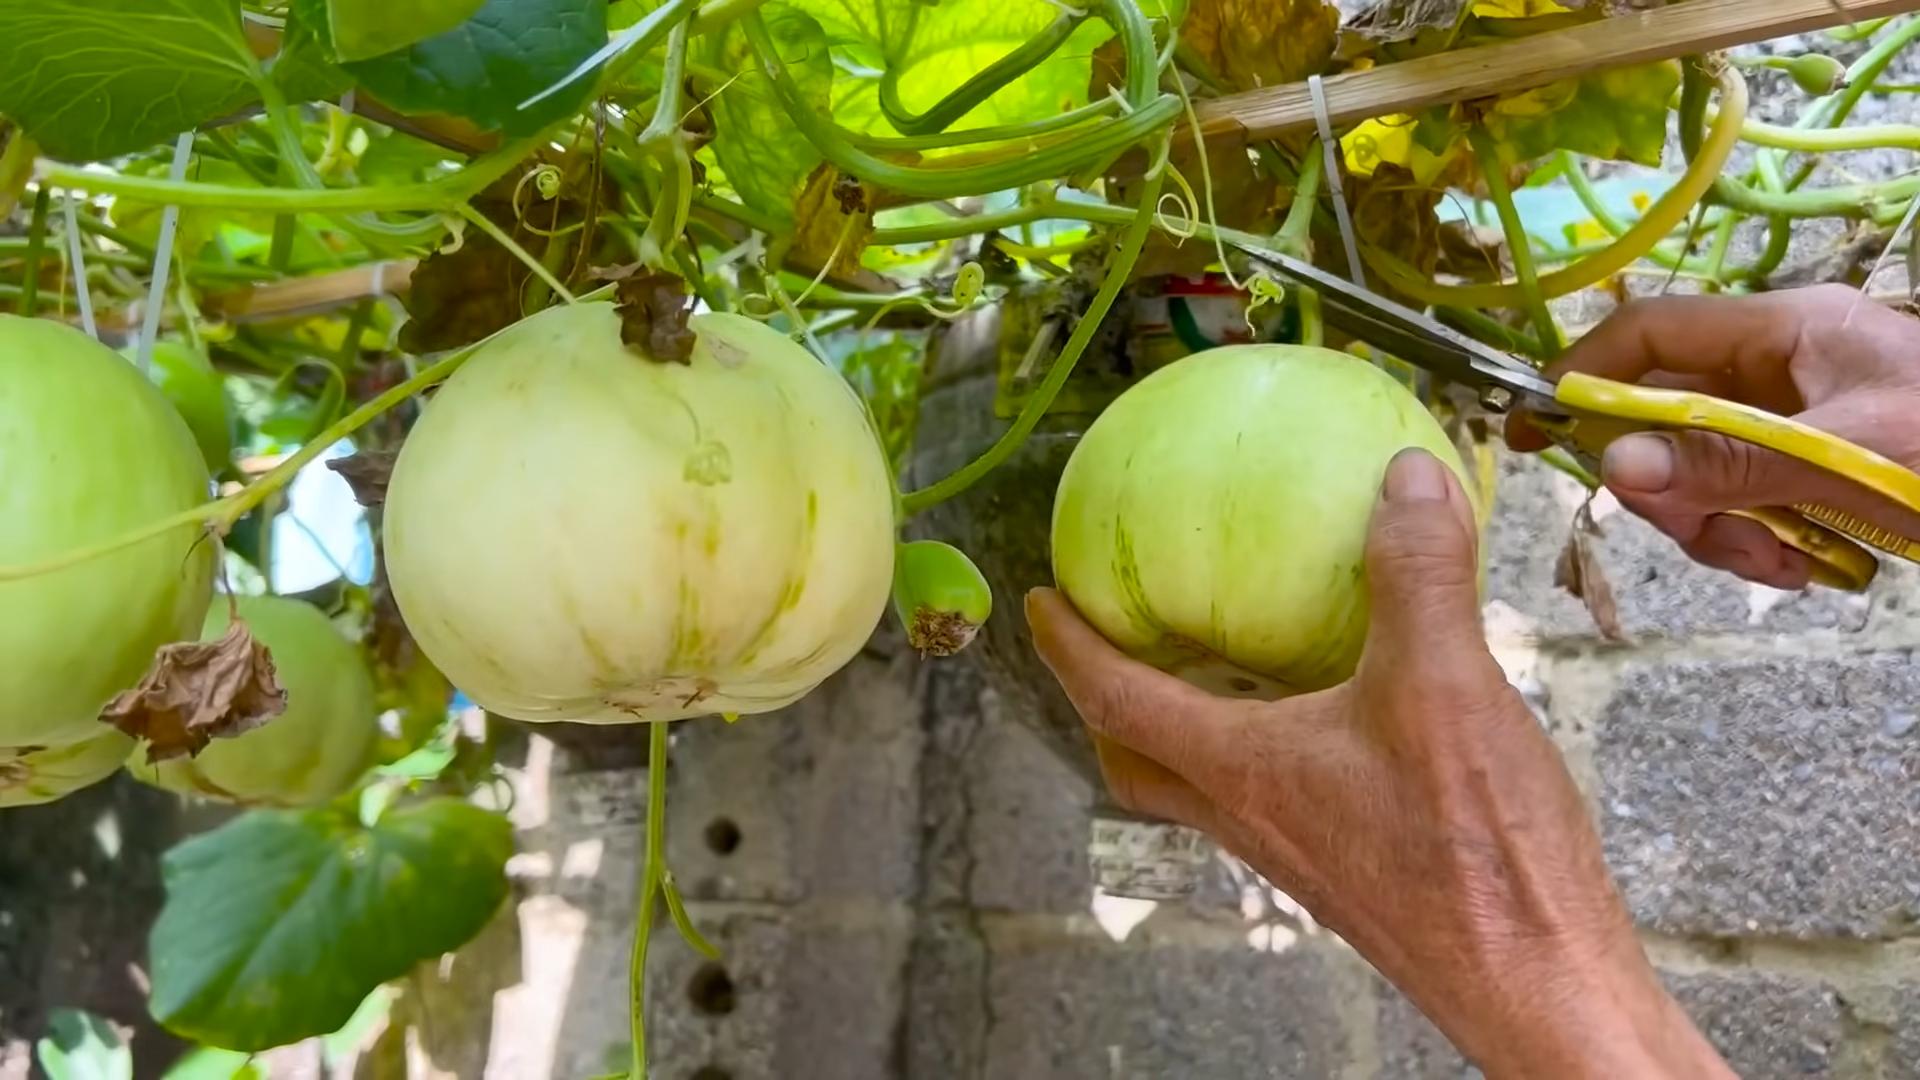
Harvesting Your Melons
This is the moment we’ve all been waiting for! Knowing when to harvest your melons is key to enjoying their full flavor.
* Watermelon: Look for a dull thud when you thump the melon. The tendril closest to the melon should be brown and dry. The underside of the melon, where it rests on the ground, should be yellow or cream-colored.
* Cantaloupe: The melon should slip easily from the vine when it’s ripe. The stem end should be slightly soft and fragrant. The netting on the rind should be raised and well-defined.
* Honeydew: The melon should feel slightly soft and waxy to the touch. The blossom end should be slightly soft and fragrant. The color of the rind should change from green to a creamy yellow.
Troubleshooting Common Melon Problems
Even with the best care, you may encounter some problems while growing melons. Here are a few common issues and how to address them:
* Poor Fruit Set: This can be caused by lack of pollination, poor weather conditions, or nutrient deficiencies. Hand-pollinate the flowers, provide adequate water and fertilizer, and protect the plants from extreme temperatures.
* Cracked Fruit: This can be caused by inconsistent watering or rapid changes in temperature. Water regularly and consistently, and mulch around the plants to help retain moisture.
* Blossom End Rot: This is caused by a calcium deficiency. Amend the soil with lime or bone meal before planting, and water regularly and consistently.
* Pest and Disease Problems: As mentioned earlier, keep an eye out for common melon pests and diseases, and take action to control them as soon as possible.
Enjoying Your Homegrown Melons
Congratulations! You’ve successfully grown your own delicious melons. Now it’s time to enjoy the fruits (or melons!) of your labor.
* Storage: Store ripe melons in the refrigerator for up to a week.
* Serving: Serve chilled melon slices as a refreshing snack or dessert. You can also use melon in salads, smoothies
Conclusion
So, there you have it! Mastering the art of backyard melon growing doesn’t have to be a daunting task. By implementing these simple yet effective DIY tricks, you’re well on your way to harvesting juicy, flavorful melons right from your own backyard. We’ve covered everything from optimizing soil conditions and providing adequate support to warding off pests and ensuring proper watering techniques. Remember, the key to success lies in understanding your local climate, choosing the right melon varieties, and consistently applying these methods.
But why is this DIY approach a must-try? Because it empowers you to take control of your food source, reduce your reliance on commercially grown produce (often laden with pesticides), and experience the unparalleled satisfaction of nurturing a plant from seed to table. Plus, homegrown melons simply taste better! The flavor is richer, the texture is more succulent, and the overall experience is far more rewarding.
Don’t be afraid to experiment! Try different melon varieties to see which ones thrive in your specific environment. Consider using companion planting techniques to naturally deter pests and improve soil health. For instance, planting marigolds near your melon vines can help repel nematodes, while basil can deter aphids. You can also explore different trellising methods to maximize space and improve air circulation. Vertical growing is especially beneficial for smaller gardens or for those who want to keep the melons off the ground to prevent rot.
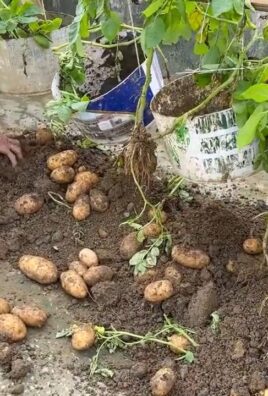
Another variation to consider is the use of raised beds or containers. This is particularly helpful if you have poor soil quality or limited space. Raised beds allow you to create the ideal growing environment for your melons, ensuring proper drainage and nutrient availability. Container gardening is perfect for balconies or patios, allowing you to enjoy fresh melons even if you don’t have a traditional backyard.
We encourage you to embrace these DIY tricks and embark on your own backyard melon growing adventure. It’s a journey filled with learning, experimentation, and ultimately, delicious rewards. Don’t be discouraged if you encounter challenges along the way. Gardening is a process of continuous learning, and every mistake is an opportunity to improve.
Most importantly, we want to hear about your experiences! Share your successes, your challenges, and any unique tips or tricks you discover along the way. Post photos of your thriving melon vines and your bountiful harvests. Let’s create a community of backyard melon growers who support and inspire each other. Use the hashtag #BackyardMelonMagic on social media to share your journey and connect with fellow gardeners.
So, grab your seeds, prepare your soil, and get ready to experience the joy of growing your own delicious melons. With a little effort and these DIY tricks, you’ll be enjoying the sweet taste of success in no time! Remember, the best melons are the ones you grow yourself. Happy gardening!
Frequently Asked Questions (FAQ)
What are the best melon varieties to grow in a small backyard?
For smaller backyards, consider bush or compact melon varieties. These varieties are bred to produce full-sized melons on shorter vines, making them ideal for limited spaces. Some excellent choices include:
* **Sugar Baby Watermelon:** A classic, small watermelon that matures quickly and is known for its sweet flavor.
* **Minnesota Midget Cantaloupe:** A compact cantaloupe variety that produces small, flavorful melons perfect for individual servings.
* **Spacemaster Cucumber:** While technically a cucumber, it’s often grown alongside melons and offers a similar growing experience in a compact form.
* **Honey Dew Melon:** A sweet and juicy melon that is easy to grow in a small backyard.
These varieties are also well-suited for container gardening, allowing you to grow melons even if you only have a balcony or patio.
How often should I water my melon plants?
Watering frequency depends on several factors, including the weather, soil type, and the stage of growth. Generally, melon plants need consistent moisture, especially during flowering and fruit development. Aim to water deeply and regularly, providing about 1-2 inches of water per week.
* **Early Stages:** Water regularly to keep the soil consistently moist but not waterlogged.
* **Flowering and Fruiting:** Increase watering frequency as the plants begin to flower and set fruit.
* **Hot Weather:** Water more frequently during hot, dry weather to prevent the plants from drying out.
Use a soaker hose or drip irrigation to deliver water directly to the roots, minimizing water loss through evaporation and reducing the risk of fungal diseases. Avoid overhead watering, as it can wet the foliage and create a favorable environment for disease.
How can I protect my melon plants from pests and diseases?
Pest and disease management is crucial for successful melon growing. Here are some tips to protect your plants:
* **Companion Planting:** Plant marigolds, basil, or other pest-repelling plants near your melons to deter insects.
* **Row Covers:** Use row covers to protect young plants from pests and frost. Remove the covers once the plants begin to flower to allow for pollination.
* **Handpicking:** Regularly inspect your plants for pests and handpick them off as needed.
* **Neem Oil:** Apply neem oil to control aphids, spider mites, and other common melon pests.
* **Good Air Circulation:** Ensure good air circulation around your plants to prevent fungal diseases. Prune the vines as needed to improve airflow.
* **Crop Rotation:** Rotate your crops each year to prevent the buildup of soilborne diseases.
What type of fertilizer should I use for my melon plants?
Melon plants benefit from a balanced fertilizer that provides essential nutrients for growth and fruit development. Look for a fertilizer with an NPK ratio (nitrogen, phosphorus, potassium) that is appropriate for fruiting plants.
* **Early Stages:** Use a fertilizer with a higher nitrogen content to promote leafy growth.
* **Flowering and Fruiting:** Switch to a fertilizer with a higher phosphorus and potassium content to support flower and fruit development.
* **Organic Options:** Consider using organic fertilizers such as compost, bone meal, or fish emulsion.
Apply fertilizer according to the package instructions, and avoid over-fertilizing, as this can lead to excessive vegetative growth and reduced fruit production.
How do I know when my melons are ripe?
Determining when a melon is ripe can be tricky, but here are some general guidelines:
* **Watermelons:** Look for a dull, rather than shiny, rind. The underside of the melon (where it rests on the ground) should be a creamy yellow color. Thump the melon; a ripe watermelon will have a deep, hollow sound.
* **Cantaloupes:** The stem should slip easily from the vine when the melon is ripe. The rind should have a distinct netting pattern and a fragrant aroma.
* **Honeydew Melons:** The rind should turn a creamy yellow color, and the blossom end should be slightly soft to the touch.
Remember that these are just general guidelines, and the best way to determine ripeness is to taste a small piece of the melon.
Can I grow melons in containers?
Yes, you can definitely grow melons in containers! Choose a large container (at least 20 gallons) with good drainage. Use a high-quality potting mix and provide adequate support for the vines. Bush or compact melon varieties are best suited for container gardening. Ensure the container receives at least 6-8 hours of sunlight per day. Water regularly and fertilize as needed.
What is the best soil for growing melons?
Melons thrive in well-drained, fertile soil with a pH of 6.0 to 6.8. Amend your soil with compost or other organic matter to improve drainage and nutrient content. If your soil is heavy clay, consider growing melons in raised beds or containers.
How much sunlight do melons need?
Melons need at least 6-8 hours of direct sunlight per day to thrive. Choose a sunny location in your backyard for planting. If you live in a hot climate, provide some afternoon shade to prevent the plants from overheating.
What are some common problems when growing melons and how can I fix them?
Some common problems include:
* **Powdery Mildew:** A fungal disease that causes a white, powdery coating on the leaves. Improve air circulation and apply a fungicide if necessary.
* **Aphids:** Small, sap-sucking insects that can weaken plants. Spray with insecticidal soap or neem oil.
* **Squash Bugs:** Pests that can damage melon vines and fruit. Handpick them off or use row covers to protect young plants.
* **Blossom-End Rot:** A condition caused by calcium deficiency that results in a dark, sunken spot on the blossom end of the fruit. Ensure adequate watering and amend the soil with calcium.
By addressing these problems promptly, you can ensure a healthy and productive melon harvest.

Leave a Comment