
DIY Fridge Cleaner: Are you tired of that lingering odor every time you open your refrigerator? Or maybe you’re just grossed out by the thought of what might be lurking on those shelves? I totally get it! A clean fridge is essential for food safety and a pleasant kitchen experience. But who wants to spend hours scrubbing with harsh chemicals?
For generations, resourceful homemakers have relied on natural cleaning solutions, often passed down through families. Think about it – before the age of mass-produced cleaners, people used what they had on hand: vinegar, baking soda, and lemon juice. These simple ingredients are not only effective but also eco-friendly and safe for your family. This tradition of using natural ingredients for cleaning is not only cost-effective but also reduces our reliance on harsh chemicals that can be harmful to our health and the environment.
That’s why I’m so excited to share these easy and effective DIY fridge cleaner tricks with you! This article is packed with simple recipes and hacks that will help you banish odors, eliminate grime, and keep your fridge sparkling clean – all without breaking the bank or exposing your food to harmful chemicals. Let’s dive in and discover how to create your own powerful and natural fridge cleaner!
DIY Fridge Cleaner: A Sparkling Fridge in Minutes!
Okay, let’s be honest, cleaning the fridge is nobody’s favorite chore. But a clean fridge isn’t just about aesthetics; it’s about food safety and preventing those mystery smells! I’m going to show you how to whip up a super effective, all-natural fridge cleaner using ingredients you probably already have in your pantry. Trust me, it’s easier than you think, and your fridge (and your nose!) will thank you.
What You’ll Need: The Arsenal of Clean
Before we dive in, let’s gather our supplies. This is a pretty low-key operation, so don’t worry about needing anything fancy.
* **Spray Bottle:** An empty spray bottle is essential for applying our cleaning solution. Make sure it’s clean!
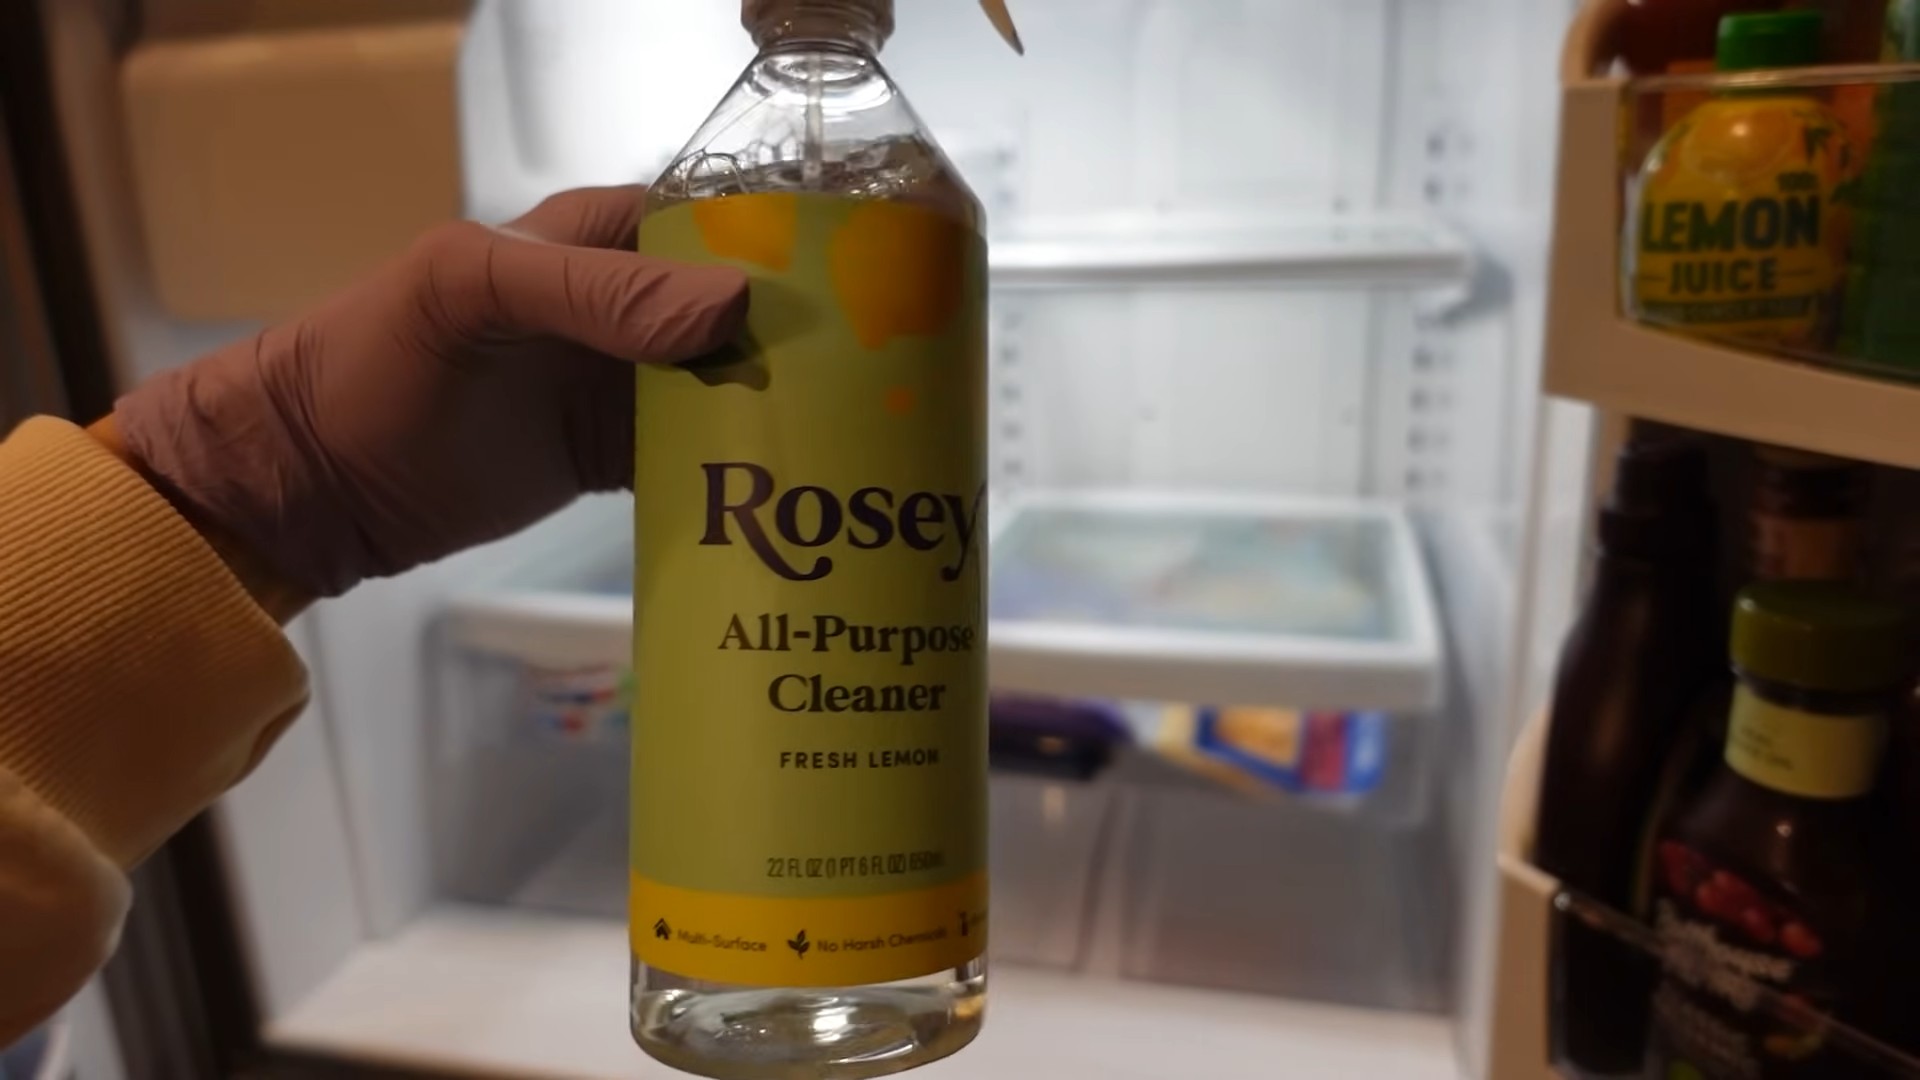
* **White Vinegar:** This is our star ingredient! Vinegar is a natural disinfectant and deodorizer.
* **Water:** Tap water works just fine.
* **Lemon Essential Oil (Optional):** This adds a lovely fresh scent and boosts the cleaning power. If you don’t have it, no worries!
* **Baking Soda (For Stubborn Stains):** Our secret weapon for those sticky, stuck-on messes.
* **Microfiber Cloths or Sponges:** These are perfect for wiping down surfaces without leaving streaks.
* **Old Toothbrush (Optional):** Great for scrubbing those hard-to-reach corners and crevices.
* **Cooler or Insulated Bag:** To keep your food cold while you’re cleaning.
* **Trash Bag:** For disposing of any expired or spoiled food.
The Recipe: Mixing Up the Magic
Now for the fun part – creating our cleaning solution! It’s super simple, I promise.
1. **Combine Vinegar and Water:** In your spray bottle, mix equal parts white vinegar and water. I usually go for a 50/50 ratio. For example, 1 cup of vinegar and 1 cup of water.
2. **Add Essential Oil (Optional):** If you’re using lemon essential oil, add about 10-15 drops to the mixture. This will give your fridge a lovely, fresh scent.
3. **Shake Well:** Give the spray bottle a good shake to ensure the ingredients are thoroughly combined.
The Cleaning Process: Step-by-Step to a Sparkling Fridge
Alright, let’s get down to business! This is where we transform that cluttered, smelly fridge into a pristine palace of perishables.
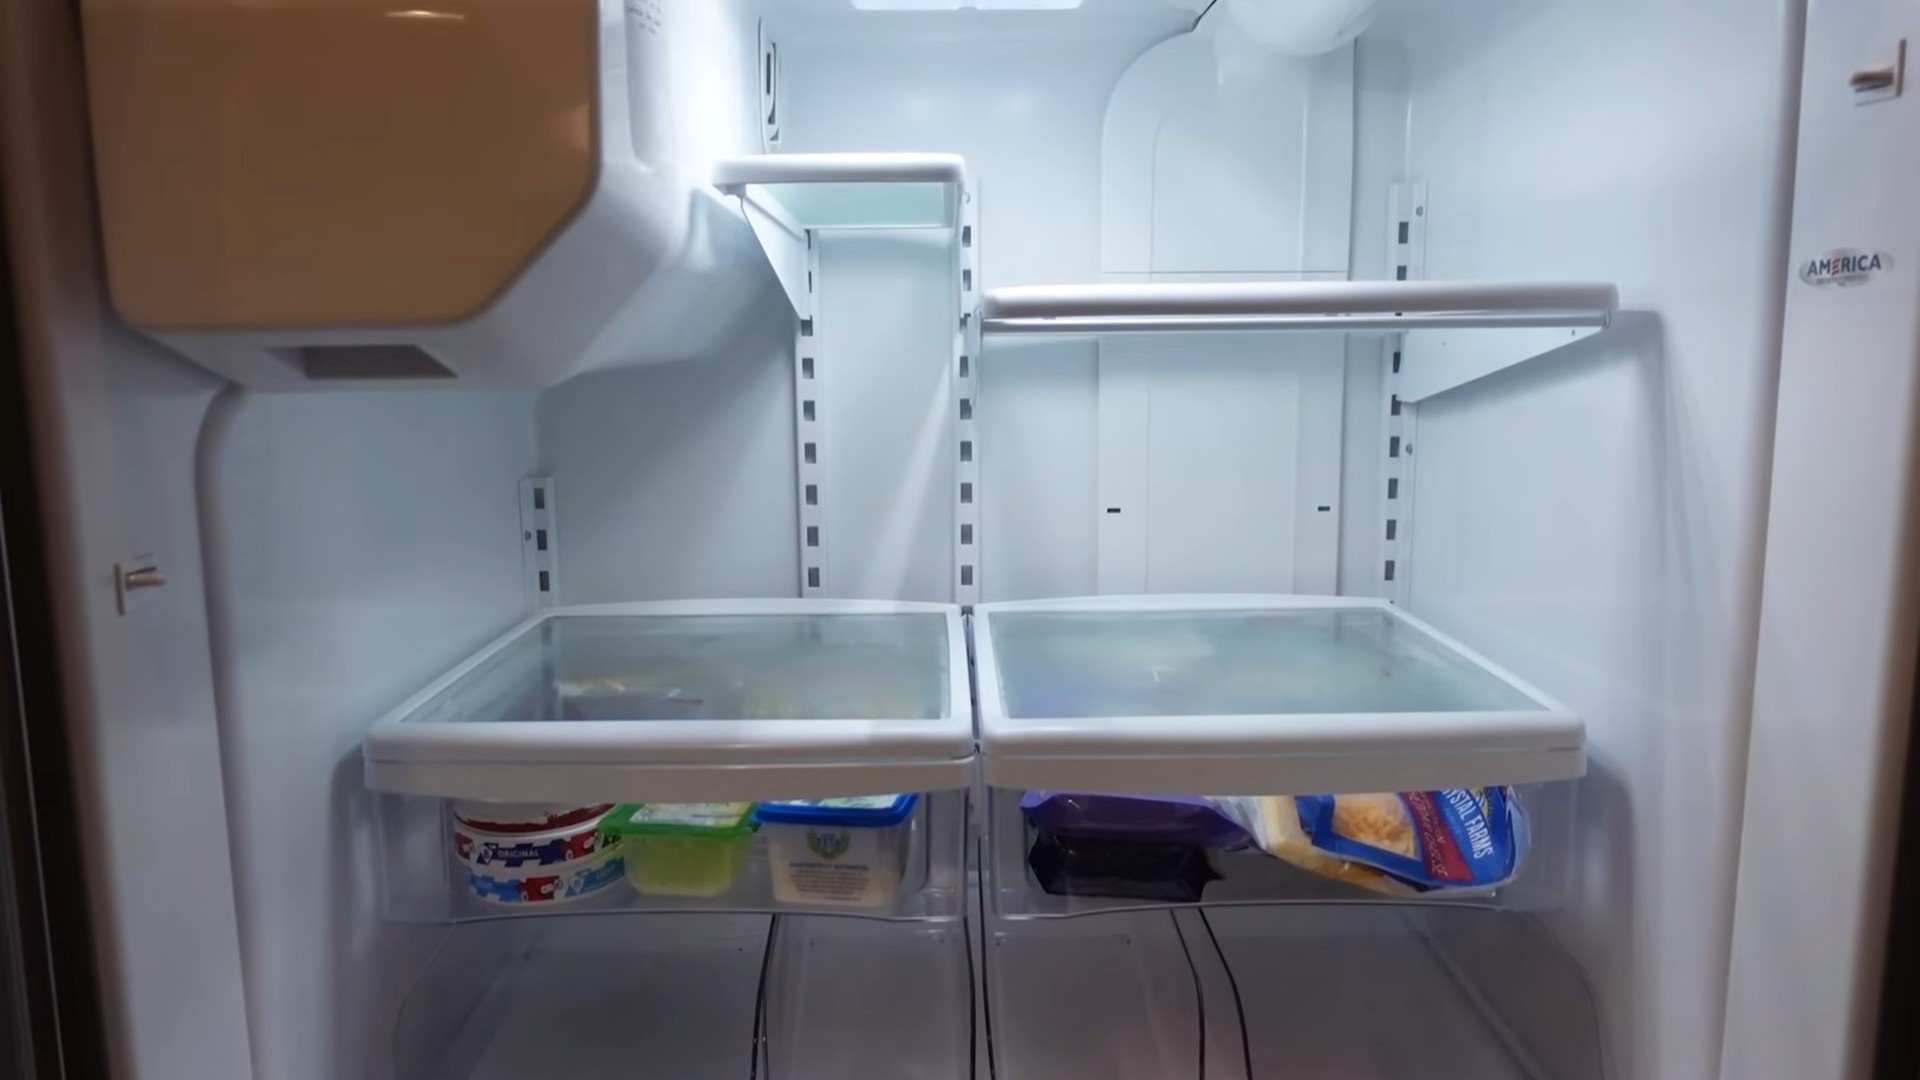
1. **Empty the Fridge:** This is the most important step! Remove all the food from your fridge. This gives you full access to all the surfaces and prevents you from accidentally spraying your groceries.
2. **Check Expiration Dates:** As you’re removing the food, take a moment to check expiration dates. Toss anything that’s past its prime into the trash bag. This is a great way to prevent future fridge smells!
3. **Store Food in a Cooler:** Place all the food you’re keeping in a cooler or insulated bag with ice packs to keep it cold while you’re cleaning. This is crucial for food safety.
4. **Remove Shelves and Drawers:** Take out all the removable shelves, drawers, and bins. This will allow you to clean them thoroughly and reach all the nooks and crannies inside the fridge.
5. **Wash Shelves and Drawers:** Wash the shelves, drawers, and bins with warm, soapy water. You can use dish soap or even a little bit of your homemade cleaning solution. Rinse them thoroughly and let them air dry or wipe them dry with a clean cloth.
6. **Spray the Interior:** Now it’s time to spray the interior of the fridge with your vinegar and water solution. Be generous, but don’t soak it.
7. **Wipe Down Surfaces:** Use a microfiber cloth or sponge to wipe down all the interior surfaces of the fridge, including the walls, ceiling, and floor. Pay special attention to any spills or stains.
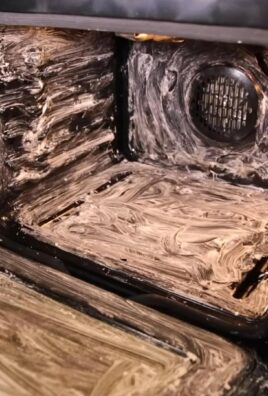
8. **Tackle Stubborn Stains:** For those really stubborn stains, make a paste of baking soda and water. Apply the paste to the stain, let it sit for a few minutes, and then scrub gently with a sponge or old toothbrush.
9. **Clean the Door Seals:** Don’t forget the door seals! These can accumulate dirt and grime over time. Wipe them down with your cleaning solution and a clean cloth.
10. **Clean the Exterior:** Give the outside of your fridge a wipe down as well. This will remove any fingerprints, smudges, or spills.
11. **Dry Everything Thoroughly:** Before putting everything back, make sure all the surfaces are completely dry. This will prevent mold and mildew growth.
12. **Replace Shelves and Drawers:** Once everything is dry, put the shelves, drawers, and bins back into the fridge.
13. **Return Food to the Fridge:** Carefully return the food to the fridge, organizing it as you go. Place items with earlier expiration dates in the front so you’re more likely to use them before they expire.
14. **Admire Your Sparkling Fridge!** Step back and admire your handiwork! You’ve just transformed your fridge into a clean, organized, and fresh-smelling space.
Extra Tips and Tricks for Fridge Cleaning Success
Here are a few extra tips to help you keep your fridge clean and organized:
* **Line Shelves with Paper Towels or Shelf Liners:** This will make it easier to clean up spills and messes.
* **Use Storage Containers:** Store leftovers and produce in airtight containers to prevent spills and keep them fresh longer.
* **Clean Up Spills Immediately:** Don’t let spills sit and harden. Clean them up as soon as they happen to prevent stains and odors.
* **Keep an Open Box of Baking Soda in the Fridge:** Baking soda absorbs odors and helps keep your fridge smelling fresh. Replace it every few months.
* **Clean Your Fridge Regularly:** Aim to clean your fridge at least once a month to prevent buildup and keep it smelling fresh.
Troubleshooting Common Fridge Cleaning Problems
Even with the best intentions, sometimes fridge cleaning can present a few challenges. Here’s how to tackle some common issues:
* **Lingering Odors:** If your fridge still smells funky after cleaning, try placing a bowl of vinegar or coffee grounds inside overnight. These will help absorb any remaining odors.
* **Sticky Residue:** If you’re having trouble removing sticky residue, try using a mixture of baking soda and oil (like coconut oil or olive oil). Apply the paste to the residue, let it sit for a few minutes, and then scrub gently.
* **Mold or Mildew:** If you find mold or mildew in your fridge, clean the affected area with a solution of bleach and water (1 part bleach to 10 parts water). Be sure to wear gloves and ventilate the area well. Rinse thoroughly with clean water.
* **Cloudy Shelves:** If your glass shelves are cloudy after cleaning, try wiping them down with a mixture of vinegar and water, followed by a clean, dry cloth.
Why This DIY Cleaner is Awesome
I love this DIY fridge cleaner for so many reasons! First, it’s incredibly **cost-effective**. You’re using ingredients you likely already have, so you’re saving money compared to buying commercial cleaners. Second, it’s **environmentally friendly**. You’re avoiding harsh chemicals and reducing your plastic waste. Third, it’s **safe for your family and pets**. You don’t have to worry about exposing them to harmful chemicals. And finally, it **works!** This simple solution is surprisingly effective at cleaning and deodorizing your fridge.
So there you have it! A simple, effective, and all-natural way to clean your fridge. Give it a try, and I promise you’ll be amazed at the results. Happy cleaning!
Conclusion
So, there you have it! Ditching those harsh chemicals and embracing this simple, effective, and budget-friendly DIY fridge cleaner is more than just a cleaning hack; it’s a step towards a healthier home and a happier planet. We’ve walked you through the easy steps, highlighted the benefits, and hopefully, inspired you to give it a try.
Why is this a must-try? Because it works! It cuts through grime, neutralizes odors, and leaves your fridge sparkling clean without exposing your food or family to potentially harmful chemicals. Think about it: your fridge is where you store the food that nourishes you. Shouldn’t it be cleaned with ingredients you trust? This DIY solution offers peace of mind, knowing exactly what you’re using to keep your food storage space hygienic.
But the beauty of DIY lies in its adaptability. Feel free to experiment with variations to suit your specific needs and preferences. For a stronger cleaning boost, add a few drops of tea tree oil, known for its antibacterial properties. If you’re dealing with particularly stubborn stains, create a paste of baking soda and water and let it sit on the affected area for a few minutes before wiping it away. For a refreshing scent, infuse your vinegar with citrus peels for a week or two before using it in the cleaner. Lemon, orange, or grapefruit peels all work wonderfully. You can also add a few drops of your favorite essential oil, like lemon or lavender, to the spray bottle for a pleasant aroma.
Consider this: You can also use this DIY fridge cleaner on other kitchen surfaces! It’s great for wiping down countertops, cleaning the inside of your microwave, and even tackling greasy stovetops. Just be sure to test it on an inconspicuous area first, especially on delicate surfaces.
We truly believe that once you experience the effectiveness and simplicity of this DIY fridge cleaner, you’ll never go back to store-bought alternatives. It’s a win-win situation: you save money, reduce your exposure to chemicals, and contribute to a more sustainable lifestyle.
So, what are you waiting for? Gather your ingredients, mix up a batch of this amazing DIY fridge cleaner, and give your fridge the spa day it deserves. We’re confident you’ll be thrilled with the results.
And now, the most important part: we want to hear from you! Did you try this DIY fridge cleaner? What variations did you use? What were your results? Share your experiences, tips, and photos in the comments below. Let’s build a community of clean fridge enthusiasts and inspire others to embrace the power of DIY! Your feedback is invaluable and helps us refine and improve our recipes and tips. We can’t wait to hear your stories! Let us know if you found this DIY fridge cleaner helpful.
Frequently Asked Questions (FAQ)
1. Is this DIY fridge cleaner safe to use around food?
Absolutely! That’s one of the biggest advantages of using a DIY fridge cleaner made with vinegar and baking soda. Both ingredients are non-toxic and safe for food contact. Vinegar is a natural disinfectant and deodorizer, while baking soda is a mild abrasive that helps to scrub away grime. Unlike many commercial cleaners that contain harsh chemicals, this DIY solution won’t leave behind any harmful residues that could contaminate your food. However, it’s always a good idea to wipe down the surfaces with a clean, damp cloth after cleaning to remove any lingering vinegar or baking soda residue.
2. How often should I clean my fridge with this DIY cleaner?
The frequency of cleaning depends on how often you use your fridge and how prone it is to spills and messes. As a general guideline, aim to give your fridge a thorough cleaning with this DIY solution at least once a month. However, if you notice spills, crumbs, or unpleasant odors, it’s best to clean them up immediately to prevent them from becoming ingrained and attracting bacteria. Regular spot cleaning will also help to maintain a clean and hygienic fridge environment.
3. Can I use this DIY cleaner on all types of fridge surfaces?
This DIY fridge cleaner is generally safe for most fridge surfaces, including plastic, glass, and stainless steel. However, it’s always a good idea to test it on an inconspicuous area first, especially if you have a fridge with a delicate or unusual finish. Avoid using abrasive scrub brushes or scouring pads, as they can scratch the surfaces. For stainless steel, wipe in the direction of the grain to prevent streaks. If you’re unsure about a particular surface, consult your fridge’s manufacturer’s instructions.
4. What if I don’t like the smell of vinegar?
The smell of vinegar can be a deterrent for some people, but don’t worry, it dissipates quickly. You can minimize the vinegar smell by using distilled white vinegar, which has a milder odor than other types of vinegar. As mentioned earlier, infusing your vinegar with citrus peels or adding a few drops of essential oils to the spray bottle can also help to mask the vinegar smell and leave your fridge smelling fresh and clean. Open a window or turn on the exhaust fan while cleaning to improve ventilation.
5. Can I store the leftover DIY fridge cleaner?
Yes, you can store the leftover DIY fridge cleaner in a spray bottle for future use. Be sure to label the bottle clearly to avoid any confusion. Store it in a cool, dark place away from direct sunlight. The cleaner should remain effective for several weeks, but it’s best to use it within a month for optimal results. If you notice any changes in color, odor, or consistency, discard the cleaner and make a fresh batch.
6. What if I have mold in my fridge? Will this DIY cleaner work?
While this DIY fridge cleaner can help to prevent mold growth, it may not be strong enough to remove existing mold infestations. For mold removal, you may need a stronger solution, such as a mixture of bleach and water (1 part bleach to 10 parts water). However, bleach is a harsh chemical, so use it with caution and ensure proper ventilation. Wear gloves and eye protection, and avoid contact with food. Alternatively, you can try using a solution of hydrogen peroxide or tea tree oil, both of which have antifungal properties. If the mold infestation is severe, it’s best to consult a professional mold remediation service.
7. Can I use this DIY cleaner to clean the rubber seals around the fridge door?
Yes, this DIY fridge cleaner is safe and effective for cleaning the rubber seals around the fridge door. These seals can often accumulate dirt, grime, and even mold, which can compromise their ability to create a tight seal. Use a soft cloth or toothbrush to gently scrub the seals with the DIY cleaner. Pay close attention to any crevices or areas where dirt tends to accumulate. After cleaning, wipe the seals with a clean, damp cloth and dry them thoroughly.
8. Is baking soda necessary for this DIY cleaner? Can I just use vinegar and water?
While you can certainly use a mixture of vinegar and water to clean your fridge, adding baking soda enhances the cleaning power of the solution. Baking soda is a mild abrasive that helps to scrub away stubborn grime and stains. It also helps to neutralize odors and absorb moisture. If you don’t have baking soda on hand, vinegar and water will still work, but the cleaning may not be as effective.
9. Can I use this DIY cleaner on my freezer?
Yes, you can use this DIY cleaner on your freezer. However, before cleaning your freezer, be sure to unplug it and remove all the food. Allow the freezer to thaw slightly before cleaning. Use the DIY cleaner to wipe down the interior surfaces of the freezer, paying close attention to any spills or stains. After cleaning, wipe the surfaces with a clean, damp cloth and dry them thoroughly. Allow the freezer to dry completely before plugging it back in and restocking it with food.
10. What are some other tips for keeping my fridge clean and organized?
Here are a few additional tips for maintaining a clean and organized fridge:
* Store food in airtight containers to prevent spills and leaks.
* Label and date leftovers to avoid food waste.
* Keep a box of baking soda in the fridge to absorb odors.
* Wipe up spills immediately.
* Regularly check for expired food and discard it.
* Organize your fridge by food type to make it easier to find what you need.
* Use clear storage bins to group similar items together.
* Rotate food items so that older items are used first.
* Consider using shelf liners to protect your fridge shelves from spills and stains.

Leave a Comment