
DIY Grape Growing Method: Unleash Your Inner Vintner!
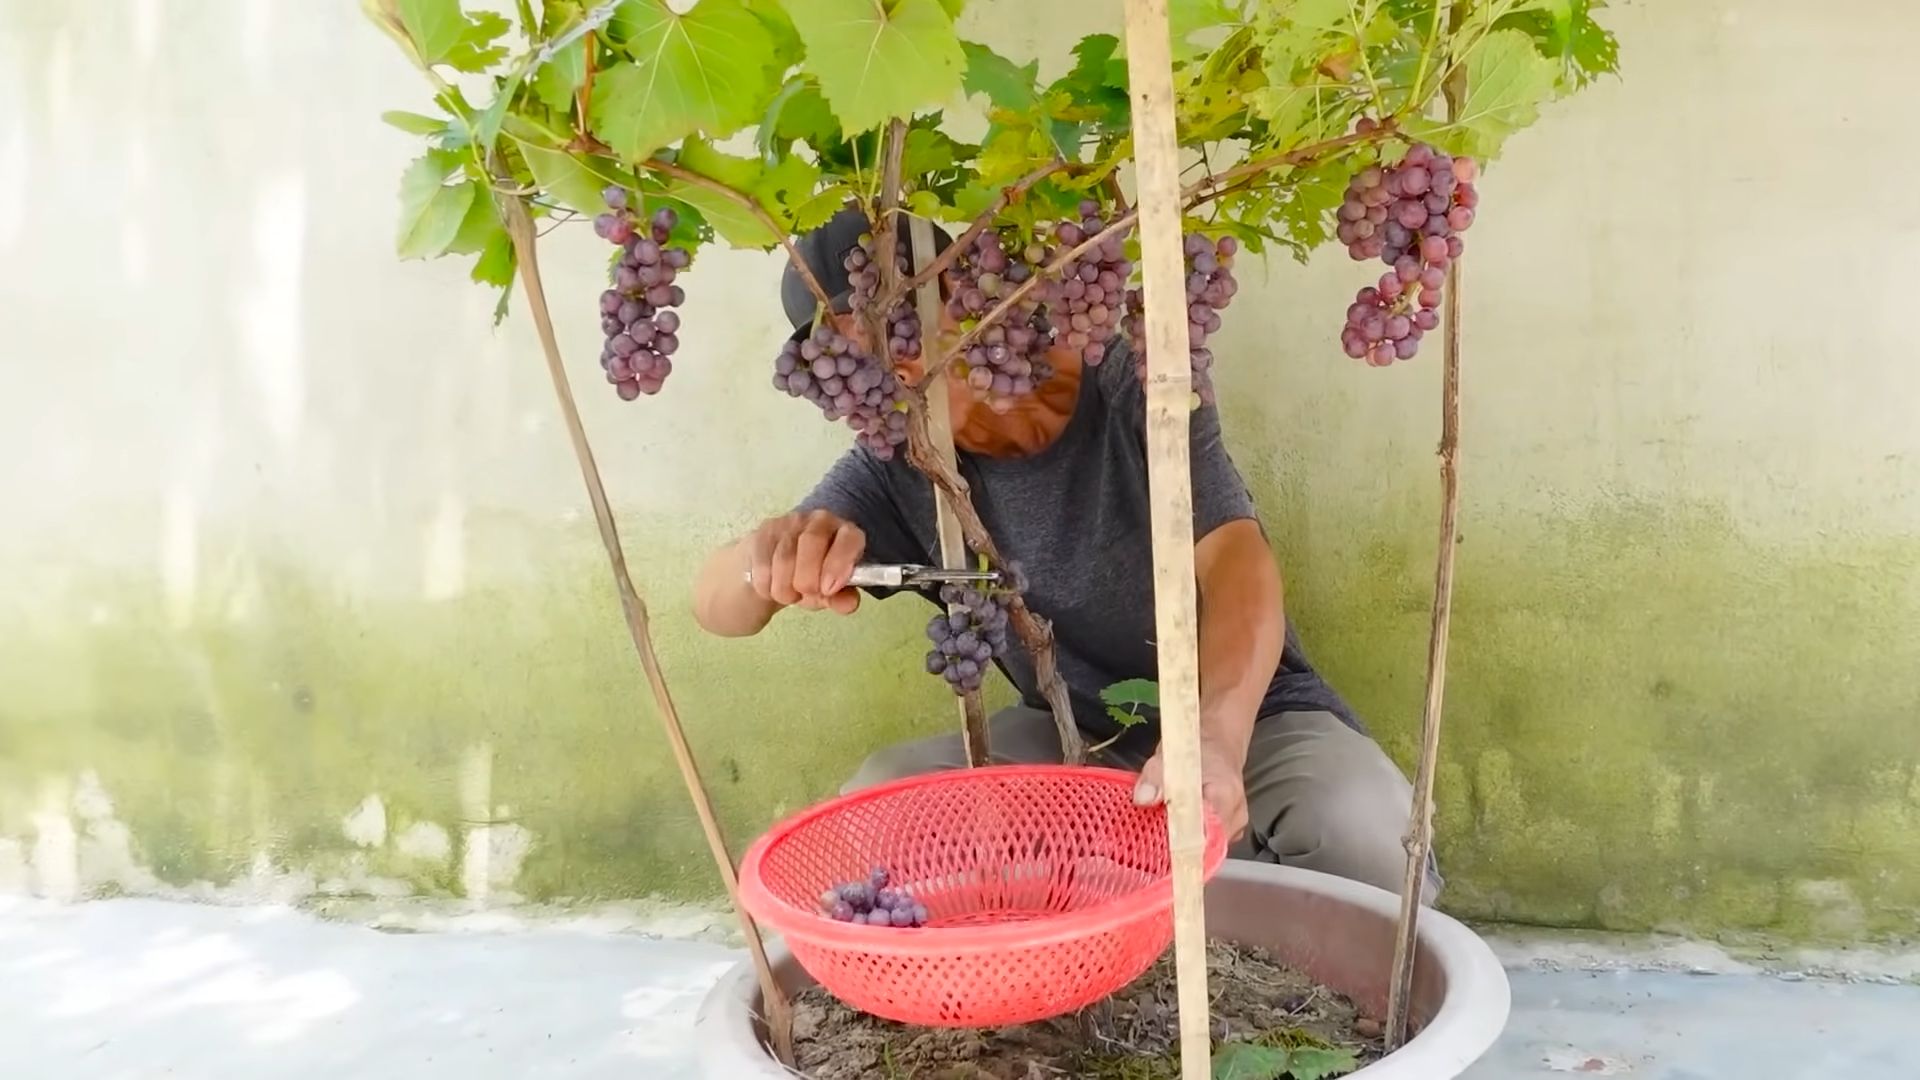
Ever dreamt of strolling through your own backyard vineyard, plucking juicy, sun-ripened grapes straight from the vine? I know I have! The allure of homegrown grapes is undeniable, evoking images of Tuscan landscapes and the satisfaction of creating something truly special. Grape cultivation boasts a rich history, dating back thousands of years, deeply intertwined with civilizations across the globe. From ancient winemaking traditions to the simple pleasure of a fresh grape snack, these fruits hold a unique cultural significance.
But let’s be honest, the thought of growing grapes can seem intimidating. Where do you even begin? That’s where this DIY guide comes in! Many people are hesitant to try growing grapes because they believe it requires extensive knowledge and a sprawling vineyard. But I’m here to tell you that’s simply not true! With the right approach and a few clever tricks, you can successfully cultivate delicious grapes, even in a small space.
This article is packed with easy-to-follow instructions and insider tips to demystify the DIY grape growing method. We’ll cover everything from selecting the right grape variety for your climate to pruning techniques that will maximize your harvest. Imagine the satisfaction of serving your own homemade grape juice, jelly, or even attempting a small batch of wine! So, ditch the store-bought grapes and embark on this rewarding journey. Let’s unlock the secrets to a thriving backyard vineyard, one vine at a time, with this simple DIY grape growing method!
DIY Grape Growing: From Cuttings to Clones – A Beginner’s Guide
Hey there, fellow gardening enthusiasts! Ever dreamed of having your own vineyard, even if it’s just a small one in your backyard? Growing grapes can seem intimidating, but trust me, it’s totally doable with a little patience and the right know-how. I’m going to walk you through a simple, cost-effective method for propagating grapevines from cuttings. This way, you can multiply your favorite varieties or even start a whole new collection without breaking the bank. Let’s get started!
What You’ll Need
Before we dive in, let’s gather our supplies. This is a pretty low-tech operation, so you probably have a lot of this stuff already.
* Grapevine Cuttings: These are the stars of the show! You’ll want dormant, hardwood cuttings from a healthy grapevine. More on how to select and take these later.
* Sharp Pruning Shears or Knife: Clean cuts are crucial for successful rooting.
* Rooting Hormone (Optional but Recommended): This will significantly increase your chances of success. I prefer a powder form, but liquid works too.
* Potting Mix: A well-draining mix is essential. I like a blend of peat moss, perlite, and vermiculite.
* Pots or Containers: Choose pots that are at least 4-6 inches in diameter.
* Watering Can or Spray Bottle: For keeping the cuttings moist.
* Plastic Bags or Humidity Dome (Optional): To create a humid environment.
* Labels and a Permanent Marker: To keep track of your different varieties.
* Gloves: To protect your hands.
Taking Grapevine Cuttings: Timing is Everything
The best time to take grapevine cuttings is during the dormant season, typically in late winter or early spring, before the buds start to swell. This is usually from late January to early March, depending on your climate.
* Why dormant cuttings? Dormant cuttings have stored energy that they can use to develop roots.
* Avoid actively growing shoots: Cuttings taken during the growing season are less likely to root successfully.
Selecting the Right Wood
Not all wood is created equal! Here’s what to look for when selecting your cuttings:
* One-Year-Old Wood: This is wood that grew in the previous season. It’s usually brown and smooth.
* Pencil-Thickness: Aim for cuttings that are about the thickness of a pencil.
* Healthy and Disease-Free: Avoid cuttings with any signs of disease, damage, or insect infestation.
* From a Known Variety: Make sure you know the variety of grape you’re taking cuttings from. Labeling is key!
Step-by-Step Guide to Taking Cuttings
Okay, let’s get down to business. Here’s how to take those cuttings:
1. Gather Your Tools: Make sure your pruning shears or knife are clean and sharp.
2. Identify One-Year-Old Wood: Look for the smooth, brown wood that grew in the previous season.
3. Make the Cuts:
* Bottom Cut: Make a straight cut just below a node (the point where a leaf or bud was located). This is where the roots will emerge.
* Top Cut: Make a slanted cut about 1-2 inches above a node. The slant helps to prevent water from pooling on the cut surface.
4. Cutting Length: Aim for cuttings that are 8-12 inches long.
5. Collect Your Cuttings: Gather as many cuttings as you need, plus a few extra in case some don’t root.
6. Label Immediately: Use your labels and permanent marker to clearly identify each variety. Don’t skip this step! You’ll thank yourself later.
7. Storage (If Not Planting Immediately): If you’re not planting the cuttings right away, wrap them in damp paper towels and store them in a plastic bag in the refrigerator. They can be stored for several weeks this way.
Preparing the Cuttings for Rooting
Now that we have our cuttings, let’s get them ready to root.
1. Rehydrate the Cuttings: If the cuttings have been stored in the refrigerator, soak them in water for 24 hours before planting. This will help to rehydrate them.
2. Apply Rooting Hormone (Optional): Dip the bottom end of each cutting in rooting hormone powder. Tap off any excess. This will encourage root development.
3. Prepare Your Pots: Fill your pots with the well-draining potting mix. Moisten the mix thoroughly.
Planting the Cuttings
Time to get those cuttings in the soil!
1. Make a Hole: Use a pencil or your finger to create a hole in the potting mix that’s deep enough to accommodate about half the length of the cutting.
2. Insert the Cutting: Gently insert the cutting into the hole, making sure the bottom node is buried in the soil.
3. Firm the Soil: Gently firm the soil around the cutting to ensure good contact.
4. Water Gently: Water the cutting gently to settle the soil.
5. Create a Humid Environment (Optional): Place a plastic bag over the pot or use a humidity dome to create a humid environment. This will help to prevent the cuttings from drying out.
Caring for Your Cuttings
This is where the patience comes in. Rooting can take several weeks, so don’t get discouraged if you don’t see results right away.
1. Location: Place the pots in a warm, bright location, but out of direct sunlight. Direct sunlight can scorch the cuttings.
2. Watering: Keep the potting mix consistently moist, but not soggy. Water when the top inch of soil feels dry to the touch.
3. Humidity: If you’re using a plastic bag or humidity dome, open it occasionally to allow for air circulation. This will help to prevent fungal diseases.
4. Patience: Rooting can take anywhere from 4 to 8 weeks, or even longer. Be patient and don’t disturb the cuttings too much.
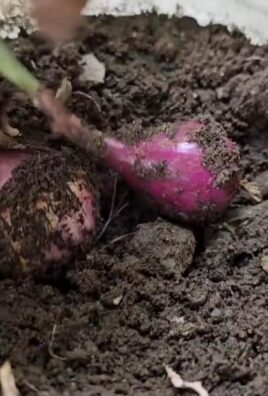
Checking for Root Development
How do you know if your cuttings have rooted? Here are a few signs to look for:
* New Growth: The appearance of new leaves is a good sign that the cutting has rooted.
* Resistance: Gently tug on the cutting. If it resists being pulled out of the soil, it has likely rooted.
* Root Observation (Carefully!): You can gently remove the cutting from the pot to check for root development. Be very careful not to damage the roots.
Potting Up Your Rooted Cuttings
Once your cuttings have developed a good root system, it’s time to pot them up into larger containers.
1. Choose a Larger Pot: Select a pot that’s a few inches larger in diameter than the original pot.
2. Prepare the Potting Mix: Use the same well-draining potting mix you used for rooting.
3. Gently Remove the Cutting: Carefully remove the rooted cutting from the original pot, being careful not to damage the roots.
4. Plant in the New Pot: Place the cutting in the new pot and fill in around the roots with potting mix.
5. Water Thoroughly: Water the cutting thoroughly to settle the soil.
6. Acclimate to Outdoor Conditions: Gradually acclimate the cutting to outdoor conditions by placing it in a sheltered location for a few hours each day, gradually increasing the amount of time it spends outdoors.
Planting in the Ground
After your young grapevines have grown stronger in their pots, you can plant them in their permanent location in the ground.
1. Choose a Sunny Location: Grapes need at least 6-8 hours of sunlight per day.
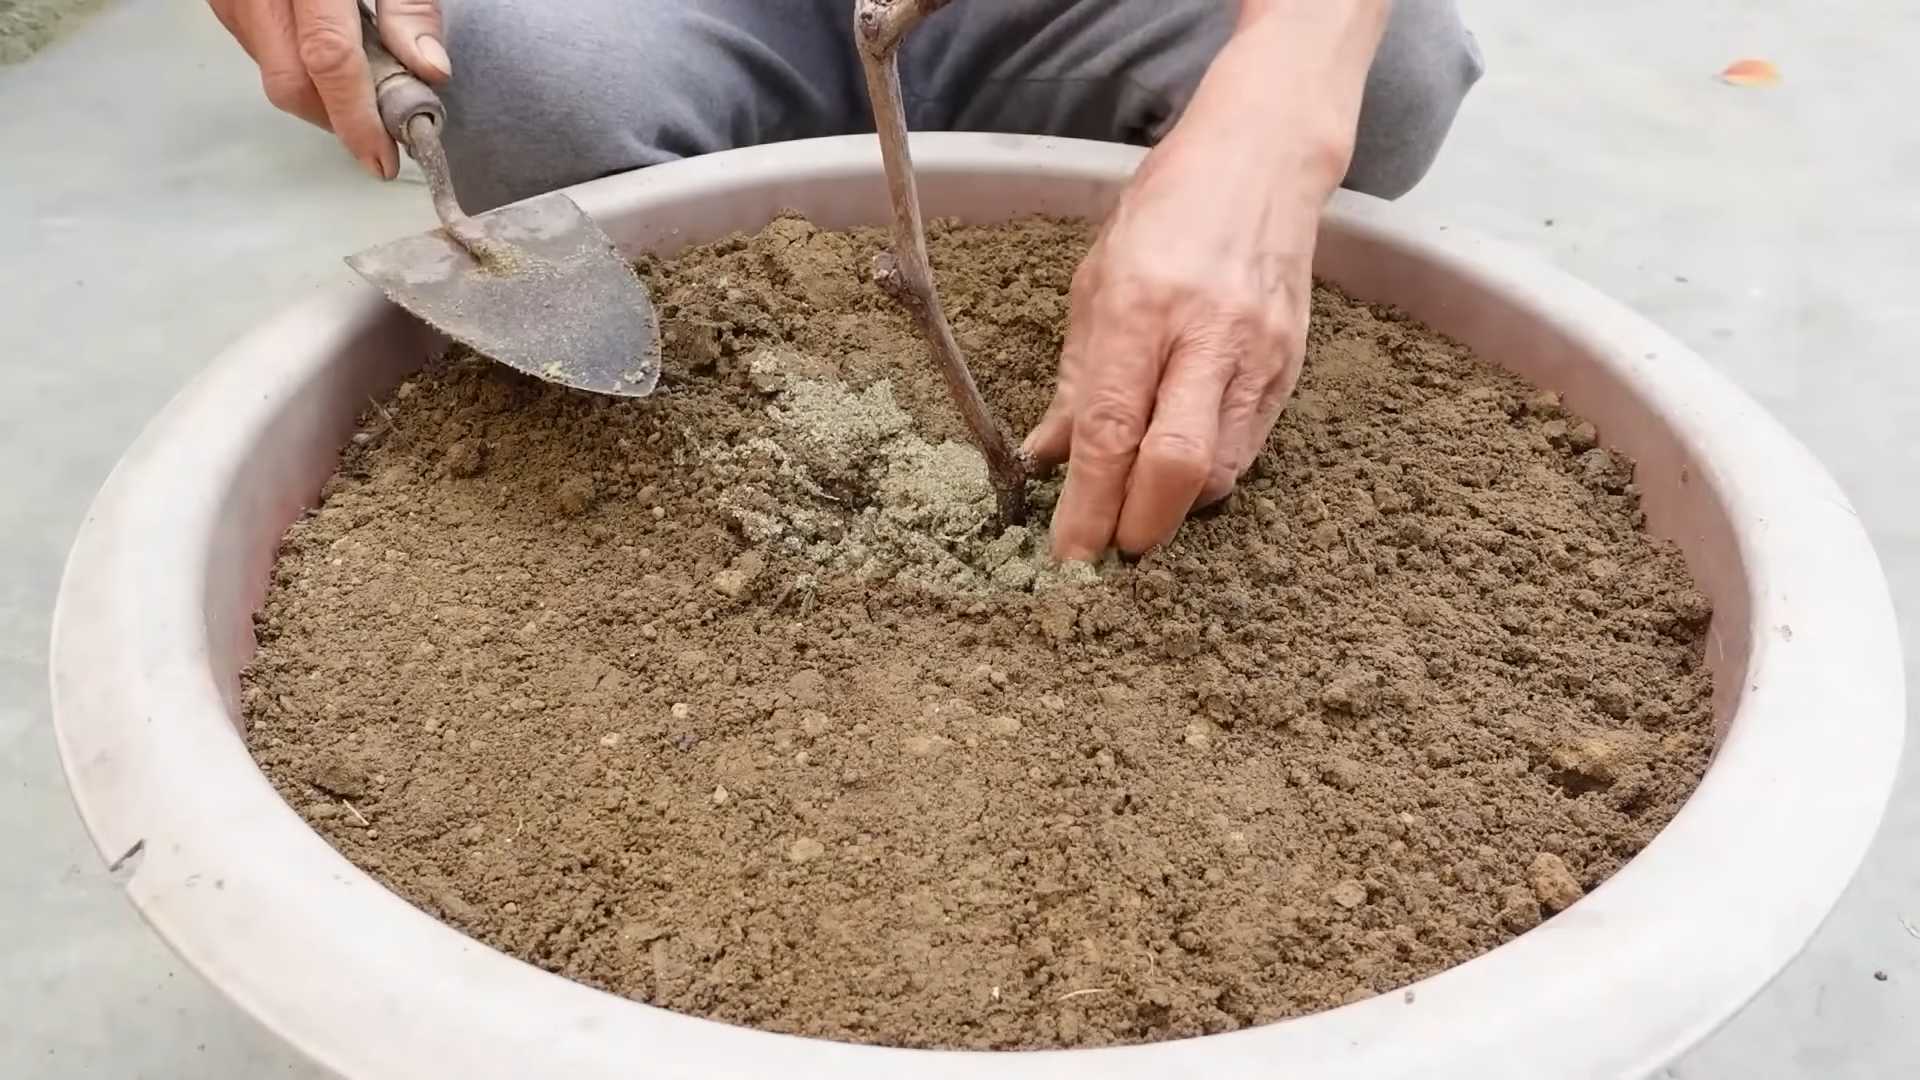
2. Prepare the Soil: Grapevines prefer well-draining soil. Amend the soil with compost or other organic matter to improve drainage and fertility.
3. Dig a Hole: Dig a hole that’s twice as wide and as deep as the root ball.
4. Plant the Grapevine: Gently remove the grapevine from its pot and place it in the hole. Make sure the top of the root ball is level with the surrounding soil.
5. Backfill the Hole: Backfill the hole with soil, gently firming it around the roots.
6. Water Thoroughly: Water the grapevine thoroughly to settle the soil.
7. Mulch: Apply a layer of mulch around the base of the grapevine to help retain moisture and suppress weeds.
Ongoing Care
Once your grapevines are planted in the ground, they’
Conclusion
So, there you have it! This DIY grape growing method isn’t just a way to cultivate delicious grapes; it’s an invitation to connect with nature, learn new skills, and enjoy the unparalleled satisfaction of harvesting your own fruit. Forget those expensive, chemically treated grapes from the supermarket. With a little patience and this straightforward approach, you can transform your backyard, balcony, or even a sunny windowsill into a thriving miniature vineyard.
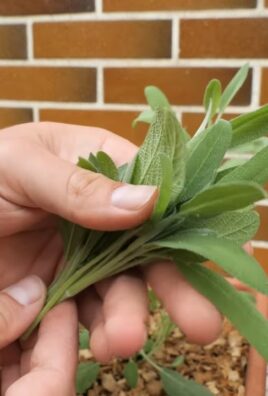
The beauty of this method lies in its adaptability. Feel free to experiment with different grape varieties to find the perfect flavor profile for your palate. Consider using recycled materials for your containers to further reduce your environmental impact. You could even explore companion planting, adding herbs like basil or rosemary around your grapevines to deter pests and enhance the soil. The possibilities are truly endless!
Why is this DIY grape growing method a must-try? Because it empowers you to take control of your food source, providing fresh, healthy grapes while minimizing your carbon footprint. It’s a rewarding hobby that offers a tangible connection to the natural world. Plus, imagine the bragging rights when you serve homemade grape juice, jelly, or even wine made from your very own grapes!
Don’t be intimidated by the prospect of growing your own grapes. This method is designed to be accessible to beginners, and the rewards far outweigh the effort. We encourage you to embrace the challenge, get your hands dirty, and experience the joy of nurturing your own grapevine.
We’re confident that you’ll be amazed by the results. But more importantly, we want to hear about your journey! Share your experiences, successes, and even your challenges in the comments below. Let’s build a community of DIY grape growers, sharing tips and inspiring each other to cultivate the sweetest, most flavorful grapes imaginable. So, grab your supplies, follow these steps, and get ready to enjoy the fruits (literally!) of your labor. Happy growing!
Frequently Asked Questions (FAQ)
What type of grapes are best suited for this DIY method?
The best grape varieties for a DIY setup, especially in containers, are those that are naturally compact and disease-resistant. Consider varieties like ‘Reliance’ (seedless red), ‘Himrod’ (seedless green), or ‘Concord’ (classic purple). These grapes tend to be more tolerant of varying conditions and produce well in smaller spaces. Research the specific climate requirements of each variety to ensure it’s suitable for your region. Local nurseries are excellent resources for recommending varieties that thrive in your area. Remember to choose a variety that you enjoy eating!
How much sunlight do my grapevines need?
Grapevines are sun-loving plants and require at least 6-8 hours of direct sunlight per day to thrive. Insufficient sunlight can lead to poor fruit production, weak growth, and increased susceptibility to diseases. Choose a location for your containers that receives ample sunlight throughout the day. If you’re growing grapes indoors, supplement with grow lights if necessary. Observe your plants regularly and adjust their position as needed to ensure they’re getting enough light.
What type of soil is best for growing grapes in containers?
Grapes prefer well-draining soil that is rich in organic matter. A good potting mix for container-grown grapes should consist of equal parts of garden soil, peat moss or coconut coir, and perlite or vermiculite. This combination provides adequate drainage, aeration, and nutrient retention. Avoid using heavy clay soil, as it can become waterlogged and suffocate the roots. You can also amend your soil with compost or aged manure to improve its fertility.
How often should I water my grapevines?
Watering frequency depends on several factors, including the weather, the size of your container, and the type of soil you’re using. Generally, you should water your grapevines deeply whenever the top inch of soil feels dry to the touch. Avoid overwatering, as this can lead to root rot. During hot, dry weather, you may need to water more frequently. Check the soil moisture regularly and adjust your watering schedule accordingly. Ensure your containers have drainage holes to prevent water from accumulating at the bottom.
How do I prune my grapevines?
Pruning is essential for maintaining the health and productivity of your grapevines. The best time to prune is during the dormant season, typically in late winter or early spring before new growth begins. Remove any dead, damaged, or diseased wood. Also, prune back the previous year’s growth to encourage new fruiting shoots. The specific pruning technique will depend on the training system you’re using (e.g., cordon, cane). Research the appropriate pruning method for your chosen grape variety and training system. Don’t be afraid to prune aggressively; grapes fruit on new wood, so pruning encourages more fruit production.
How do I fertilize my grapevines?
Grapevines benefit from regular fertilization, especially during the growing season. Use a balanced fertilizer specifically formulated for fruit trees or vines. Follow the instructions on the fertilizer package for application rates. Fertilize in early spring before new growth begins and again in mid-summer. Avoid over-fertilizing, as this can lead to excessive vegetative growth at the expense of fruit production. You can also supplement with organic fertilizers like compost tea or fish emulsion.
How do I protect my grapevines from pests and diseases?
Grapevines can be susceptible to various pests and diseases, including aphids, spider mites, Japanese beetles, powdery mildew, and black rot. Regularly inspect your plants for signs of infestation or disease. Treat any problems promptly with appropriate organic or chemical controls. Encourage beneficial insects like ladybugs and lacewings to help control pests. Ensure good air circulation around your plants to prevent fungal diseases. Consider using a copper fungicide to protect against fungal infections.
Can I grow grapes indoors?
Yes, you can grow grapes indoors, but it requires careful attention to light, temperature, and humidity. Choose a sunny location near a south-facing window or supplement with grow lights. Maintain a consistent temperature between 65-75°F (18-24°C). Provide adequate humidity by misting your plants regularly or using a humidifier. Select a compact grape variety that is well-suited for container growing. Be prepared to hand-pollinate your flowers if necessary.
How long does it take to get grapes from a newly planted vine?
It typically takes 2-3 years for a newly planted grapevine to produce a significant crop of grapes. The first year is focused on establishing the root system and vegetative growth. You may get a few grapes in the second year, but the yield will increase significantly in the third year and beyond. Be patient and provide proper care to your vines, and you’ll be rewarded with delicious grapes for many years to come.
What can I do with my homegrown grapes?
The possibilities are endless! You can eat them fresh, make grape juice, jelly, jam, or even wine. You can also use them in baking, salads, or as a garnish. Homegrown grapes are a versatile and delicious ingredient that can be enjoyed in many different ways. Experiment with different recipes and find your favorite ways to use your homegrown bounty.
Leave a Comment