
Salt and vinegar cleaning: it’s not just for chips anymore! Are you tired of harsh chemicals and expensive cleaning products cluttering your cupboards? Do you yearn for a simpler, more natural way to keep your home sparkling? Well, you’re in luck! For generations, resourceful homemakers have relied on the power of humble ingredients like salt and vinegar to tackle tough cleaning tasks. Think of it as a return to our roots, a nod to the days when ingenuity and resourcefulness were the keys to a clean and happy home.
From ancient civilizations using vinegar to preserve food and disinfect wounds, to modern-day eco-conscious cleaners embracing its versatility, the history of vinegar as a cleaning agent is rich and fascinating. Salt, too, has long been valued for its abrasive and absorbent properties. Together, they form a dynamic duo that can conquer grime, banish odors, and leave your home feeling fresh and revitalized.
I know what you’re thinking: “Can something so simple really work?” The answer is a resounding YES! In this article, I’m going to share some amazing salt and vinegar cleaning tricks and DIY recipes that will transform the way you clean. We’ll explore how to use these everyday ingredients to tackle everything from stubborn stains to grimy grout, all while saving you money and reducing your environmental impact. Get ready to ditch the chemicals and embrace the natural cleaning power of salt and vinegar!
DIY All-Purpose Cleaner: Harnessing the Power of Salt and Vinegar
Hey there, fellow DIY enthusiasts! I’m so excited to share this super simple, incredibly effective, and budget-friendly cleaning hack with you. Forget those expensive, chemical-laden cleaners from the store. We’re going back to basics with two ingredients you probably already have in your pantry: salt and vinegar! This dynamic duo can tackle a surprising number of cleaning tasks around your home, from stubborn stains to grimy surfaces. Let’s dive in!
Why Salt and Vinegar?
Before we get started, let’s talk about why this combination works so well. Vinegar, specifically white distilled vinegar, is a mild acid. This acidity helps to break down grease, grime, and mineral deposits. It’s also a natural disinfectant, killing many common household bacteria and mold. Salt, on the other hand, acts as a gentle abrasive, helping to scrub away stubborn dirt and stains without scratching most surfaces. Plus, it enhances the cleaning power of vinegar. Together, they’re a force to be reckoned with!
What You’ll Need
* White distilled vinegar
* Table salt (iodized or non-iodized works fine)
* Spray bottle (a clean, empty one, of course!)
* Cleaning cloths or sponges
* Optional: Essential oils (for scent)
* Optional: Measuring cups and spoons (for precise ratios)
* Optional: Funnel (for easy pouring)
* Optional: Gloves (if you have sensitive skin)
General Cleaning Solution: The Basic Recipe
This is your go-to recipe for everyday cleaning. It’s perfect for countertops, sinks, showers, and more.
Ratio: A good starting point is a 1:1 ratio of vinegar to water, with a tablespoon of salt per cup of liquid.
Instructions:
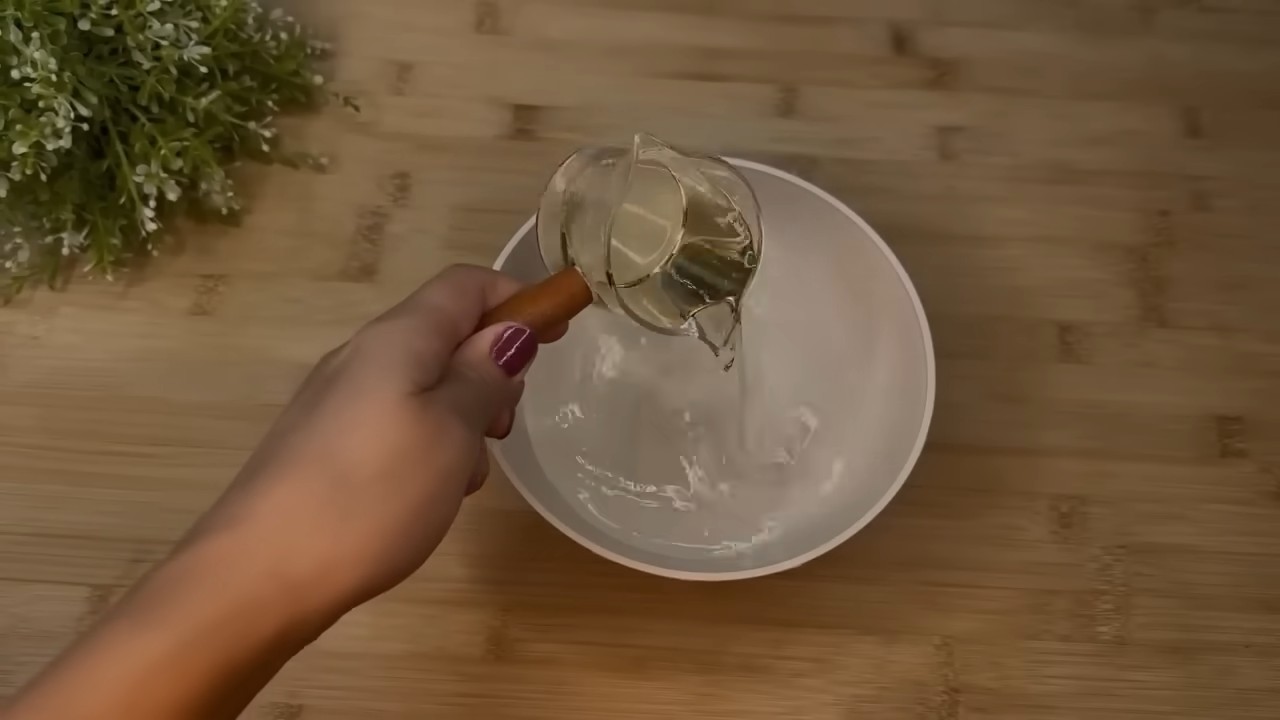
1. Prepare the Solution: In a measuring cup or directly in your spray bottle (using a funnel if needed), combine equal parts white distilled vinegar and water. For example, you could use 1 cup of vinegar and 1 cup of water.
2. Add the Salt: Add 1 tablespoon of salt for every cup of liquid in your solution. So, if you used 2 cups of liquid total (1 cup vinegar + 1 cup water), add 2 tablespoons of salt.
3. Mix Well: Stir or shake the mixture until the salt is completely dissolved. This might take a minute or two.
4. Optional: Add Essential Oils: If you want to add a pleasant scent, add a few drops of your favorite essential oil. Lemon, lavender, tea tree, and eucalyptus are all great choices for cleaning. Start with 5-10 drops per cup of solution and adjust to your preference.
5. Label Your Bottle: This is important! Clearly label your spray bottle as “Vinegar Cleaning Solution” so you don’t accidentally use it for something else.
6. Test in an Inconspicuous Area: Before cleaning an entire surface, always test the solution in a small, hidden area to make sure it doesn’t damage or discolor the material.
Cleaning Different Surfaces: Specific Applications
Now, let’s get into the nitty-gritty of how to use this amazing cleaner on different surfaces around your home.
Cleaning Kitchen Surfaces
Countertops:
1. Spray: Spray the vinegar solution liberally onto your countertops.
2. Let it Sit: Allow the solution to sit for a few minutes to loosen any grime.
3. Wipe: Wipe the surface clean with a damp cloth or sponge.
4. Dry: Dry the surface with a clean cloth.
Sinks:
1. Sprinkle: Sprinkle salt directly into the sink.
2. Spray: Spray the vinegar solution over the salt.
3. Scrub: Use a sponge or scrub brush to scrub the sink, paying attention to any stains or buildup.
4. Rinse: Rinse thoroughly with water.
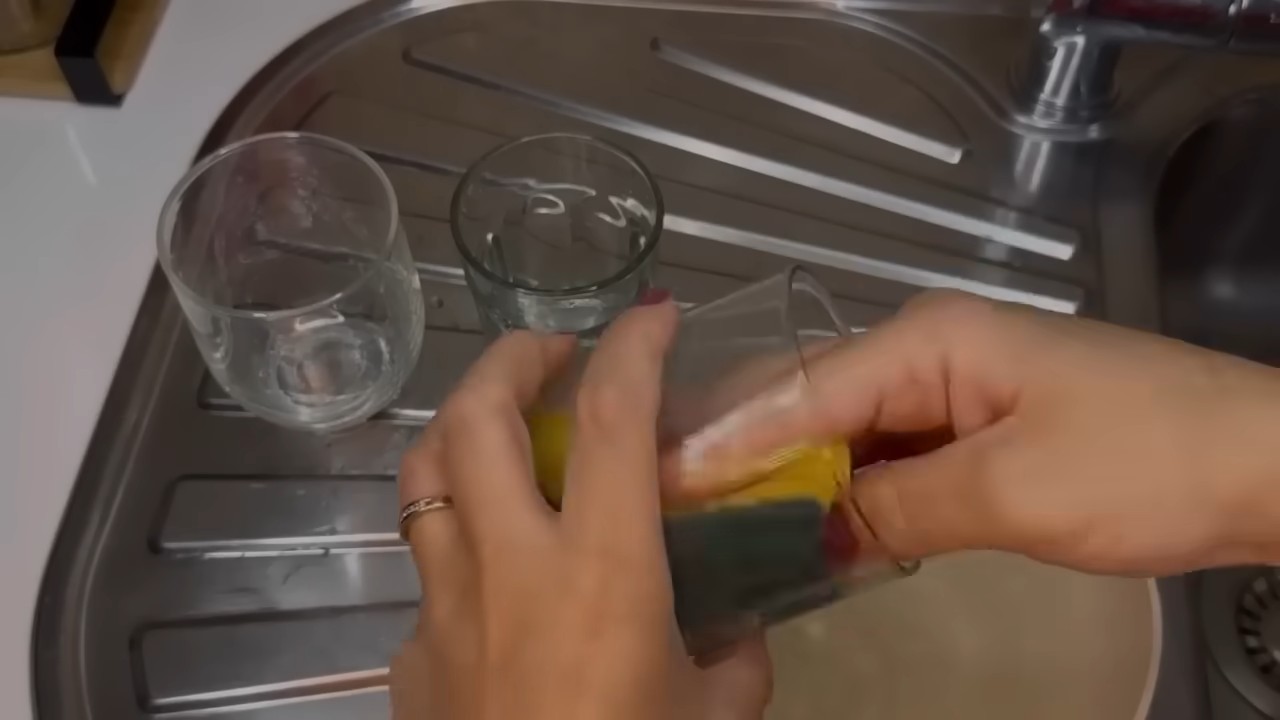
Cutting Boards:
1. Sprinkle: Sprinkle salt onto the cutting board.
2. Rub: Rub the salt into the cutting board with half a lemon or a sponge.
3. Rinse: Rinse thoroughly with water.
Microwave:
1. Vinegar Steam: Mix 1/2 cup of vinegar and 1/2 cup of water in a microwave-safe bowl.
2. Microwave: Microwave on high for 3-5 minutes, or until the solution boils and the microwave is filled with steam.
3. Let it Sit: Let the bowl sit in the microwave for another 5 minutes to allow the steam to loosen any splatters.
4. Wipe: Carefully remove the bowl (it will be hot!) and wipe down the inside of the microwave with a clean cloth or sponge.
Cleaning Bathroom Surfaces
Showers and Tubs:
1. Spray: Spray the vinegar solution onto the shower walls and tub.
2. Let it Sit: Allow the solution to sit for 15-20 minutes to break down soap scum and mildew.
3. Scrub: Scrub the surfaces with a sponge or scrub brush.
4. Rinse: Rinse thoroughly with water.
Toilets:
1. Pour: Pour 1 cup of vinegar into the toilet bowl.
2. Let it Sit: Let it sit for at least 30 minutes, or even overnight for tough stains.
3. Scrub: Scrub the bowl with a toilet brush.
4. Flush: Flush the toilet.
Showerheads:
1. Bag it: Fill a plastic bag with vinegar.
2. Secure: Secure the bag around the showerhead with a rubber band, ensuring the showerhead is submerged in the vinegar.
3. Soak: Let it soak for several hours or overnight.
4. Remove and Rinse: Remove the bag and rinse the showerhead thoroughly with water.
Other Cleaning Applications
Cleaning Windows and Mirrors:
1. Dilute: Dilute the vinegar solution with more water (try a 1:4 ratio of vinegar to water).
2. Spray: Spray the solution onto the window or mirror.
3. Wipe: Wipe clean with a microfiber cloth or paper towel.
Removing Hard Water Stains:
1. Soak: Soak a cloth or paper towel in vinegar.
2. Apply: Apply the soaked cloth to the hard water stain.
3. Let it Sit: Let it sit for several minutes to dissolve the minerals.
4. Scrub: Scrub the area with a sponge or scrub brush.
5. Rinse: Rinse thoroughly with water.
Cleaning Drains:
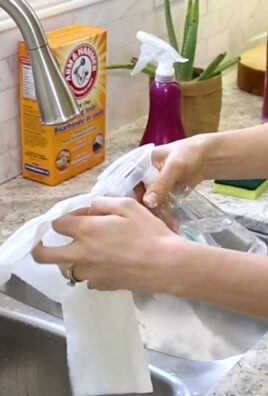
1. Pour: Pour 1/2 cup of baking soda down the drain.
2. Pour: Follow with 1 cup of vinegar.
3. Fizz: Let the mixture fizz for 30 minutes.
4. Flush: Flush the drain with hot water.
Removing Stickers and Labels:
1. Soak: Soak a cloth or paper towel in vinegar.
2. Apply: Apply the soaked cloth to the sticker or label.
3. Let it Sit: Let it sit for several minutes to soften the adhesive.
4. Peel: Gently peel off the sticker or label.
Important Considerations and Precautions
While salt and vinegar are generally safe, there are a few things to keep in mind:
* Not for All Surfaces: Avoid using vinegar on natural stone surfaces like marble and granite, as it can etch and damage them. Also, avoid using it on waxed wood, as it can strip the wax.
* Test First: Always test the solution in an inconspicuous area before cleaning an entire surface.
* Ventilation: Vinegar has a strong odor, so make sure to ventilate the area well while cleaning.
* Eye Protection: Avoid spraying the solution directly into your eyes.
* Mixing with Bleach: Never mix vinegar with bleach, as it can create toxic fumes.
* Storage: Store your vinegar cleaning solution in a labeled spray bottle away from children and pets.
Troubleshooting
* Vinegar Smell: The vinegar smell will dissipate quickly. If you’re sensitive to the smell, add essential oils or open windows for ventilation.
* Stubborn Stains: For tough stains, you may need to let the vinegar solution sit for a longer period of time or use a more abrasive scrubbing tool.
* Cloudy Solution: If your solution becomes cloudy, it’s likely just the salt settling. Simply shake the bottle to redistribute it.
Advanced Cleaning Recipes: Taking it to the Next Level
Conclusion
So, there you have it! This simple yet incredibly effective DIY cleaning trick using salt and vinegar is a game-changer for anyone looking to ditch harsh chemicals and embrace a more natural and budget-friendly approach to keeping their home sparkling. We’ve explored how the abrasive power of salt combined with the acidic punch of vinegar creates a dynamic duo capable of tackling everything from stubborn grime in your kitchen to unsightly stains in your bathroom.
But why is this DIY method a must-try? Beyond its simplicity and affordability, it’s about taking control of the ingredients you bring into your home. You know exactly what you’re using – no hidden chemicals, no mysterious fragrances, just the pure, unadulterated cleaning power of salt and vinegar. This is especially important for households with children, pets, or individuals with sensitivities to strong chemicals.
Furthermore, the versatility of this cleaning solution is truly remarkable. While we’ve highlighted some key applications, the possibilities are virtually endless. Experiment with different ratios of salt and vinegar to find the perfect balance for your specific cleaning needs. For instance, a coarser salt might be ideal for scrubbing tough stains on your stovetop, while a finer salt is gentler on delicate surfaces.
Consider adding a few drops of your favorite essential oil to the mixture for a pleasant scent. Lavender, lemon, or tea tree oil not only add a refreshing aroma but also boast their own antibacterial and antifungal properties, further enhancing the cleaning power of your DIY solution. You could also infuse your vinegar with citrus peels for a few weeks before using it, creating a naturally scented and even more potent cleaning agent.
Don’t be afraid to get creative and adapt this method to suit your individual needs and preferences. The beauty of DIY lies in its flexibility and the ability to customize it to your liking.
We are confident that once you experience the cleaning prowess of this salt and vinegar combination, you’ll be hooked. It’s a sustainable, effective, and empowering way to maintain a clean and healthy home.
Now, it’s your turn! We wholeheartedly encourage you to give this DIY cleaning trick a try. Start with a small, inconspicuous area to test the solution and ensure it’s compatible with the surface you’re cleaning. Once you’re comfortable, unleash the power of salt and vinegar on those stubborn stains and grimy surfaces.
More importantly, we want to hear about your experiences! Share your before-and-after photos, your tips and tricks, and any variations you’ve discovered in the comments section below. Let’s build a community of DIY enthusiasts who are passionate about natural cleaning solutions. Your insights could help others discover the transformative power of this simple yet effective method. Let’s revolutionize the way we clean, one salt and vinegar solution at a time! Embrace the simplicity and effectiveness of **salt and vinegar cleaning** and discover a cleaner, healthier, and more sustainable home.
Frequently Asked Questions (FAQ)
Is salt and vinegar cleaning safe for all surfaces?
While salt and vinegar is a powerful cleaning combination, it’s not universally safe for all surfaces. The acidity of vinegar can damage certain materials, so it’s crucial to exercise caution and test the solution in an inconspicuous area before applying it to a larger surface.
Avoid using salt and vinegar on the following:
* **Natural stone surfaces:** Marble, granite, and other natural stones are porous and can be etched or discolored by vinegar.
* **Waxed or oiled wood:** Vinegar can strip the finish from waxed or oiled wood surfaces.
* **Aluminum:** Vinegar can cause aluminum to corrode.
* **Cast iron:** While vinegar can be used to remove rust from cast iron, prolonged exposure can damage the seasoning.
* **Electronics screens:** The acidity can damage the screen coating.
Always dilute the vinegar with water, especially when cleaning delicate surfaces. When in doubt, consult the manufacturer’s instructions for the specific surface you’re cleaning.
What is the best ratio of salt to vinegar for cleaning?
The ideal ratio of salt to vinegar depends on the specific cleaning task. For general cleaning, a 1:1 ratio of salt to vinegar is a good starting point. For tougher stains or grime, you can increase the amount of salt.
Here are some guidelines:
* **General cleaning:** 1 part salt to 1 part vinegar
* **Stubborn stains:** 2 parts salt to 1 part vinegar
* **Mildew removal:** 1 part salt to 2 parts vinegar
Remember to always test the solution in an inconspicuous area before applying it to a larger surface.
Can I use any type of salt for cleaning?
Yes, you can use various types of salt for cleaning, but some are more effective than others.
* **Table salt:** This is the most readily available and affordable option. It works well for general cleaning tasks.
* **Sea salt:** Sea salt has a coarser texture than table salt, making it ideal for scrubbing tough stains.
* **Kosher salt:** Kosher salt is also a good option for scrubbing, as it has a larger crystal size than table salt.
* **Epsom salt:** While technically not a salt used for cooking, Epsom salt is excellent for cleaning and deodorizing drains.
Choose the type of salt that best suits the specific cleaning task and the surface you’re cleaning.
How do I remove the vinegar smell after cleaning?
The vinegar smell can be quite strong, but it dissipates quickly. To minimize the odor, ensure proper ventilation by opening windows or turning on a fan. You can also add a few drops of your favorite essential oil to the cleaning solution to mask the vinegar smell. Citrus oils, lavender oil, and tea tree oil are all excellent choices.
Another option is to wipe down the cleaned surface with a damp cloth and a few drops of essential oil after cleaning with the salt and vinegar solution.
Can I store the salt and vinegar cleaning solution?
Yes, you can store the salt and vinegar cleaning solution in a sealed container for future use. However, it’s best to use it within a few weeks, as the salt may settle at the bottom of the container. Shake well before each use.
Store the solution in a cool, dark place away from direct sunlight. Label the container clearly to avoid confusion.
Is salt and vinegar cleaning safe for septic systems?
Yes, salt and vinegar cleaning is generally safe for septic systems. Unlike harsh chemical cleaners, salt and vinegar are natural and biodegradable, so they won’t harm the beneficial bacteria in your septic tank.
However, it’s essential to use the solution in moderation. Avoid pouring large quantities of salt and vinegar down the drain at once, as this could disrupt the balance of your septic system.
What are some other uses for salt and vinegar cleaning?
Beyond the applications mentioned in the article, salt and vinegar can be used for a variety of other cleaning tasks, including:
* **Cleaning grout:** Apply a paste of salt and vinegar to grout lines, let it sit for a few minutes, and then scrub with a brush.
* **Removing hard water stains:** Soak a cloth in salt and vinegar and apply it to hard water stains on faucets and showerheads.
* **Cleaning coffee makers:** Fill the water reservoir with a solution of equal parts salt, vinegar and water, and run a brewing cycle.
* **Polishing copper and brass:** Make a paste of salt, vinegar, and flour, apply it to the metal surface, let it sit for a few minutes, and then polish with a soft cloth.
* **Cleaning cutting boards:** Sprinkle salt on the cutting board, rub it with half a lemon dipped in vinegar, and then rinse with water.
The possibilities are endless! Experiment with different applications and discover the versatility of salt and vinegar cleaning for yourself.

Leave a Comment