
Grow potatoes at home, even if you think you don’t have the space! Imagine harvesting your own creamy, earthy potatoes right from your backyard (or even your balcony!). It’s easier than you think, and this DIY guide is going to show you exactly how to do it. Forget those bland, store-bought spuds – we’re talking about homegrown flavor that bursts with freshness.
For centuries, potatoes have been a staple food around the world, originating in the Andes Mountains of South America. They’ve nourished civilizations and continue to be a versatile and beloved ingredient in countless dishes. But did you know that growing your own potatoes is not only rewarding but also a fantastic way to connect with that history?
In today’s busy world, knowing where your food comes from is more important than ever. Plus, let’s be honest, who wouldn’t want to save a little money at the grocery store? This DIY potato growing trick is perfect for anyone who wants to enjoy fresh, organic produce without a huge garden. I’m going to share a simple, space-saving method that will have you harvesting your own delicious potatoes in no time. So, let’s get our hands dirty and learn how you can grow potatoes at home with minimal effort and maximum flavor!
Growing Potatoes in a Bag: A Beginner’s Guide
Hey there, fellow gardening enthusiasts! Ever dreamt of harvesting your own homegrown potatoes, fresh from the earth (or, in this case, a bag)? Well, dream no more! Growing potatoes in a bag is surprisingly easy, even if you don’t have a sprawling garden. It’s a fantastic way to enjoy fresh, delicious potatoes and a rewarding gardening experience. I’m going to walk you through the whole process, step-by-step, so you can enjoy your own potato bounty.
What You’ll Need
Before we dive in, let’s gather our supplies. This is a pretty low-cost project, which is always a win!
* A Large Bag: Think big! A heavy-duty garbage bag, a large grow bag (10-20 gallons is ideal), or even a sturdy burlap sack will work. Just make sure it has drainage holes.
* Seed Potatoes: These aren’t just any potatoes from the grocery store. Seed potatoes are specifically grown for planting and are certified disease-free. You can find them at your local garden center or online.
* Potting Mix: A good quality potting mix is crucial. Avoid using garden soil, as it can be too heavy and compact.
* Compost (Optional but Recommended): Adding compost to your potting mix will provide extra nutrients and improve drainage.
* Water: Essential for keeping your potatoes happy and hydrated.
* Sunlight: Potatoes need at least 6-8 hours of sunlight per day.
* Fertilizer (Optional): A balanced fertilizer can give your potatoes an extra boost. Look for one formulated for vegetables.
* Gardening Gloves: To keep your hands clean and protected.
Preparing Your Seed Potatoes
This is a crucial step, so don’t skip it! Preparing your seed potatoes properly will give them a head start and increase your chances of a successful harvest.
1. Chitting (Sprouting): This process encourages your seed potatoes to sprout before planting. Place them in a cool, bright location (but not direct sunlight) for a few weeks. You’ll notice small “eyes” or sprouts starting to emerge. This isn’t strictly necessary, but it definitely speeds things up. I usually do this for about 2-3 weeks.
2. Cutting (Optional): If your seed potatoes are large (bigger than an egg), you can cut them into smaller pieces. Each piece should have at least one or two “eyes.” Let the cut pieces dry for a day or two before planting to prevent rotting. I personally prefer to plant smaller seed potatoes whole if I can.
Planting Your Potatoes
Now for the fun part! Let’s get those potatoes in the bag.
1. Prepare the Bag: If you’re using a garbage bag, poke several drainage holes in the bottom. This is super important to prevent waterlogging.
2. Add the Initial Soil Layer: Pour about 4-6 inches of potting mix into the bottom of the bag. Mix in some compost if you’re using it.
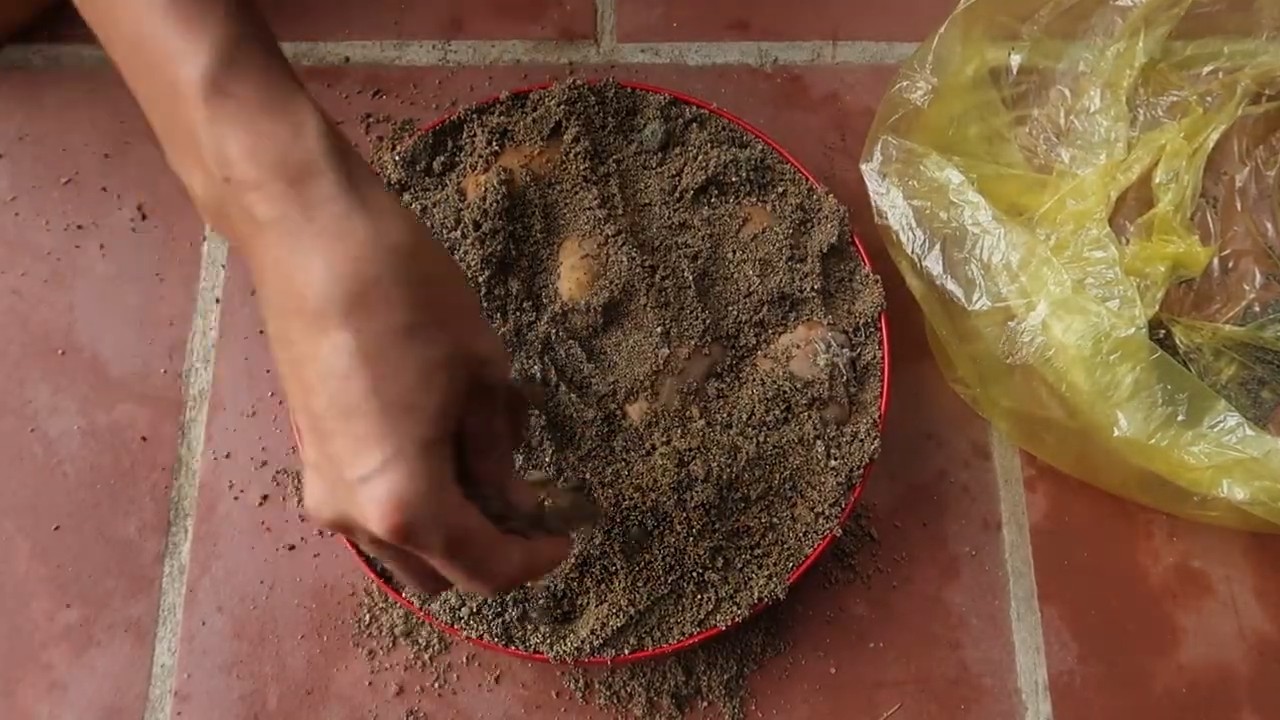
3. Plant the Seed Potatoes: Place the seed potatoes on top of the soil, with the “eyes” facing upwards. Space them about 8-12 inches apart. If you’re only planting one or two seed potatoes, you can place them in the center of the bag.
4. Cover with Soil: Cover the seed potatoes with another 4-6 inches of potting mix.
5. Water Thoroughly: Water the soil until it’s moist but not soggy.
The “Hilling” Process: Encouraging More Potatoes
This is the secret to maximizing your potato yield! As the potato plants grow, you’ll need to add more soil to encourage them to produce more potatoes along the stem.
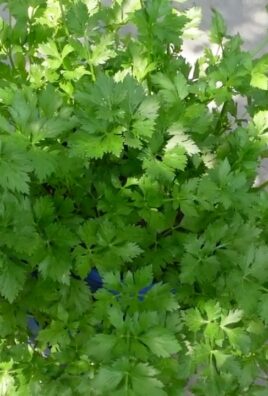
1. Wait for Growth: Once the potato plants emerge from the soil and reach about 6-8 inches tall, it’s time to “hill.”
2. Add More Soil: Add another layer of potting mix, covering the stems of the plants, leaving only the top few leaves exposed.
3. Repeat: Continue this process every few weeks as the plants grow taller. Each time, add a few more inches of soil, covering the stems. You’ll eventually fill the bag almost to the top. I usually stop hilling when there’s about 4-6 inches of space left at the top of the bag.
4. Water Regularly: Keep the soil consistently moist, but not waterlogged.
Caring for Your Potato Plants
Consistent care is key to a bountiful harvest.
1. Sunlight: Make sure your potato plants are getting at least 6-8 hours of sunlight per day. If you don’t have a sunny spot, you might consider using grow lights.
2. Watering: Water regularly, especially during hot, dry weather. Check the soil moisture by sticking your finger into the soil. If it feels dry an inch or two down, it’s time to water.
3. Fertilizing (Optional): If you want to give your potatoes an extra boost, you can fertilize them every few weeks with a balanced fertilizer. Follow the instructions on the fertilizer package.
4. Pest Control: Keep an eye out for pests like aphids, potato beetles, and flea beetles. If you spot any pests, you can try using insecticidal soap or neem oil. I prefer to use organic pest control methods whenever possible.
5. Monitor for Diseases: Potatoes can be susceptible to diseases like blight. Look for signs of disease, such as yellowing or browning leaves. If you suspect your plants have a disease, remove the affected leaves and dispose of them properly.
Harvesting Your Potatoes
The moment you’ve been waiting for! Harvesting your homegrown potatoes is incredibly satisfying.
1. When to Harvest: Potatoes are typically ready to harvest about 80-100 days after planting. You’ll know they’re ready when the plants start to flower and the foliage begins to die back.
2. Stop Watering: About two weeks before you plan to harvest, stop watering the plants. This will help the potatoes to cure and store better.
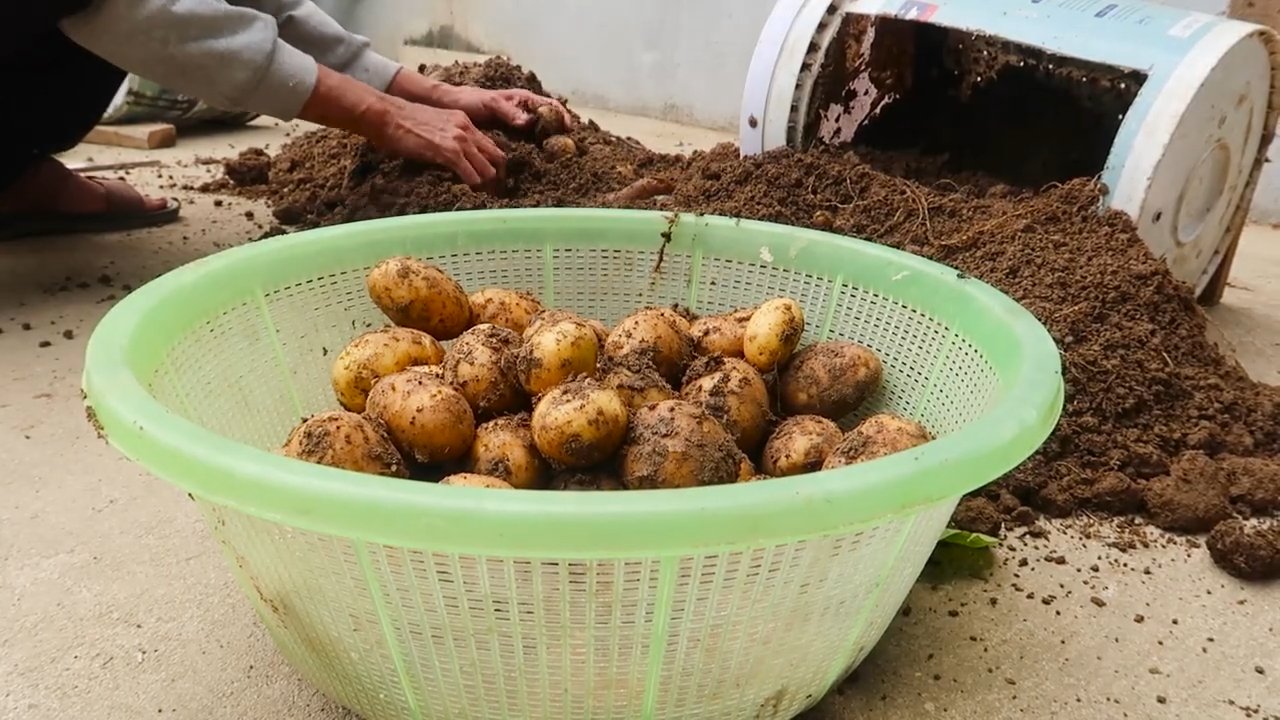
3. Harvesting: The easiest way to harvest potatoes from a bag is to simply dump the bag out onto a tarp or other surface. Then, carefully sift through the soil and collect your potatoes. You can also reach into the bag and gently pull out the potatoes, but be careful not to damage them.
4. Curing: After harvesting, let the potatoes cure in a cool, dry, and dark place for about a week. This will help them to develop a thicker skin and store better.
5. Storing: Store your cured potatoes in a cool, dark, and well-ventilated place. They should last for several months.
Troubleshooting
Even with the best planning, things can sometimes go wrong. Here are a few common problems and how to fix them.
* No Potatoes: If your plants are growing but not producing potatoes, it could be due to a lack of sunlight, poor soil, or insufficient hilling. Make sure your plants are getting enough sunlight, use a good quality potting mix, and hill them regularly.
* Small Potatoes: Small potatoes can be caused by overcrowding, lack of water, or poor soil. Make sure you’re spacing your seed potatoes properly, watering regularly, and using a good quality potting mix.
* Rotting Potatoes: Rotting potatoes can be caused by overwatering or poor drainage. Make sure your bag has drainage holes and avoid overwatering.
* Pests and Diseases: As mentioned earlier, keep an eye out for pests and diseases and take action promptly.
Choosing the Right Potato Variety
There are so many different types of potatoes to choose from! Here are a few popular varieties that are well-suited for growing in bags:
* Yukon Gold: These are all-purpose potatoes with a creamy texture and buttery flavor.
* Red Pontiac: These are red-skinned potatoes with a waxy texture, perfect for boiling or roasting.
* Fingerling Potatoes: These are small, elongated potatoes with a unique flavor and texture.
* Russet Potatoes: These are the classic baking potatoes with a fluffy texture.
Tips for Success
Here are a few extra tips to help you succeed with growing potatoes in a bag:
* Start with good quality seed potatoes.
* Use a good quality potting mix.
* Water regularly, but don’t overwater.
* Hill the plants regularly to encourage more potatoes.
* Protect your plants from pests and diseases.
* Be patient! It takes time for potatoes to grow.
Growing potatoes in a bag is a fun and rewarding experience. With a little bit of effort, you can enjoy fresh, homegrown potatoes all season long. Happy gardening!
Conclusion
So, there you have it! Growing potatoes at home, even if you only have a small balcony or patio, is not only achievable but also incredibly rewarding. Forget the supermarket spuds – imagine the unparalleled flavor of freshly harvested, homegrown potatoes gracing your dinner table. This DIY trick is a must-try for several compelling reasons.
First, you gain complete control over the growing process. You know exactly what goes into your potatoes, avoiding potentially harmful pesticides and herbicides often used in commercial farming. This translates to healthier, more nutritious potatoes for you and your family.
Second, the taste difference is undeniable. Homegrown potatoes, harvested at their peak ripeness, boast a richer, earthier flavor that simply can’t be replicated by store-bought varieties that may have been sitting in storage for weeks or even months. The freshness alone elevates any dish.
Third, it’s an incredibly satisfying and educational experience. Watching your potato plants sprout, grow, and eventually yield a bountiful harvest is a truly remarkable process. It’s a fantastic way to connect with nature, learn about the life cycle of plants, and even teach children about where their food comes from.
But the benefits don’t stop there. Growing your own potatoes can also be a cost-effective way to supplement your grocery bill, especially if you choose to grow varieties that are typically more expensive in stores. Plus, it’s a sustainable practice that reduces your carbon footprint by minimizing transportation and packaging.
Ready to take your potato growing to the next level? Consider experimenting with different potato varieties. From the creamy Yukon Gold to the vibrant purple potatoes, each variety offers a unique flavor and texture profile. You can also try different growing methods, such as using potato towers or raised beds, to maximize your yield in limited spaces. Another variation is to try growing sweet potatoes, which require a similar growing environment.
Don’t be afraid to get creative with your potato-growing setup. Use recycled containers, build your own raised beds, or even try growing potatoes in a burlap sack. The possibilities are endless!
We wholeheartedly encourage you to give this DIY potato-growing trick a try. It’s a fun, rewarding, and delicious way to connect with nature and enjoy the fruits (or rather, tubers) of your labor. Once you’ve experienced the joy of harvesting your own homegrown potatoes, you’ll never look at store-bought potatoes the same way again.
And most importantly, we want to hear about your experience! Share your photos, tips, and stories with us in the comments below. Let us know what varieties you’re growing, what challenges you’ve faced, and what successes you’ve achieved. Together, we can create a community of passionate home gardeners who are dedicated to growing their own delicious and nutritious potatoes. So, grab your seed potatoes, get your hands dirty, and start growing today! Let’s see those homegrown potato masterpieces!
Frequently Asked Questions (FAQ)
What is the best time of year to plant potatoes?
The ideal time to plant potatoes depends on your climate. Generally, you should plant seed potatoes about 2-4 weeks before the last expected frost in your area. Potatoes prefer cool weather, so planting them in early spring allows them to establish themselves before the summer heat arrives. In warmer climates, you can also plant potatoes in late summer for a fall harvest. Check your local gardening resources for specific planting dates in your region.
What kind of soil is best for growing potatoes?
Potatoes thrive in well-drained, loose soil that is rich in organic matter. Avoid heavy clay soils, as they can become waterlogged and hinder tuber development. Amend your soil with compost, aged manure, or other organic materials to improve drainage and fertility. A slightly acidic soil pH of 6.0 to 6.5 is ideal for potato growth.
How much sunlight do potatoes need?
Potatoes need at least 6-8 hours of direct sunlight per day to grow properly. Choose a planting location that receives plenty of sunlight throughout the day. If you’re growing potatoes in containers, make sure to place them in a sunny spot. Insufficient sunlight can result in smaller yields and weaker plants.
How often should I water my potato plants?
Water your potato plants regularly, especially during dry periods. Keep the soil consistently moist, but avoid overwatering, which can lead to root rot. Water deeply and less frequently, rather than shallowly and more often. A good rule of thumb is to water when the top inch of soil feels dry to the touch.
How do I “hill” my potato plants?
Hilling is the process of mounding soil around the base of the potato plants as they grow. This encourages the plants to produce more tubers along the buried stems. Start hilling when the plants are about 6 inches tall, and continue to hill every few weeks as they grow taller. You can use soil, compost, or straw to hill your potato plants.
When are potatoes ready to harvest?
The harvest time for potatoes depends on the variety and when they were planted. Generally, early-season potatoes are ready to harvest about 70-80 days after planting, while late-season potatoes take 90-120 days. You can harvest “new potatoes” (small, immature potatoes) a few weeks after the plants flower. For mature potatoes, wait until the foliage starts to die back before harvesting.
How do I store my harvested potatoes?
Store your harvested potatoes in a cool, dark, and well-ventilated place. The ideal storage temperature is between 40-50°F (4-10°C). Avoid storing potatoes in direct sunlight or near apples or bananas, as these conditions can cause them to sprout or rot. Properly stored potatoes can last for several months.
What are some common potato pests and diseases?
Some common potato pests include potato beetles, aphids, and flea beetles. Common potato diseases include early blight, late blight, and scab. Monitor your plants regularly for signs of pests or diseases, and take appropriate action to control them. Organic pest control methods, such as using insecticidal soap or neem oil, can be effective. Choose disease-resistant potato varieties to minimize the risk of disease.
Can I grow potatoes in containers?
Yes, potatoes can be successfully grown in containers. Choose a large container with drainage holes, and fill it with well-draining potting mix. Plant your seed potatoes about 4 inches deep, and water regularly. As the plants grow, hill them with more potting mix. Container-grown potatoes may require more frequent watering and fertilization than those grown in the ground.
What are seed potatoes?
Seed potatoes are not actually seeds, but rather small potatoes that are specifically grown for planting. They are certified disease-free and are more likely to produce healthy potato plants than using potatoes from the grocery store. You can purchase seed potatoes from garden centers or online retailers. Cut larger seed potatoes into smaller pieces, ensuring that each piece has at least one “eye” or sprout. Allow the cut pieces to dry for a few days before planting to prevent rot.
Leave a Comment