
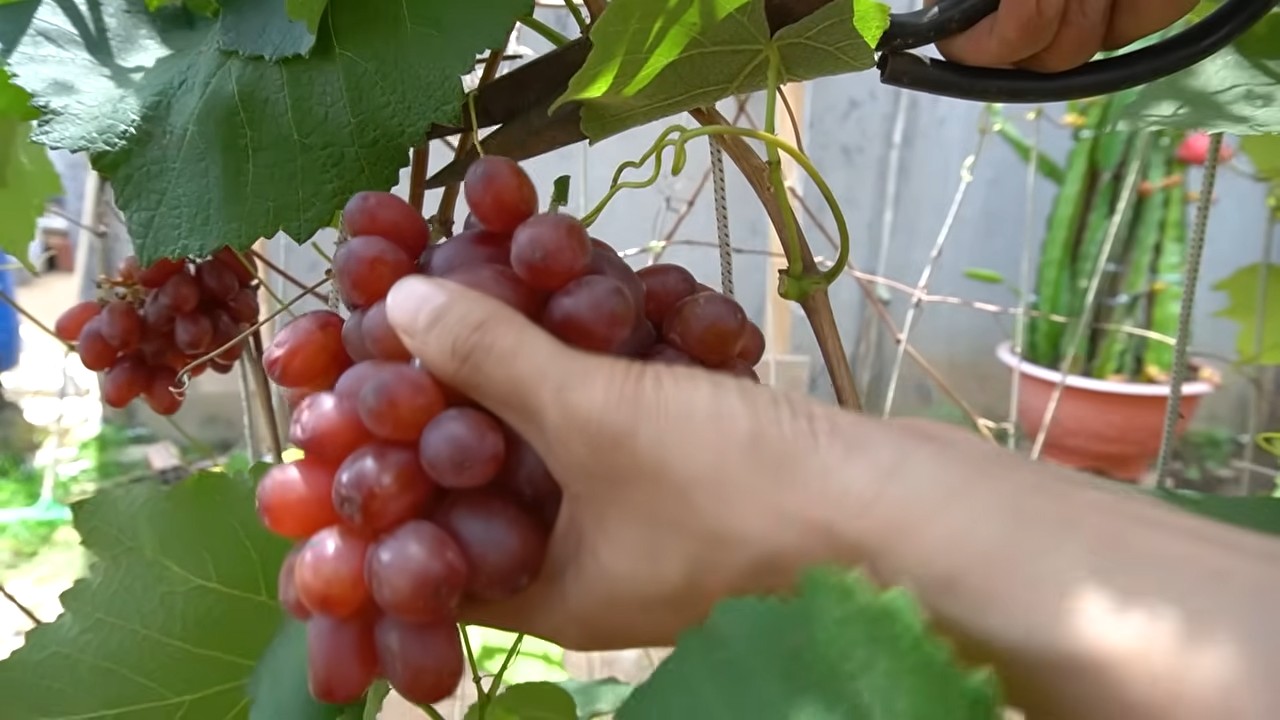
Growing backyard grapes might seem like a task reserved for seasoned vineyard owners, but I’m here to tell you that with a few clever tricks and a little DIY spirit, you can cultivate your own delicious grapes right in your backyard! Imagine plucking sun-ripened grapes straight from the vine, ready to be enjoyed as a healthy snack, transformed into homemade jam, or even fermented into your own signature wine. Sounds tempting, right?
Grape cultivation boasts a rich history, dating back thousands of years to ancient civilizations like the Egyptians and Romans, who revered grapes not only for their culinary uses but also for their symbolic significance. Today, the allure of growing backyard grapes remains strong, offering a connection to nature and a rewarding sense of accomplishment.
But why should *you* embark on this grape-growing adventure? Well, beyond the obvious benefit of fresh, flavorful fruit, growing your own grapes can be incredibly cost-effective, environmentally friendly (say goodbye to pesticide-laden store-bought grapes!), and a fantastic way to beautify your outdoor space. Plus, let’s be honest, who wouldn’t want to impress their friends and family with their green thumb and homemade grape goodies? This DIY guide will equip you with the essential knowledge and simple hacks to successfully grow grapes, even if you’re a complete beginner. So, grab your gardening gloves, and let’s get started!
Growing Your Own Backyard Grapes: A DIY Guide
Okay, grape lovers, let’s get down to business! I’m going to walk you through everything you need to know to successfully grow your own delicious grapes right in your backyard. It might seem daunting at first, but trust me, with a little planning and effort, you’ll be enjoying homemade grape juice, jams, or even wine (if you’re feeling ambitious!) before you know it.
Choosing the Right Grape Variety
This is arguably the most important step. You can’t just plant any grape and expect it to thrive. You need to consider your climate, soil type, and what you want to *do* with the grapes.
* Climate: Different grape varieties have different cold hardiness and heat tolerance. Research varieties that are specifically recommended for your USDA plant hardiness zone. For example, if you live in a colder region, you’ll want to choose a variety like ‘Marquette’ or ‘Frontenac’. If you’re in a warmer area, ‘Thompson Seedless’ or ‘Flame Seedless’ might be better choices.
* Soil Type: Grapes generally prefer well-drained soil with a slightly acidic to neutral pH (around 6.0-7.0). If your soil is heavy clay, you’ll need to amend it with organic matter to improve drainage. Sandy soil, on the other hand, might need amendments to improve water retention.
* Intended Use: Are you planning to eat the grapes fresh, make juice, or produce wine? Table grapes are typically larger and sweeter, while wine grapes have higher acidity and smaller berries. Juice grapes fall somewhere in between.
* Disease Resistance: Some grape varieties are more resistant to common grape diseases like powdery mildew and black rot. Choosing a disease-resistant variety can save you a lot of headaches (and fungicide applications) down the road.
I highly recommend contacting your local agricultural extension office. They can provide specific recommendations for grape varieties that thrive in your area and are resistant to local pests and diseases.
Preparing the Planting Site
Grapes need plenty of sunlight and well-drained soil. Choose a location that receives at least 6-8 hours of direct sunlight per day. Avoid planting grapes in low-lying areas where water tends to collect.
* Soil Testing: Before you start digging, it’s a good idea to get your soil tested. This will tell you the pH level and nutrient content of your soil. You can purchase a soil testing kit at most garden centers or send a sample to your local agricultural extension office.
* Soil Amendment: Based on your soil test results, you may need to amend your soil. If your soil is too acidic, you can add lime to raise the pH. If it’s too alkaline, you can add sulfur to lower the pH. You can also add compost or other organic matter to improve drainage and fertility.
* Clearing the Area: Remove any grass, weeds, rocks, or other debris from the planting area. You’ll want to create a clean, weed-free zone that’s at least 4 feet in diameter for each grape vine.
* Tilling or Digging: Loosen the soil to a depth of at least 12 inches. This will make it easier for the grape roots to establish. You can use a tiller or a shovel to do this.
Planting Your Grape Vines
The best time to plant grape vines is in the early spring, after the last frost, or in the late fall, before the ground freezes.
1. Dig the Holes: Dig holes that are large enough to accommodate the root systems of your grape vines. The holes should be about 12 inches deep and 12 inches wide. Space the holes according to the recommended spacing for your chosen grape variety. Generally, table grapes need about 8-10 feet of spacing between vines, while wine grapes can be planted closer together, around 6-8 feet apart.
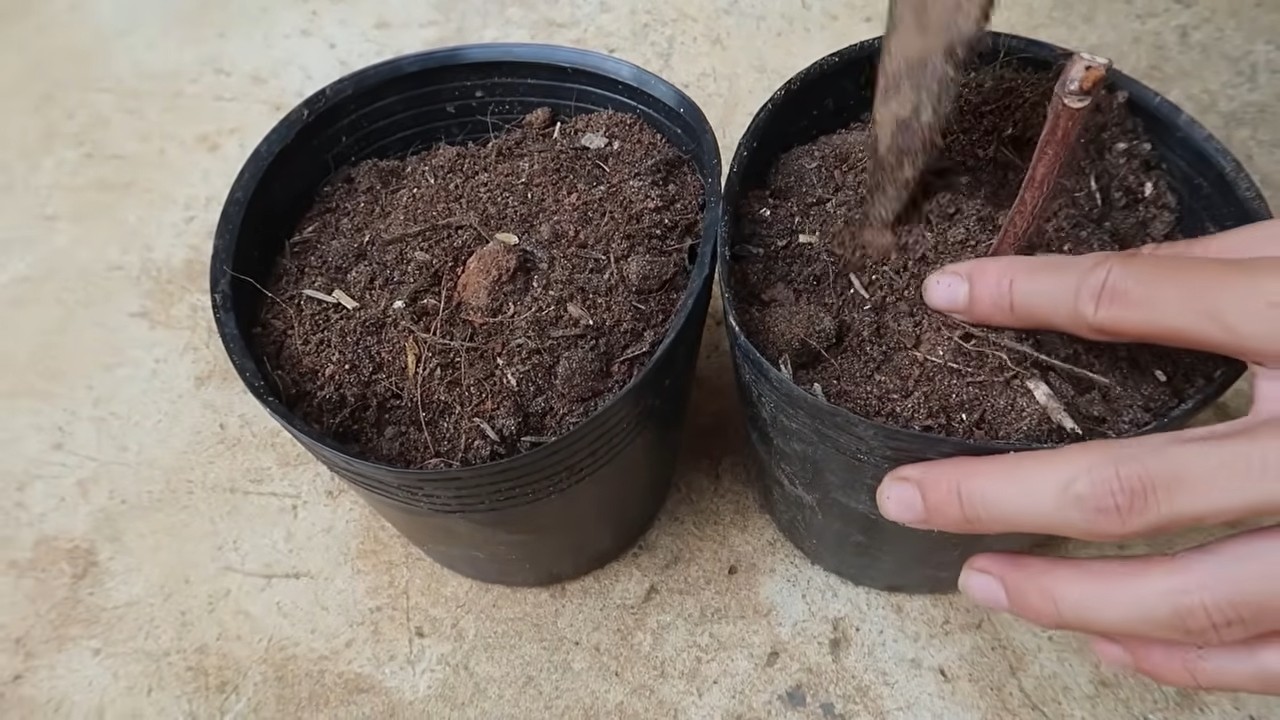
2. Prepare the Roots: Gently remove the grape vines from their containers. If the roots are tightly bound, carefully loosen them with your fingers. You can also trim any damaged or circling roots.
3. Plant the Vines: Place the grape vines in the holes, making sure that the top of the root ball is level with the surrounding soil. Backfill the holes with soil, gently tamping it down to remove any air pockets.
4. Water Thoroughly: Water the newly planted grape vines thoroughly. This will help to settle the soil and encourage root growth.
5. Mulch: Apply a layer of mulch around the base of the grape vines. Mulch will help to retain moisture, suppress weeds, and regulate soil temperature. Use organic mulch such as straw, wood chips, or shredded bark. Keep the mulch a few inches away from the trunk of the vine to prevent rot.
Setting Up a Trellis System
Grapes are vines, so they need a trellis system to support their growth. There are many different types of trellis systems you can use, but here are a few common options:
* Single-Wire Trellis: This is the simplest type of trellis. It consists of a single wire stretched between two posts. The grape vines are trained to grow along the wire.
* Two-Wire Trellis: This trellis has two wires, one above the other. The grape vines are trained to grow along both wires.
* Three-Wire Trellis: This trellis has three wires, spaced evenly apart. This provides even more support for the grape vines.
* Arbor: An arbor is a more decorative trellis system that can provide shade and create a beautiful focal point in your garden.
Building a Simple Two-Wire Trellis:
1. Install the Posts: Drive two sturdy posts into the ground at the ends of your grape row. The posts should be at least 6 feet tall and buried at least 2 feet deep. Use treated lumber or metal posts to prevent rot.
2. Attach the Wires: Attach two wires to the posts, one at a height of about 3 feet and the other at a height of about 5 feet. Use wire staples or wire clips to secure the wires to the posts. Make sure the wires are taut.
3. Train the Vines: As the grape vines grow, train them to grow along the wires. Use twine or plant ties to secure the vines to the wires.
Pruning Your Grape Vines
Pruning is essential for grape production. It helps to control the size and shape of the vines, improve air circulation, and increase fruit yield. Grape vines produce fruit on one-year-old wood, so pruning encourages the growth of new wood.
* Dormant Pruning: The best time to prune grape vines is in the late winter or early spring, before the buds begin to swell. This is called dormant pruning.
* Pruning Techniques: There are several different pruning techniques you can use, depending on the grape variety and the trellis system you’re using. Two common techniques are cane pruning and spur pruning.
* Cane Pruning: Cane pruning involves removing most of the previous year’s growth, leaving only a few canes (long, slender shoots) with a certain number of buds.
* Spur Pruning: Spur pruning involves cutting back the previous year’s growth to short spurs (short, stubby shoots) with only a few buds.
General Pruning Guidelines:
1. Remove Dead, Damaged, or Diseased Wood: Start by removing any dead, damaged, or diseased wood. This will help to prevent the spread of disease.
2. Remove Suckers and Water Sprouts: Suckers are shoots that grow from the base of the vine, and water sprouts are vigorous, upright shoots that grow from the main branches. Remove these as they steal energy from the fruiting wood.
3. Select the Best Canes or Spurs: Choose the healthiest and strongest canes or spurs to retain. These will be the ones that produce fruit in the coming year.
4. Prune to the Desired Number of Buds: Prune the canes or spurs to the desired number of buds. The number of buds you leave will depend on the grape variety and the vigor of the vine. A general rule of thumb is to leave about 30-60 buds per vine for cane-pruned varieties and about 2-3 buds per spur for spur-pruned varieties.
I highly recommend watching some videos or reading articles on grape pruning techniques. It can be a bit confusing at first, but with practice, you’ll get the hang of it.
Watering and Fertilizing
Grapes need consistent watering, especially during dry periods. Water deeply and regularly, especially during the first year after planting.
* Watering: Water deeply and infrequently, rather than shallowly and frequently. This will encourage the roots to grow deeper into the soil. Aim for about 1-2 inches of water per week.
* Fertilizing: Fertilize your grape vines in the spring, before the buds begin to swell. Use a balanced fertilizer that is specifically formulated for grapes. Follow the instructions on the fertilizer
Conclusion
So, there you have it! Mastering the art of growing backyard grapes isn’t just about cultivating fruit; it’s about cultivating an experience. It’s about connecting with nature, enjoying the fruits (literally!) of your labor, and creating something truly special right in your own backyard. This DIY approach, while requiring some initial effort, offers a level of control and satisfaction that you simply can’t get from store-bought grapes. Think about the possibilities: fresh grapes for snacking, homemade juice, delicious jams, or even venturing into the world of home winemaking!
The benefits extend beyond the culinary, too. Grapevines add a beautiful aesthetic to your garden, providing shade and visual interest. They can also be a sustainable addition, reducing your reliance on commercially grown produce and minimizing your carbon footprint. Plus, the process of nurturing your vines, from pruning to harvesting, is incredibly therapeutic and rewarding.
But the real magic lies in the customization. Feel free to experiment with different grape varieties to find the perfect flavor profile for your palate. Consider adding companion plants to your vineyard to attract beneficial insects and improve soil health. You can even explore different trellising methods to create a unique and visually stunning display. The possibilities are truly endless!
Don’t be intimidated by the prospect of growing your own grapes. With a little planning, patience, and the right techniques, you can transform your backyard into a thriving vineyard. This DIY project is an investment in your health, your happiness, and your connection to the natural world.
We strongly encourage you to give this a try. Start small, learn as you go, and don’t be afraid to make mistakes. Every gardener, even the most experienced, has faced challenges along the way. The key is to persevere, learn from your experiences, and enjoy the journey.
And most importantly, we want to hear about your success! Share your experiences, your tips, and your photos with us. Let us know what varieties you’re growing, what challenges you’ve faced, and what delicious creations you’ve made with your homegrown grapes. Your insights can help inspire and guide other aspiring grape growers. Let’s build a community of backyard vineyard enthusiasts and share the joy of growing our own delicious, healthy grapes! This is more than just a gardening project; it’s a lifestyle. Embrace the process, savor the rewards, and enjoy the journey of growing backyard grapes.
Frequently Asked Questions (FAQ)
What is the best time of year to plant grapevines?
The ideal time to plant grapevines is typically in early spring or late fall, when the plants are dormant. This allows the roots to establish themselves before the heat of summer or the cold of winter sets in. Planting in the spring gives the vines a full growing season to develop, while fall planting allows the roots to settle in over the winter, giving them a head start in the spring. However, if you live in a region with mild winters, you may be able to plant grapevines at other times of the year as well. Just be sure to provide adequate water and protection from extreme temperatures.
What type of soil is best for growing grapes?
Grapes thrive in well-drained soil that is slightly acidic to neutral, with a pH between 6.0 and 7.0. The soil should be rich in organic matter and have good drainage to prevent root rot. Sandy loam soils are often considered ideal, as they provide good drainage and aeration. Before planting, it’s a good idea to test your soil to determine its pH and nutrient levels. You can amend the soil with compost or other organic matter to improve its fertility and drainage. Avoid heavy clay soils, as they can retain too much water and suffocate the roots. If you have clay soil, you can improve its drainage by adding sand and organic matter.
How much sunlight do grapevines need?
Grapevines require at least 6-8 hours of direct sunlight per day to produce a good crop of grapes. The more sunlight they receive, the better the fruit quality will be. Choose a planting location that receives full sun throughout the day. If you live in a hot climate, some afternoon shade may be beneficial to prevent the vines from getting scorched. However, avoid planting grapevines in areas that are heavily shaded, as this can reduce fruit production and increase the risk of disease.
How often should I water my grapevines?
Watering frequency depends on the climate, soil type, and age of the vines. Young grapevines need more frequent watering than established vines. In general, water deeply and less frequently, allowing the soil to dry out slightly between waterings. During hot, dry weather, you may need to water more often. Avoid overwatering, as this can lead to root rot. A good rule of thumb is to water when the top inch of soil feels dry to the touch. Use a soaker hose or drip irrigation to water the vines at the base, avoiding wetting the foliage, which can promote fungal diseases.
How do I prune grapevines?
Pruning is essential for maintaining the health and productivity of grapevines. The best time to prune is in late winter or early spring, before the buds begin to swell. The goal of pruning is to remove dead, damaged, or diseased wood, as well as to shape the vine and promote fruit production. There are several different pruning methods, depending on the variety of grape and the training system used. In general, you’ll want to remove about 90% of the previous year’s growth, leaving only a few buds that will produce new shoots and fruit. Consult a local expert or gardening guide for specific pruning instructions for your grape variety.
What are some common pests and diseases that affect grapevines?
Grapevines can be susceptible to a variety of pests and diseases, including aphids, Japanese beetles, grape phylloxera, powdery mildew, downy mildew, and black rot. Regularly inspect your vines for signs of pests or diseases. If you detect a problem, take action promptly to prevent it from spreading. Organic pest control methods, such as insecticidal soap or neem oil, can be effective for controlling many pests. For fungal diseases, you can use copper-based fungicides or other organic fungicides. Proper pruning and good air circulation can also help to prevent disease.
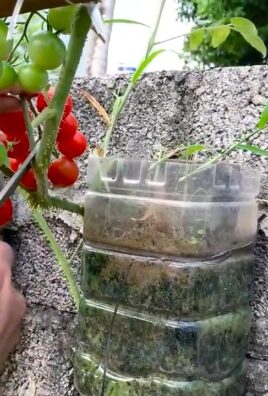
Can I grow grapes in containers?
Yes, you can grow grapes in containers, but it requires careful planning and attention. Choose a large container with good drainage, at least 20 gallons in size. Use a well-draining potting mix and select a grape variety that is suitable for container growing, such as ‘Thompson Seedless’ or ‘Reliance’. Provide a trellis or other support for the vines to climb on. Water regularly and fertilize during the growing season. Container-grown grapevines may need to be pruned more frequently than those grown in the ground.
How long does it take for grapevines to produce fruit?
Grapevines typically take 2-3 years to begin producing fruit. The first year, the vines will focus on establishing their root system. In the second year, they may produce a small crop of grapes. By the third year, they should be producing a more substantial harvest. The exact time it takes for grapevines to produce fruit depends on the variety, growing conditions, and care provided. Be patient and continue to provide proper care, and you’ll be rewarded with a bountiful harvest of delicious grapes.


Leave a Comment